...
- Download either the "XP SP2 CD image 32-bit (ISO format)" or "Vista DVD image 32-bit (ISO format)" installation image from the IS&T's Microsoft Campus Agreement download site. Are we still telling people to wait on vista?
- Launch VMware Fusion, found in /Applications
Result: The Virtual Machine Library window is displayed:

- Click New...
Result: The New Virtual Machine Assistant is launched:

- Click Continue
Result: You are are prompted to choose and operating system:

- Make sure that "Microsoft Windows" is selected for the Operating System. For Version, select "Windows XP Professional" if you are installing Windows XP 32-bit or select "Windows Vista" if you are installing Windows Vista 32-bit. Click Continue
Result: The Name and Location panel is displayed:

- Enter a name for the virtual machine in the Save As field. By default, the virtual machine is saved in your home directory in the Documents/Virtual Machines folder. To choose a different location, select Other from the Where field.
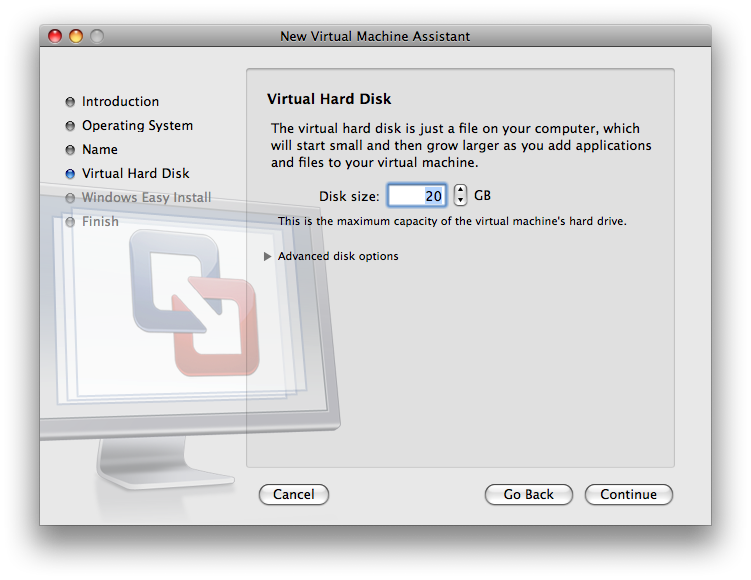
Result: The Virtual Hard Disk panel is displayed:
- Click the triangle next to Advanced disk options
Result: The Advanced disk options are displayed

- Check Split disk into 2GB files. This will create a virtual machine using smaller files that are compatible with more disk formats, including FAT32 and UFS. Click Continue
...