...
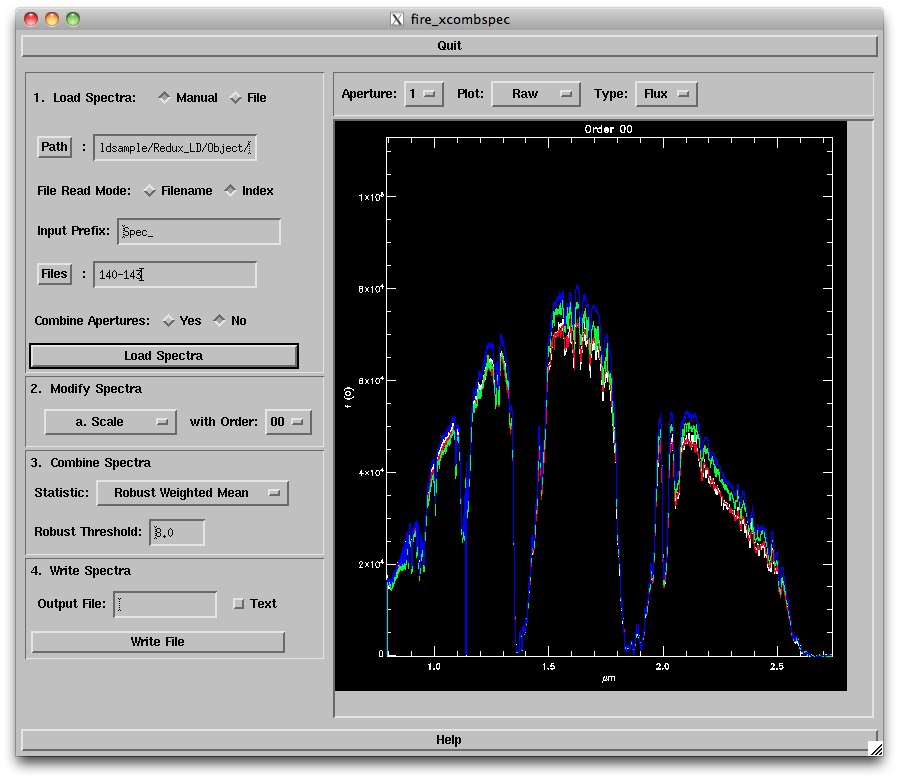
This will launch the xcombspec GUI, as shown below.
1. First, enter in your data path (which should be the "Object" directory in your reductions folder). Then specify the root filename (i.e. "Spec_" is the default stting) and the file numbers (range or comma delimited, e.g. "140-144,147"). Click on "Load Spectra" to read in the spectra, which will appear in the window to the right.
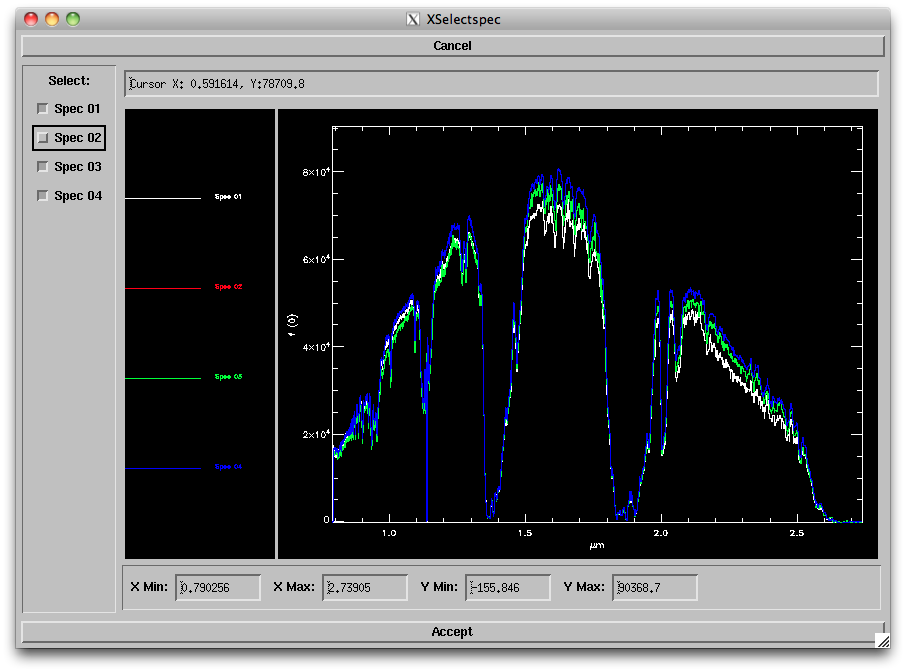
2.Next you want to apply any scaling and pixel corrections to the spectra before combining. The options are:
...
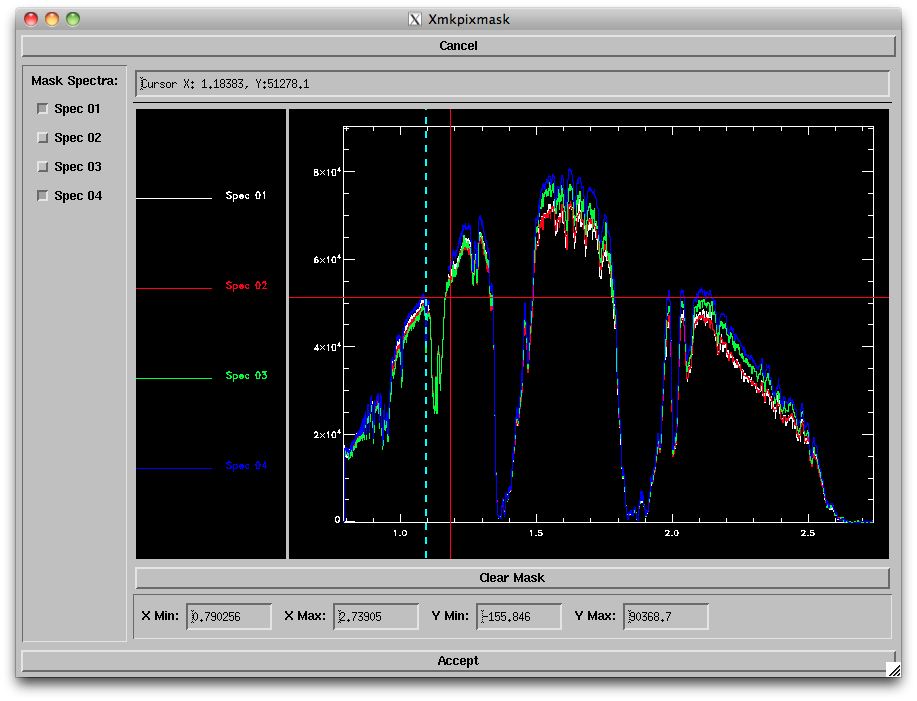
Mask Pixels: Selecting this option and Order '00' will bring up a new window (right panel below) allowing you to select a region and spectrum to mask out. You can zoom in on a given region by changing the plot ranges at bottom or typing "z" and clicking on the lower left and upper right corners of the area you want to zoom in on ("w" bring you back to the full plot range). To choose a region to be masked, type "s" and click on the left and right ends of the range you want to mask. This will reject that region from all spectra; to bring back the "good" spectra, uncheck the boxes on the left side of the window. Repeat for all bad pixel regions; you can click on "Clear mask" to start over. When satisfied, click "Accept".
.
Screen shots of the secondary windows for (left) scaling spectra, (middle) rejecting spectra and (right) masking pixels.
3. Next Next, choose the statistic to use for combining the spectra. There are several options available; the default (Robust Weighted Mean) tends to provide the best results for more than 4 spectra of reasonable S/N.
4. Finally, enter an output file name (e.g., "CombSpec_141-143.fits") and click on "Write File". You will need to remember that filename for the final telluric correction step.


