*Edits to make:
- Add vacuum bagging pics
- Update materials list and preface
- Add more detail to procedure
Purpose
The purpose of this procedure is to provide a step-by-step guide for members to construct a fin can, which consists of a phenolic tube with four fins attached, covered in either fiberglass (for a test fin can) or carbon fiber (for a flight fin can). Below is a list of risks, required materials, and a step-by-step procedure including the expected length of time that each step should take.
Prerequisites
All participants in the layup must have general lab safety training, and must have completed a respiratory medical evaluation at MIT Medical, and a respirator fit check in EHS. All participants should be wearing respirators and gloves when working with epoxy and colloidal silica, and safety glasses and dust masks when sanding. Participants should be under the supervision of at least one member who has performed a similar fin can layup previously.
Risks and Risk Corrections
Though this procedure is relatively safe and straightforward, there are a few chemicals that present risks, which can be mitigated through proper use of Personal Protective Equipment (PPE):
Epoxy
Risk: Inhaling epoxy fumes can cause respiratory problems, and skin contact with epoxy causes sensitization.
Risk Correction: Wear a respirator when working with epoxy, ensuring a positive/negative pressure test passes. Wear gloves when working with epoxy, and wash hands with cold, abrasive soap afterwards.
Colloidal Silica
Risk: Inhaling ultra-fine colloidal silica particles can cause respiratory toxicity and an increased risk for pulmonary diseases.
Risk Correction: Wear a respirator when working with colloidal silica, enduring a positive/negative pressure test passes. Wear gloves when working with colloidal silica.
Required Materials for Test Fin Can and Flight Fin Can
*Most of the materials used to make the test fin can and the flight fin can are identical, and cases where materials are only used for one or the other have been outlined in the materials list below.
Raw Materials
- Fiberglass (test) or Carbon Fiber (flight)
- Fin preforms (plywood for test, G10 + phenolic for flight)
- Phenolic tube
Layup tools
- West Systems epoxy (6 or 24-hour)
- 5-minute epoxy
- Colloidal silica
- Popsicle sticks
- Boats
- Fillet tool
- Squeegees
- Rollers
- Fin can jig
- Stabilizing feature
- Level
- Nuts
- Flight only:
- Aluminum mandrel
- Layup jig
- Proline
- Laminating epoxy
- Mylar
Bagging Materials
- Release film
- Bleeder fabric
- Vacuum bag
- Vacuum tape
- Peel ply
Miscellaneous
- Spray glue
- Scissors
- Painter's tape
- Shop towels
- Sandpaper (60, 120, 220 grit)
- Wax paper
- Sharpie
- Ruler
- Test Fin Can only: Dremel (with sanding bit)
- Flight only: 15 degree angled end mill
Personal Protection Equipment
- Gloves
- Dust masks
- Safety glasses
- Respirators
TEST FIN CAN PROCEDURE
Preparation (Tube)
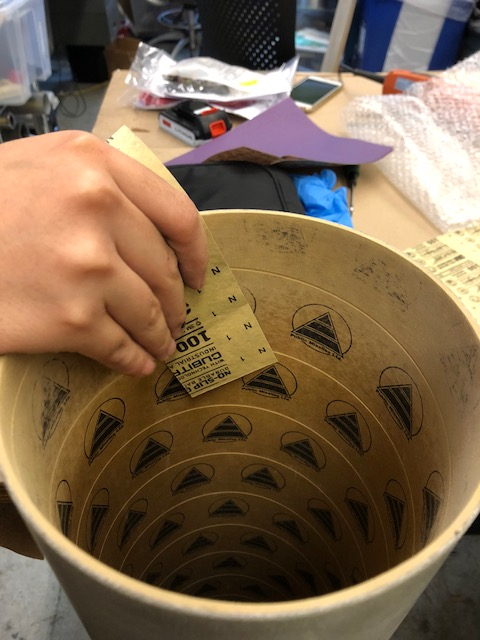
Sanded inside of PML phenolic fiberglass-overwrapped tube (FGPT-6.0, 6.007” ID) on one end with 60-grit sandpaper, periodically testing to see if it fit over our motor case (don’t push too hard or it’ll get stuck)
Marked 22” length and cut tube on horizontal bandsaw (Gelb)
Sanded inside of tube with 60-grit sandpaper from other end
Sanded the outside of the tube with 60-grit (this is to increase surface area so that the fins and the fiber will bond better)


Preparation (Fins)
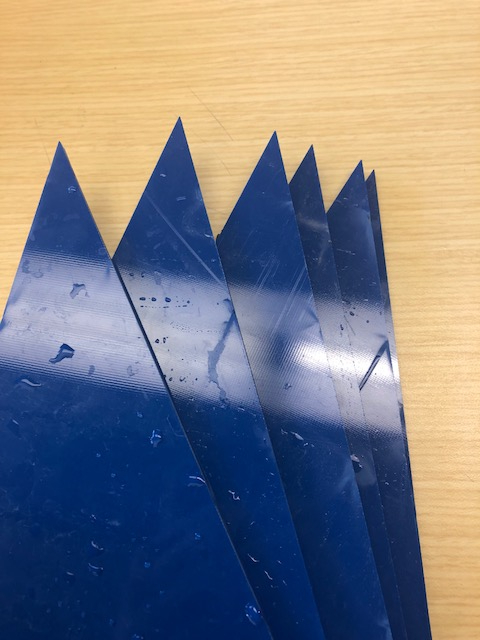
Laser-cut plywood fins
Sanded either face with 60-grit, and edges with Dremel sanding bit
Scored fins (on either face and on root) with scalpel
We later did not use the plywood fins because they did not fit into the fin can jig.
Waterjet G10 fins
Epoxied leading edge using superglue, paper and clamp (paper so that the clamp didn’t get stuck to the glue) because the G10 delaminated on the waterjet (in the future, use “Brittle Material”, “Low Pressure” to avoid delam
Sanded either face and the root with 60-grit sandpaper


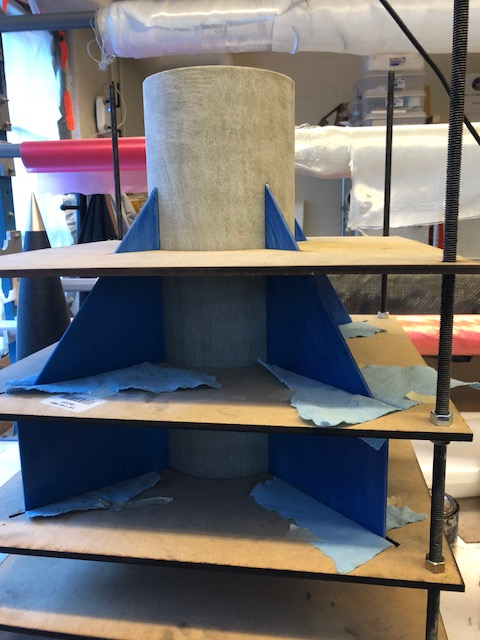
Root Bond/Fillets
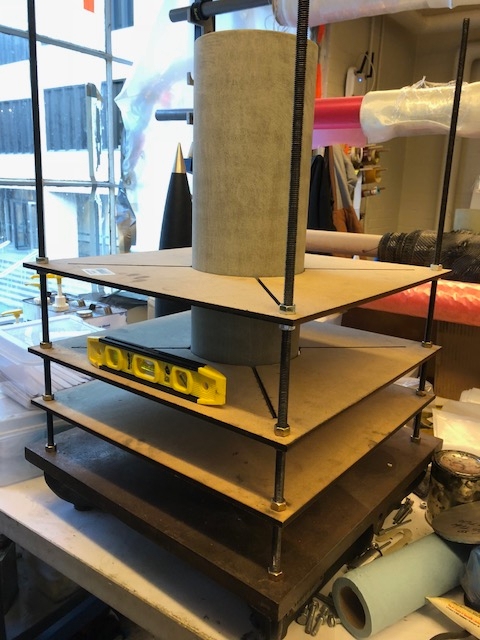
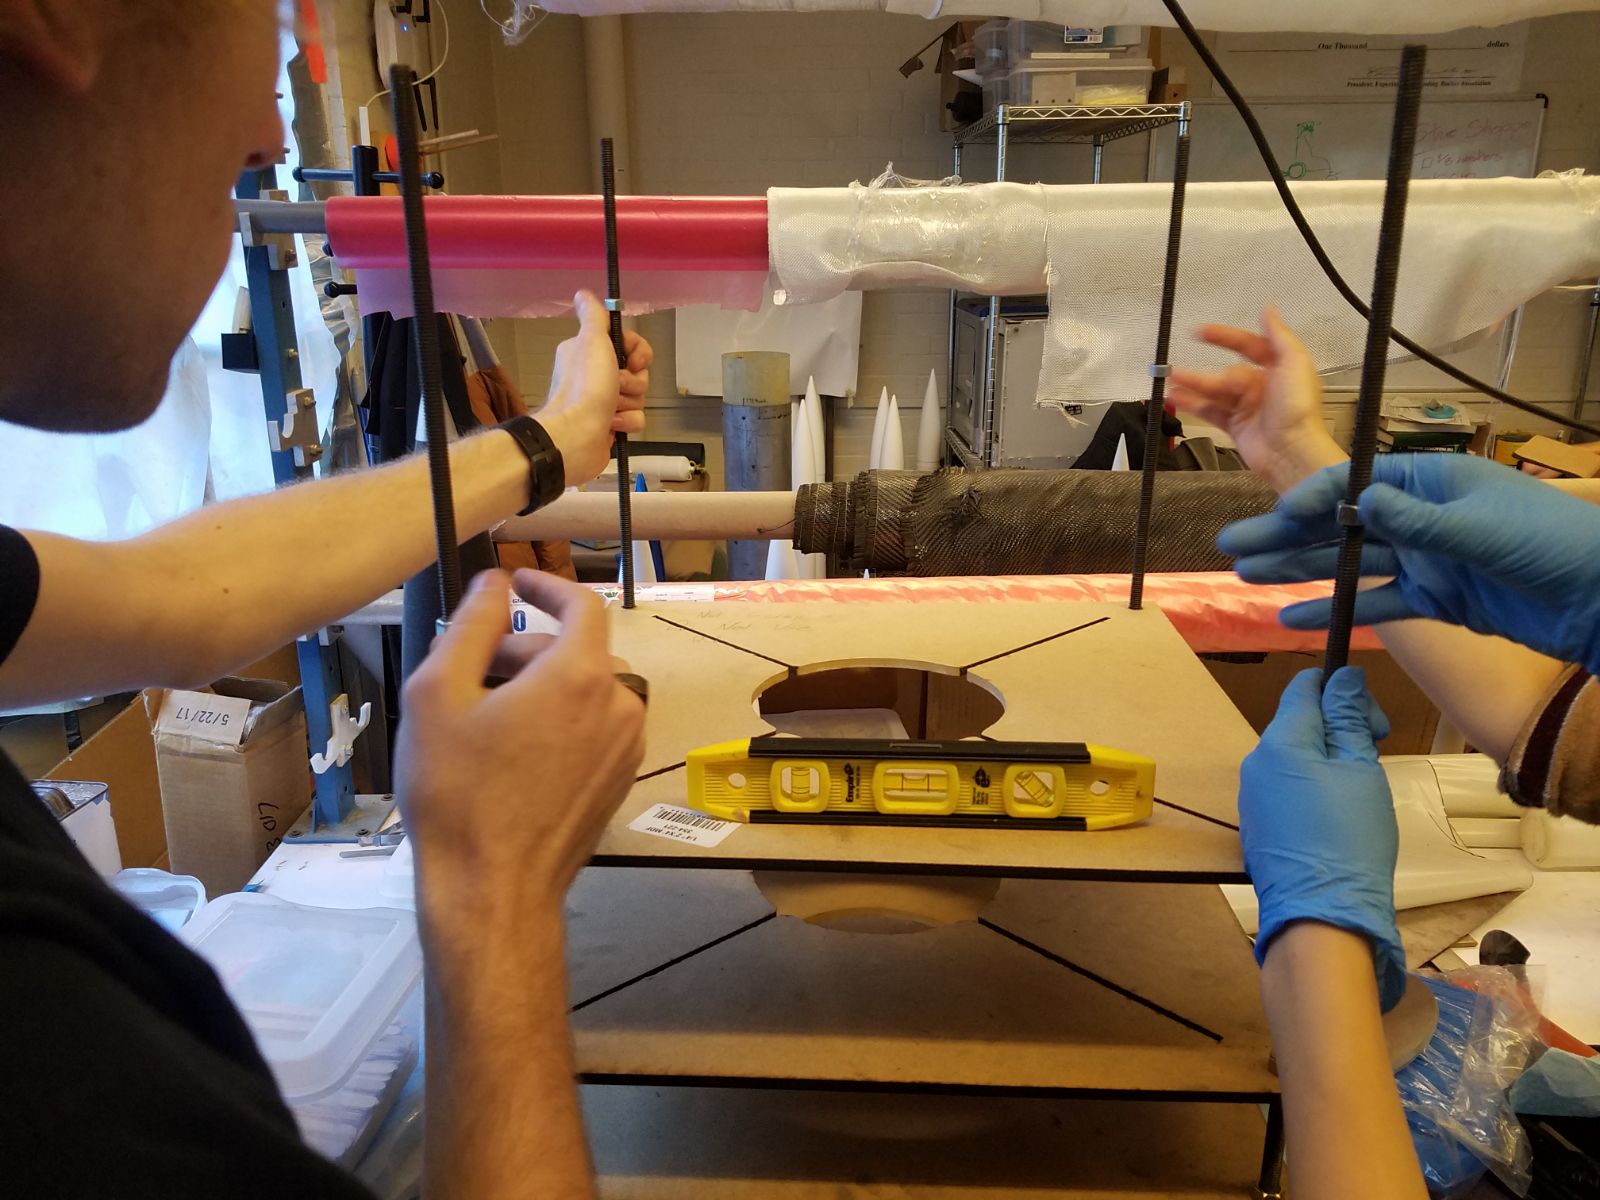
Set up layup jig
Use a level to ensure that each layer of the jig is level
Remove top layer
Check that tube fits snugly by sliding it into the jig
Check that the fins fit snugly into the slots
Tighten the nuts
Slide the tube in
Root Bond
Wearing gloves, mix 5-minute epoxy thoroughly
Apply using small popsicle stick along root of fin
Carefully slide fin into slot in jig, press against the tube
Repeat for other 3 fins
Put top layer on and push gently against leading edge of fins to ensure a snug fit
Let cure for 15-20 minutes
Root Fillets (1 day per set of fillets using slow hardener, 2 fillets - 1 in the morning, 1 in the evening, using fast hardener)
Carefully remove the fin can from the jig (the fins are NOT bonded very securely because we used 5-minute, so handle with care!!)
Support tube horizontally on either end (make sure fins aren’t touching anything
Turn tube such that the area between two fins is level with the ground (the fillets will be applied to the inside of each fin so we want them to be horizontal)
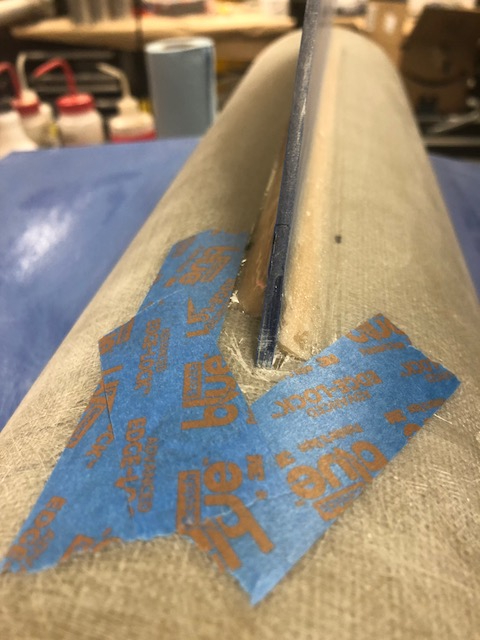
Mark desired radius on either end of each fin (both on the fin and on the tube) using Sharpie
Tape along the fin and the tube, leaving an exposed area where the fillet will go. Tape also around the tube (where the epoxy would go if it dripped past the leading edges)
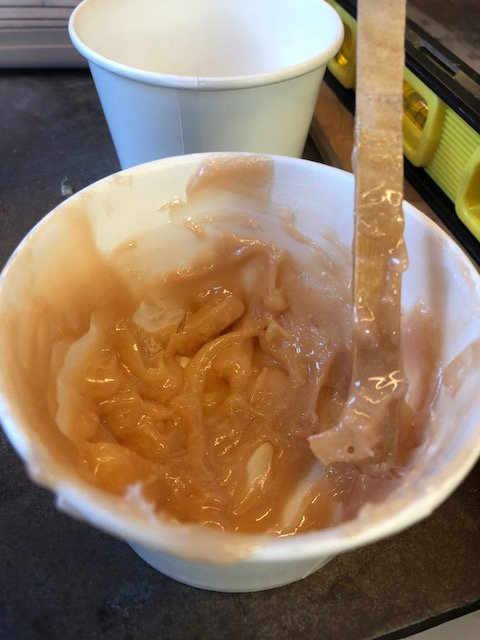
Put on respirator and, using a large paper cup (not the shallow blue epoxy boats or the silica will get everywhere), mix three pumps resin + 3 pumps slow hardener.
Stir well with popsicle stick, then mix in colloidal silica until consistency is in between ketchup and mayonnaise (should drip slowly but evenly off popsicle stick)
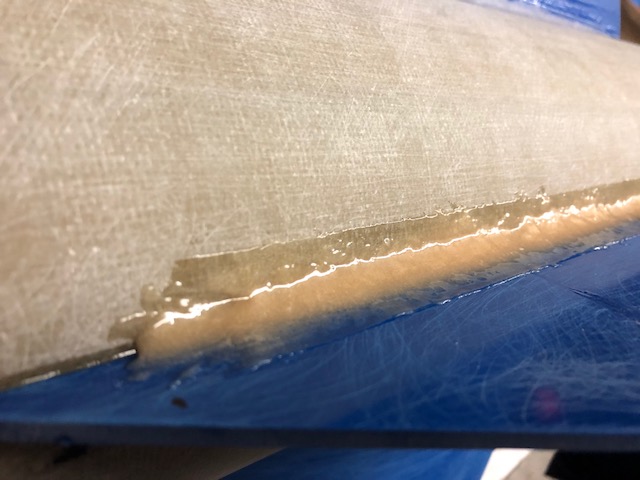
Apply mixture to exposed area, leaving ~0.5 inch on either side so that epoxy doesn’t drip. Use fillet tool to smooth out/remove excess epoxy
Remove the painter’s tape (do it before the epoxy cures so it doesn’t get stuck)
Let cure (24-36 hours for slow hardener, ~6 hours for fast hardener)
Repeat for remaining 3 sets of fillets
Wearing a dust mask, sand the fillets, wipe with wet shop towel to remove debris
Rotate the tube such that one fin is vertical
Repeat steps 5-7, and apply epoxy to the remaining exposed ~0.5 inches
Let cure, and rotate tube to do next fillet ends
Repeat step 15 until all fillet ends completed, and, wearing a dust mask, sand the fillets
Layup Preparation (Cut-outs)


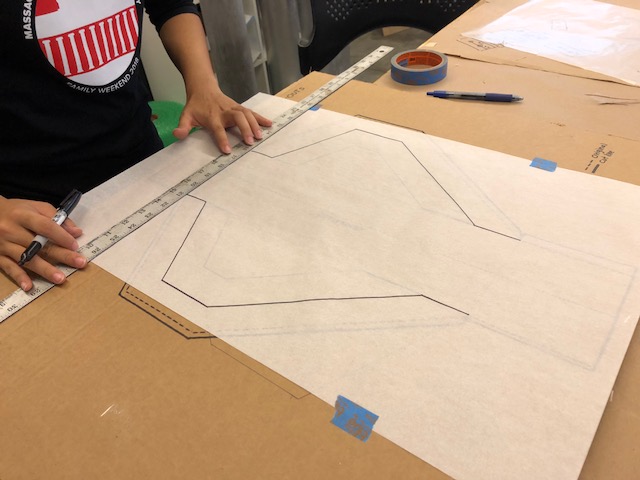
Because we used fiberglass for the test fin can, we made a cut-out template on cardboard instead of using the laser-cutter.
On a large piece of cardboard, make a cutout template by measuring the distance between the fins and the height of the fin collar (tube), and tracing the outline of a fin on either side. Add a tab on one side
We need to make 3 different cutout sizes so that when the plies are added (small → large), there is a slight slope/transition. Trace another outline on the same template with a 1.5” offset. Repeat again for a 3” offset.
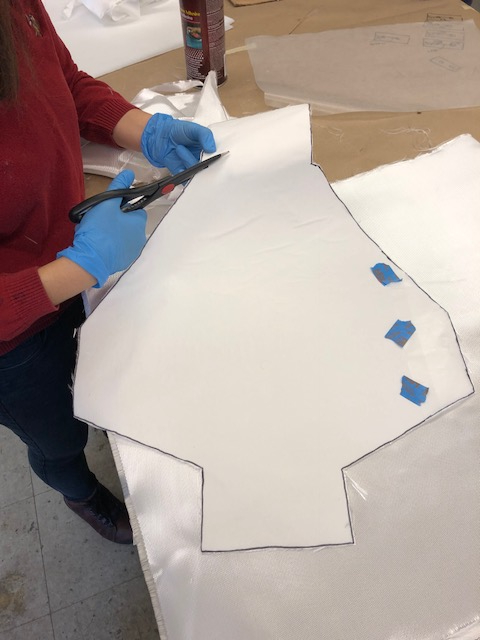
Using large sheets of parchment paper (wax paper works as well), place over the template and trace the large outline in Sharpie
Cut along the mark, making a parchment paper cutout.
Using spray glue, lightly spray the cutout. If you use too much glue (by spraying too closely), the fiberglass will be more difficult to remove from the cutout, and the fibers will deform/edges will fray.
Placed cut-out face-down on fiberglass and cut it out carefully. Made 4 cut-outs per size (one for each tip-to-tip, so 4 cut-outs x 3 sizes x 2 sides of the fin = 24, divided by 4 fins = 6 plies per fin) but in the future we want 12 plies per fin
Removed the fiberglass from the cutout then marked the centerline
Repeat for the other two sizes (medium and small)
Mark centerline on tube
Record the mass of one of each size
Layup
Talk about starting with small cutouts and go to big
Lay Mylar over the table
Record the mass of an empty mixing boat and tare the scale
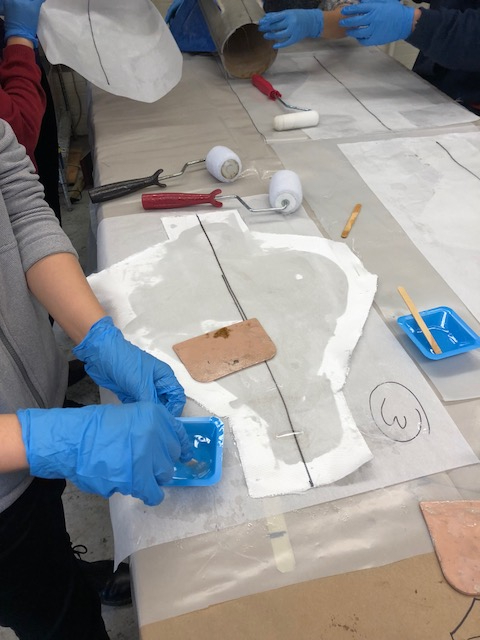
Wearing gloves, mix 1 pump slow hardener + 1 pump resin in a mixing boat. Record the mass of the epoxy (scale should be tared, so boat mass neglected)
Pour epoxy along the small cut-out and smooth using a Squeegee until the fiberglass is just permeated. Don’t add too much! Note the size of the cut-out (small) and how many boats of epoxy were required, and record for later calculating of wetness ratio
Use a paint roller to remove excess epoxy
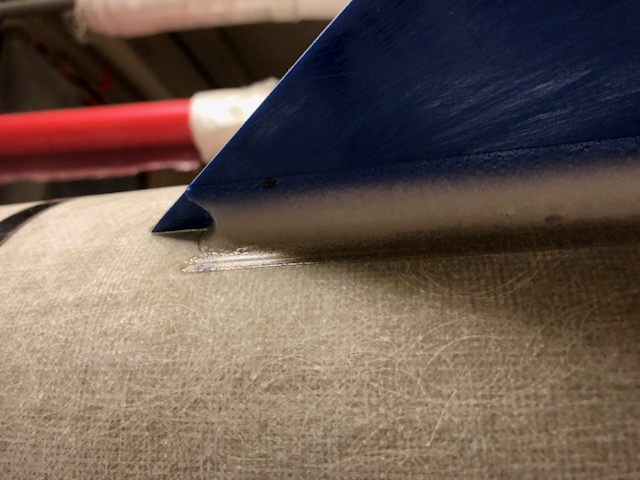
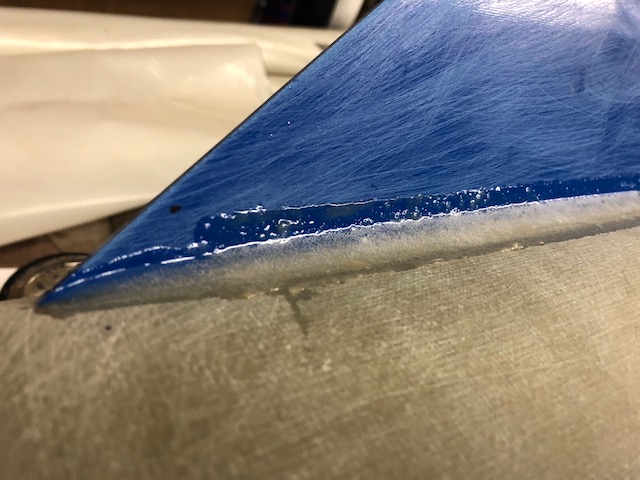
Position the fin can horizontally
Gently remove the fiberglass from the parchment/wax paper, and apply to the fin can, starting by aligning the centerlines and smoothing out toward the tip on either side. Make sure there are no bubbles, or that the fiberglass isn’t pulled away from the fillet
Rotate the fin can carefully and add the next ply
Once all the small plies are added, repeat steps 4-8 (except for the measurement step, which only needs to be done once for the first small ply)

Vacuum Bagging Preparation
Set up layup jig
Cut out peel ply, bleeder fabric, release film, and vacuum bagging
Make inner cylinder out of vacuum bagging
Slide cylinder on jig, slide fin can over
Add peel ply
Add release film
Add bleeder fabric
Attach vacuum bagging to vacuum tape (4 pieces)
Add vacuum bag
Vacuum
Insert tube
Turn on vacuum, monitor
Leave overnight