Based of off Getting Started with VMware Fusion.
These directions cover the installation and initial setup of Windows XP 32-bit and Windows Vista 32-bit. Users that require other operating systems, including Windows XP 64-bit and Windows Vista 64-bit should see XXXXXX. Depending on the machine, this process can take up to 45 minutes ( XXX Not including download time ). To successfully complete the setup, it is important that you allow the final step to complete uninterrupted. Laptop users are encouraged to plug their machine in to avoid running out of power. NOTE: Students installing Windows XP as a guest operating system cannot use the "Easy install" method as described after step 8 below. Please see step 1 and 2 at the end of this document to install using the downloaded ISO.
- Download either the "XP SP2 CD image 32-bit (ISO format)" or "Vista DVD image 32-bit (ISO format)" installation image from the IS&T's Microsoft Campus Agreement download site.
- Launch VMware Fusion, found in /Applications
Result: The Virtual Machine Library window is displayed:

- Click New...
Result: The New Virtual Machine Assistant is launched:

- Click Continue
Result: You are are prompted to choose and operating system:

- Make sure that "Microsoft Windows" is selected for the Operating System. For Version, select "Windows XP Professional" if you are installing Windows XP 32-bit or select "Windows Vista" if you are installing Windows Vista 32-bit. Click Continue
Result: The Name and Location panel is displayed:

- Enter a name for the virtual machine in the Save As field. By default, the virtual machine is saved in your home directory in the Documents/Virtual Machines folder. To choose a different location, select Other from the Where field.
Result: The Virtual Hard Disk panel is displayed:
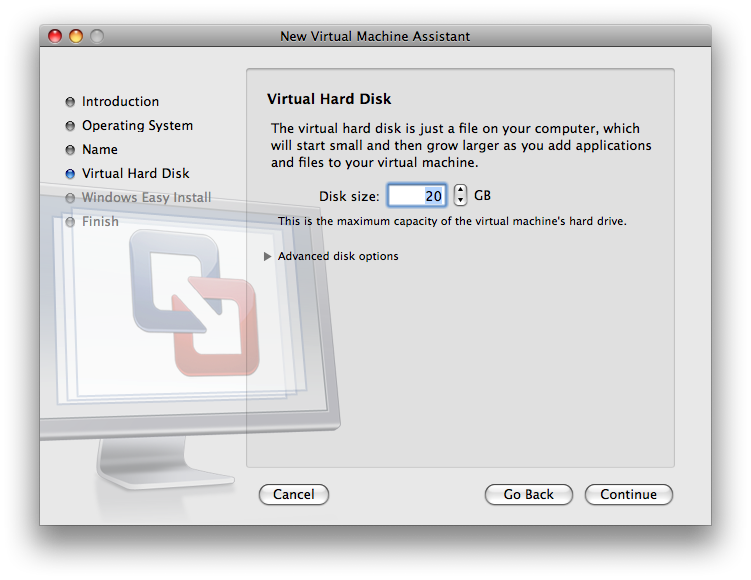
- Click the triangle next to Advanced disk options
Result: The Advanced disk options are displayed

- Check Split disk into 2GB files. This will create a virtual machine using smaller files that are compatible with more disk formats, including FAT32 and UFS. Click Continue
Result: The Windows Easy Install panel is displayed: (Students cannot install via the Easy install option; follow the ISO installation below w/out entering a product key)

- Enter your Name, a Password and the Windows Product Key. "The entry in the Name field is displayed in information boxes as the name your Windows software is registered to. It is not the Windows user name. The entry in the Password field is the password for the windows administrator account only." [Getting Started with VMware Fusion] If you download the Windows XP installation ISO from the IS&T's Microsoft Campus Agreement download site, the Windows Product Key was e-mailed to you if you are faculty or staff. Windows Vista does not require a product key. Click Continue.
Note: When installing Windows Vista, you will be warned about not entering a product key. Click Continue Without Key
Result: The Finish panel is displayed:

- Choose Use operating system installation disc image file and select the ISO file you downloaded in step 1 in the pull down menu. (xp-sp2.iso for Windows XP32-bit and vista-enterprise-dvd.iso for Windows Vista 32-bit.) Click Finish
Result: "VMware Fusion installs Windows. This can take up to 45 minutes. After installing Windows, VMware Fusion installs VMware Tools, and powers on the virtual machine." [Getting Started with VMware Fusion]
Post Installation Setup
- Install virus software
- Install OS updates
- Configure automatic updates
- Set correct time zone
- Enable "Time synchronization between the virtual machine and the host operating system" via the VMware Tools installed on the virtual machine.