This document describes how to install VMware Tools into a Windows XP VM without installing Workstation on the host machine. You will need the windows.iso file for the VMware Tools version you wish to install. If you have it already, copy it to where the VM files for your machine are located and proceed to step 4. below. Otherwise, you can extract it from the VMware Workstation archive as detailed below:
- cd to the directory where your VM is located. This directory should contain your VM's configuration file, for example MyVM.vmx.
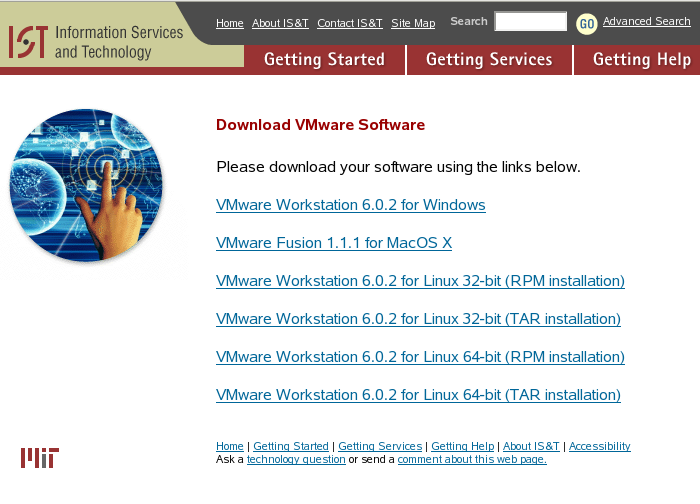
- Download the latest Linux VMware Workstation tar.gz archive for your platform from IS&T's VMware Distribution Site:
- Extract the windows.iso from the archive, for example:
$ tar xzfp VMware-workstation-6.0.2-59824.i386.tar.gz "*/windows.iso" - Save your VM's configuration file (assume it's called MyVM.vmx) with a different name like orig.MyVM.vmx so you can restore it later. Edit MyVM.vmx so that it contains lines as follows:
ide1:0.present = "TRUE"ide1:0.fileName = "cd0.iso"ide1:0.deviceType = "cdrom-image" - In the same location, make the following symbolic link:
$ ln -s ./vmware-distrib/lib/isoimages/windows.iso cd0.iso - Start your VM, which will launch Windows, and inside the VM, select Start -> My Computer which should display a WMware Tools icon:
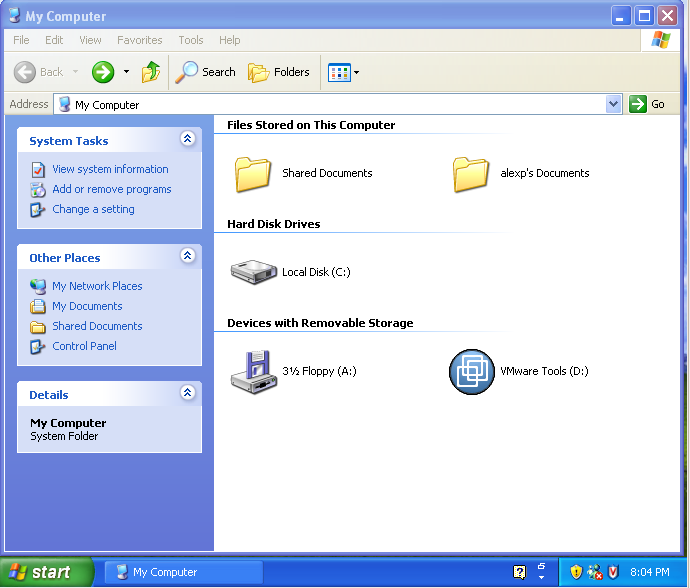
(The icon may remain the one for your DVD-CD drive, in which case you will need to open it and run the installer inside it manually). Double-click on the VMware Tools icon to start the installer:
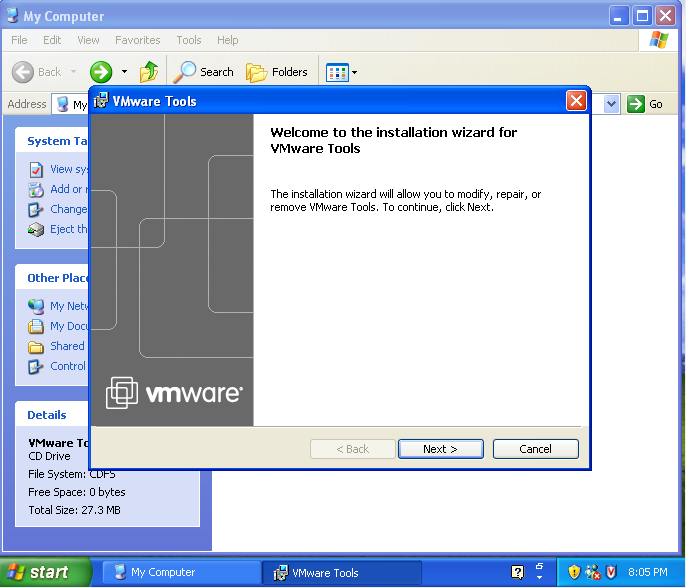
When the installer finishes, you should see a VMware Tools icon on the VM's system tray that you can click on to invoke the tools:

- Shut down your VM and replace the modified MyVM.vmx file with the orig.MyVM.vmx backup, and delete the cd0.iso symlink. If you don't need to save the extracted windows.iso file for other uses you can delete the directory vmware-distrib and its contents created in step 3.