Introductory MIT Drupal Cloud Website Training Documentation for
MIT Global Education &
Career Development
This guide will show you how to administer the custom features of the GECD MIT Drupal Cloud Website and to use the out-of-the box functionality that comes with the Drupal content management system in MIT Drupal Cloud software-as-service.
For more in-depth learning, the FAQ and Resources in MIT Drupal Cloud Help section will answer most basic questions about a Drupal Cloud site.
Add a new page and link it to the menu
Link an existing page to the menu
Content types used in the site
Channels: About, Careers, Jobs, Grad School, Go Abroad, Employer
Permissions for Channel Approvers:
Permissions for Channel Editors:
Features - The Top Image and Text Slider on the Homepage
Announcements - General news for the website
Announcement Manager Permissions:
Authoring information and assignment
Add, edit, reorder a feature on the home page
Edit existing feature to home page
Add a new sponsor to home page
Introductory Website Documentation for GECD Website in MIT Drupal Cloud
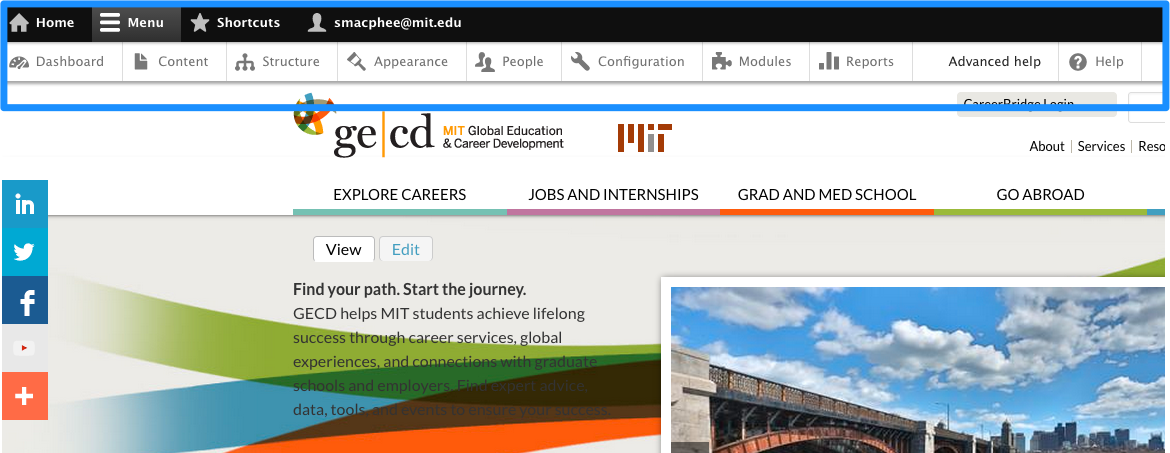
When you first visit your site you will see the public side of the site.
To log in using Touchstone click Login using Touchstone on your Drupal Cloud site home screen.
You are now viewing the administrative side of your site.
This section will show you how to edit text, add images, and links to websites and PDF documents.
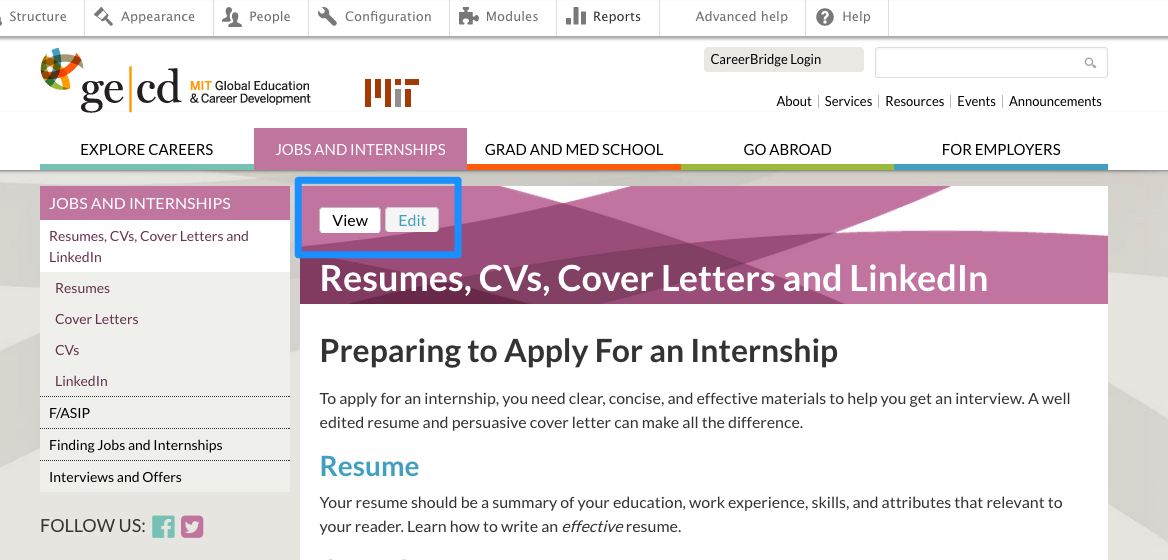
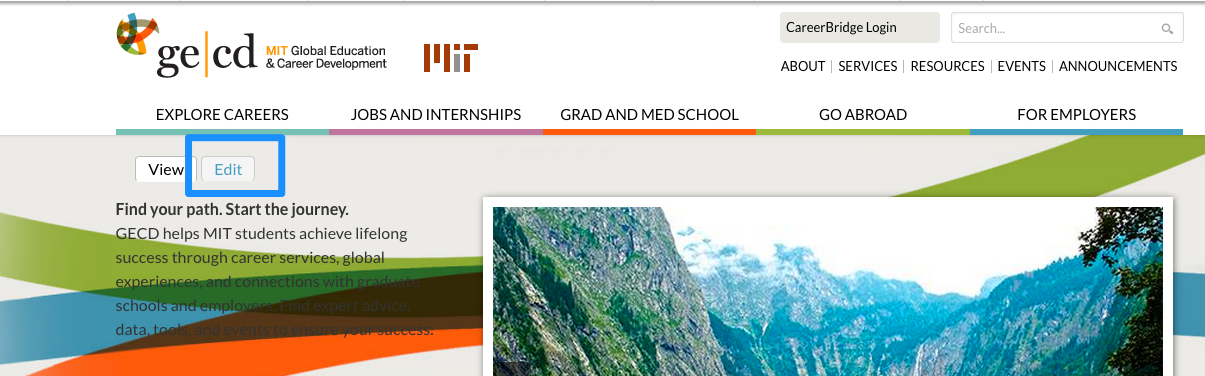
Once you are logged use the main and sub navigation to open the page you wish to edit.
When the page appears, click the Edit tab.
or
From the Admin toolbar, click Content. This overlay presents a list of all your pages.
Locate the page you wish to edit.
Click edit, to the far right of the page name.
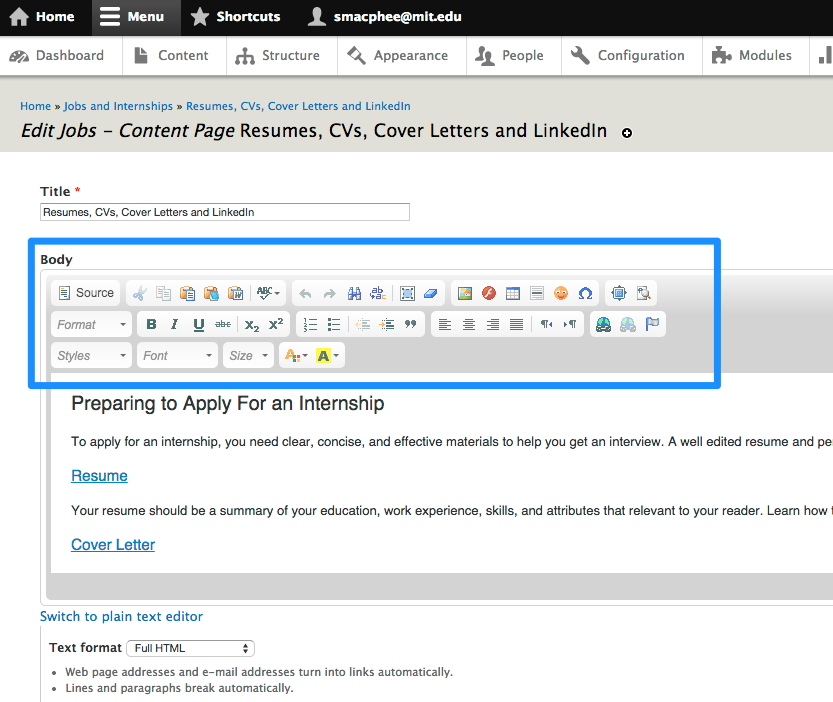
You are now in the page edit mode.
Enter text directly into the Body section.
Format using the the formatting toolbar just above the content.
Click Save at the bottom left and the X at the top right when you are finished editing.
When entering headings in your articles, rather than select font type and size, you use the 'Format
Select' drop down menu as shown below.
To set a heading style, select the line of text that you wish to make into a heading in the content
window, and then choose a style from the format drop down box. By default, all regular text will
be set as 'Normal'.
The buttons to the right of Format add additional styles such as Bold, Italics, bullets, etc.
GOOD TO KNOW
The WYSIWYG is a powerful tool but sometimes a little too powerful. To keep the formatting on the site consistent, skip the Styles, Font, Size and the other buttons to the left. They work against the predesigned elements on the site, create style inconsistency, and make unwanted HTML markup.
You can add images to your content area when you are editing a page. Be sure the Text format
option is set to Full HTML.
From the toolbar click the Image icon.
Enter a url to point to an image on the web, or
Click Browse Server to locate an image on your computer.
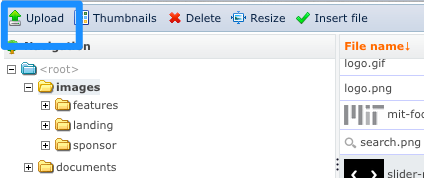
Click Upload at the top left of the Browse Server window.
Click Choose File.
Navigate to your image file’s location on your computer, and open it. The image name will appear in place of No file chosen.
Click a box to set the thumbnail size, then click Upload. The filename appears in the list of files.
Select your image filename and click Insert File. You may insert any image from the list into your document.
The image is displayed in the Image Properties window with some options.
You can add a border, horizontal space or vertical space around the image (measured in pixels). You can also choose the alignment of the image.
To be sure the actual image size is being used, delete any height or width values in the boxes.
To make the image a link, click the Link tab and add the target url.
Click OK.
In the Body area, select the text you want people to click on.
Click the Link icon.
Type or paste the target URL
Change the target if you wish by clicking the Target tab and selecting a new behavior (e.g., Open in new window which will actually open a new tab).
Click Save in the lower left. Be sure to test the link.
There are 3 different types of links you can add to a web page:
absolute links
relative links
email link
Absolute links will take you to a page on the same or another web site (such as: http://www.anothersite.com/xxx/xxx)
Relative links take you to a page on the same site and may be a location relative to the current page (such as: /jobs/find/prepare/resume).
Email links are links that go directly to someone’s email address, typically opening up an email
client for the user to send a message to that address (such as: mailto:you@yourdomain.com).
A PDF document may be uploaded to your Drupal Cloud file space. The process to link to a PDF
is similar to a adding website link.
In the Body content, select the text you want people to click on..
Click the Link icon.
Click the Browse Server button.
In the list on the left, click on documents.
If your PDF document is already uploaded, select it click Insert file on the top menu, then skip to step #9.
If you need to upload your PDF document, click Upload on the top left, then click Choose File to locate and Open your PDF document on your computer.
When the filename is listed in the box select a thumbnail size, then click Upload.
Select the filename from the list on the right then click Insert file from the top menu.
Change the target if you wish by clicking the Target tab and selecting a new behavior (e.g., Open in new window which will actually open a new tab).
Click Save in the lower left, then click the X in the upper right.
Be sure to test the link.
Within the page content editor, add Resource by adding Resources Title and Resources listings.
Make Basic Content Changes - MIT Drupal Cloud
http://drupalcloud.mit.edu/help/frequently-asked-questions/make-basic-content-changes.


Once you have logged-in, you're ready to start editing existing and posting new content. At the top of your personal menu, you should find link called ‘content’. Click this and you'll see a list of the types of content you can create. This list reflects the privileges assigned to your user account or to the group (‘role’) your account is part of.
Career - Content Page
Career Channel - Landing Page
Employer - Content Page
Employer - Landing Page
Features (Used For Homepage Slideshow)
Go Abroad - Content Page
Go Abroad - Landing Page
Grad School - Content Page
Grad School Channel - Landing Page
Jobs - Content Page
Jobs Channel - Landing Page
Sponsors
Webform
To edit the site users are provided a user account are are assigned a role on the web site. These roles provide permission to access various features in the site and are customizable to match the skill level and access of the person performing that role. There are several roles may have been created for this Drupal website. These include:
Anonymous User: this is the general public, and is not logged in on the site, and can only view pages that are accessible to anyone.
Authenticated User: has the same premissions as Anonymous, but will be a member of the site and see a simple administrative menu.
A content manager assigns roles to users to administer areas of the content on the site.
About Channel Approver
About Channel Editor
Career Channel Approver
Career Channel Editor
Jobs Channel Approver
Jobs Channel Editor
Grad School Channel Approver
Grad School Channel Editor
Go Abroad Channel Approver
Go Abroad Channel Editor
Employer Channel Approver
Employer Channel Editor
Content Pages:
Create new content, Edit any content, Delete any content
Landing Pages:
Create new content, Edit any content, Delete any content
Content Pages:
Create new content, Edit any content, Delete any content
Features Manager
Features Contributor
Create new content, Edit any content, Delete any content
Features Contributor Permissions:
Create new content, Edit own content, Delete own content
* To add a feature to the home page, a content manager needs to add feature content in
Home Page edit mode
Announcements Manager
Announcements Contributor
Create new content, Edit any content, Delete any content
Announcement Contributor Permissions:
Create new content, Edit own content, Delete own content
Blog
Blog Manager
Blog Contributor
Create new content, Edit any content, Delete any content
Blog Contributor Permissions:
Create new content, Edit own content, Delete own content
Content Manager
Content Manager
Content Manager Permissions:
This is the default administrative user the comes with Drupal Cloud. Content managers have all permissions on the site and the role that assigns other roles to all users.
To edit the text to the left of the slide show:
Go to home page and click Edit to access the Home Page Editor
Edit the text in the Introduction section and click Save.
From the admin toolbar, click Content.
Click the + Add content link at the top of the Content overlay screen.
Choose Features
Add Title, Featured Image, Caption, and URL
Click Save at the bottom left
Next, to add the newly created Feature to the home page, go to home page and click Edit to access the Home Page Editor
Add the new Feature to the Home page editor in the in the Featured Slides section. The field will automatically select the Features title as you begin typing.
To change the order of the Featured slides, locate the field you want to re-order, and drag the four-headed arrow icon up or down.
Click Save.
From the admin toolbar, click Content.
Click the + Add content link at the top of the Content overlay screen.
Choose Sponsors
Add Title, Sponsor Logo, and URL of the sponsor organization
Click Save at the bottom left and the logo will be randomly displayed on the homepage.
Click “Provide a Menu Link” so left sub navigation is visible.
to be updated