Create and Store Thalia's Training Videos:
Download/Uploading files to the SVN
- a. Get access to the SVN:
- i. Find someone who can add you to the Moria group "zest-cvs". Mike Gettes can do this.
b. Install SVN client:
-
- i. MacOS: SynchroSVN (not free)
- ii. Win: Tortoise (free)
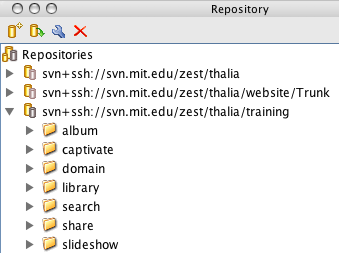
c. Download the following SVN folders to your desktop:
-
- i. Training (svn+ssh://svn.mit.edu/zest/thalia/training/)
- ii. Quickstarts (svn+ssh://svn.mit.edu/zest/thalia/website/Trunk/quickstarts)

- 2. Save the video:
- a. Create the project in Captivate.
- b. Save the final project (.cp) file to the "Training" folder
- c. Publish the video to the "Quickstart" folder, overwriting whatever previous version was there. (The SVN saves every version; don't worry about overwriting and killing the previous version.)
- d. Proof the video
- e. After proofing, immediately delete any project/published files that are not in your SVN folders. (If you need to work on them again, copy them from your SVN folders.)
- 3. Upload to the SVN:
- a. Upload your "Training" folder (the SVN will upload only changed files).
- b. Upload your "Quickstart" folder (the SVN will upload only changed files).
- c. Report to your project manager that the newest .cp project file and published video have been uploaded to the SVN.
- d. Ask your project manager when you may expect to see the video put up on the staging platform.
- 4. Check #1:
- a. After the video has been uploaded to the staging platform, proof it again.
- a. After the video has been uploaded to the staging platform, proof it again.
- 5. Check #2:
- a. Ask your project manager to proof the video on staging.
- b. If the video is correct, it is ready for release to production.
Create Thalia Videos
Thalia's QuickStart videos are created in Adobe Captivate 3.
- 1. Download and install Captivate:
- a. Download it from: svn+ssh://svn.mit.edu/zest/thalia/training/captivate.
- b. Install on Windows.
- 2. Global settings for Thalia's videos:
- a. Custom size - 900 x 593
- b. Check "Full Motion Recording".
- c. Uncheck "Record Narration".
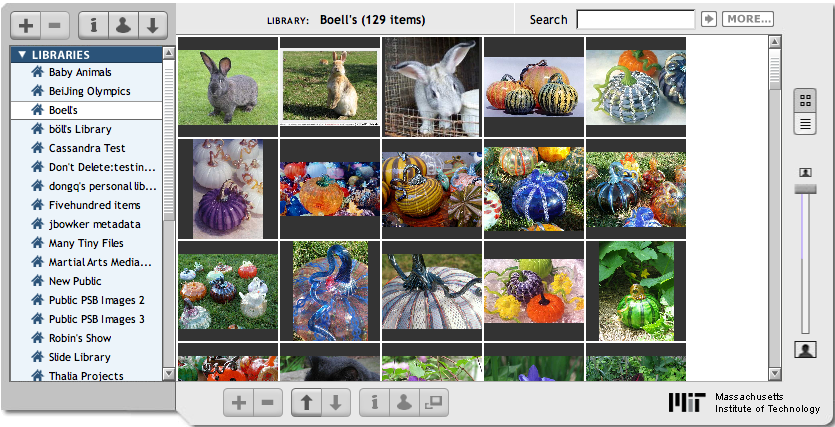
- d. Center red outline around Thalia's UI. (Most recording will not require the UI header.)
- e. Runtime should be 2:30 - 3:30.
- f. Naming convention - area#.cp (library1.cp, library2.cp, library3.cp).
- g. Audio - recorded into captions; do not make one long audio track.
- 3. Settings for Captions:
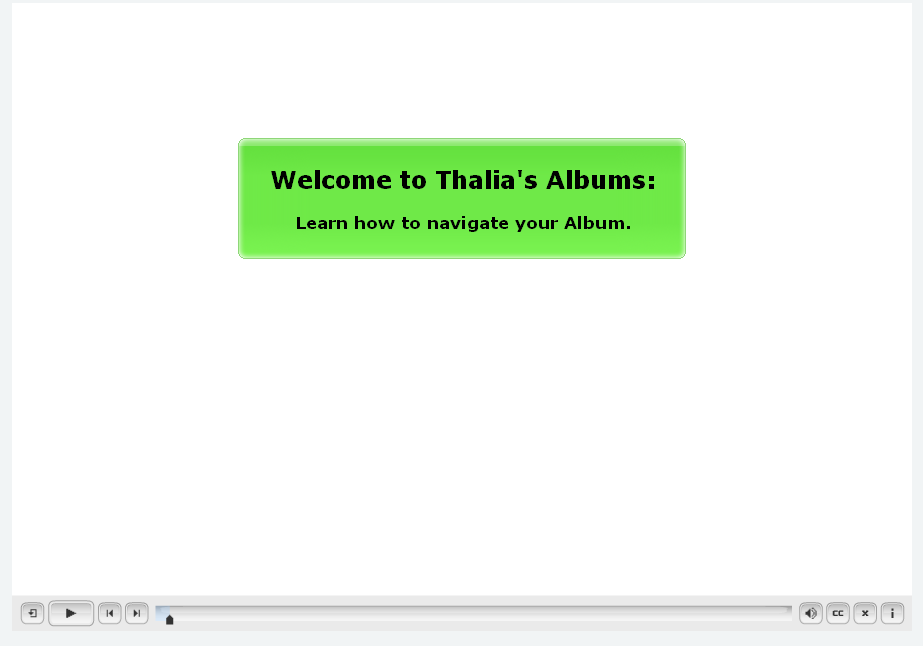
- a. Title caption -
- i. 530 x 125 pixels
- ii. Runs for 5 seconds in a blank space.
- iii. Centered in the video window.
- iv. Style:
- 1. Title - 15pt, bold, Verdana
- 2. Subtitle - 11pt, bold, Verdana
- 3. Color - same as others in its group (never grey).
- a. Title caption -
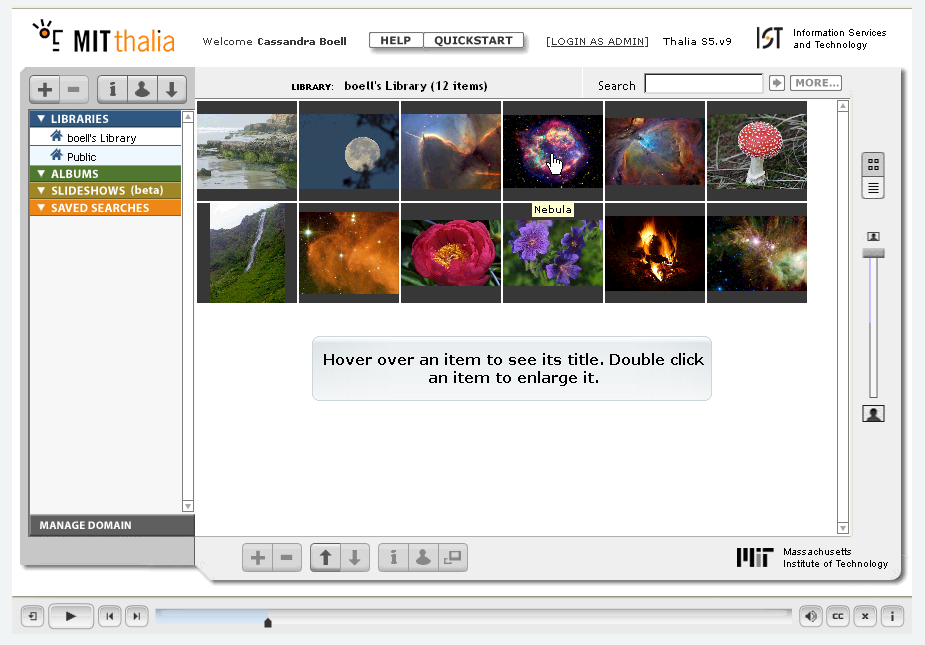
- b. Slide captions -
- i. 350 x 65 pixels.
- ii. Always centered in Thalia's "browser" area, and usually near the bottom.
- iii. Style -
- 1. Caption - 11pt, Verdana, bold.
- 2. No more than two lines per caption.
- 3. Color - halo
- 4. Very short captions might be better in shorter boxes.

- c. Audio -
- i. Record audio into each caption; do not record one long audio clip (this makes edits impossible).
- ii. Record without extraneous noise, keyboard, or in a "loud" room.
- iii. Pay attention to pronunciation, and try not to sound bored. A lot of people will be listening to your voice.
- d. Publishing the video -
- i. Naming (follow current Thalia QuickStart naming conventions):*** 1. Lower case plus video number - (library1, library2, library3 and so forth).
- ii. Skin - "Glass"
- iii. Publish it to any folder. Do not save to your SVN folder yet.
- e. Saving to the SVN -
- i. Copy the project file (xxx.cp) to the appropriate sub-folder in the "Training" folder.
- ii. Copy the published video folder to the "Quickstart" folder.
- iii. Commit these changes to the SVN.