Using Moves - Procedures
This document outlines recommended procedures for using the Moves build and release management tool.
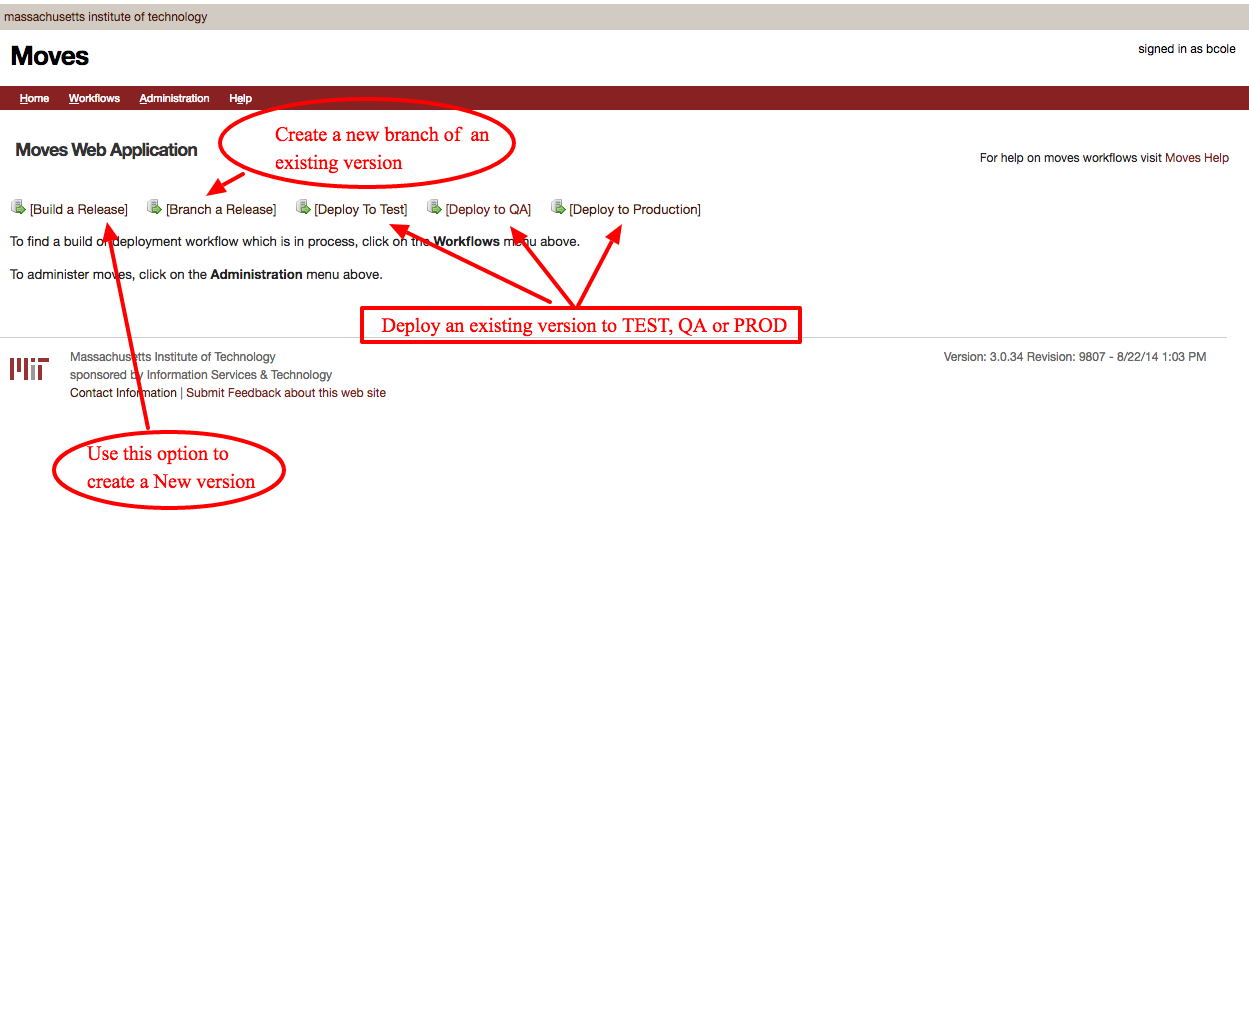
The Moves Home page has five main functions:
- Build a Release - Starts a new workflow that builds a new version from either the Trunk of Branch
- Branch a Release - Starts a new workflow that branches an exiting version
- Deploy to Test - Starts a new workflow that deploys an exiting version to the TEST tier (used to redeploy only)
- Deploy to QA - Starts a new workflow that deploys an existing version to the QA tier. (used to redeploy only)
- Deploy to Production - Starts a new workflow that deploys an existing version to the PROD tier. (used to redeploy only)
NOTES: Normally, deployments to Test and Production are steps that continue an existing workflow that was initiated by a "Build a Release". So the "Deploy to Test" and "Deploy to Production" links on the Workflows page should not usually be used, as they start their own new workflows. The situations where these top-level links should be used are limited to re-running failed deployments.
Workflows that have reached the "deployed to test" stage and are not going to be taken any further should be TERMINATED so that the list of active workflows remains manageable. The time at which it becomes known that such a workflow should be terminated is typically when a new release is to be built. So part of the process for building a new release should be to terminate any previous active workflows for the app.
Build and Deploy from Trunk:
- Build
- On the Home page
- Select "Build a Release"
- On the Build a Release page
- Select the "Trunk Build" radio button
- Click on the "Artifact Id" or "Group Id" of the desired application
- On the Dependency Page
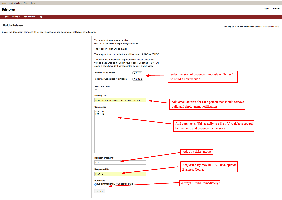
- Select dependancies and fill in build details then click "Next"
- Build will now start. Notification of successful build or error will be sent to notification list when build completes
- On the Home page
- Deploy to Test
- SIT/UAT takes place - issues raised, fixes made.
- Terminate previous workflow
- Repeat 1-3 until SIT/UAT passes
- Deploy to Prod
Branch and Build and Deploy
- Branch an existing version
- On Home Page select "Branch a Release"
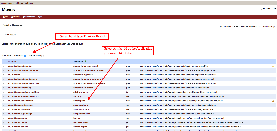
- On listing page use "Filter Results" to narrow results to desired application
- Click on Artifact Id
- Select Version to branch and click "Next"
- On the dependancies page
- Select each dependancies that should be branched
- Add email addresses to mailing list, comments, JIRA ticket and Requested By. See 1.c from Build and Deploy from Trunk
- On the Home page
- Select "Build a Release"
- On the Build a Release page
- Select the "Branch Build" radio button
- Select branch to build from list
- Remaining steps are identical to Trunk Build and Deploy


Typical Process for QA deployment
This requires a release to have been built
- On the home page
- Select "Deploy to QA"
- On the Request Deployment to QA page
- select Trunk Release or Branch Release as required
- click Artifact id to deploy
- Add email addresses to mailing list, comments, JIRA ticket and Requested By
Typical Process for re-deploying to Test
This should only be necessary if a deployment to test failed.
- Terminate failed test deployment
- Select "Deploy to Test" from top-level Workflows link
Typical Process for re-deploying to Production
This should only be necessary if a deployment to prod failed.
- Terminate failed prod deployment
- Select "Deploy to Prod" from top-level Workflows link