The sections below should cover the most-commonly encountered hard drives and storage devices. We have adapters for some other types of drives not listed below, contact the digital archivist if what you need does not appear on this list.
Before connecting a hard drive, make sure it is jumpered as a primary or “master” device if the jumper pins are accessible to you. You can often find the different configurations on a diagram on the top of the hard drive or through searching online by the type and brand of hard drive.
Note
In DDC, we do not use the racist "master/slave" terminology mentioned above. However, you will find that language in the manufacturer's documentation. In the department, we use the terms "primary/secondary" instead.
USB hard drives and devices
USB hard drives are generally connected with a USB variant (USB A, B, C, micro, or mini) on one end and connect to a write blocker via the standard USB connector (USB-A). These write blocker connectors will work for other USB devices as well.
Option 1: FRED UltraBay 3d write blocker
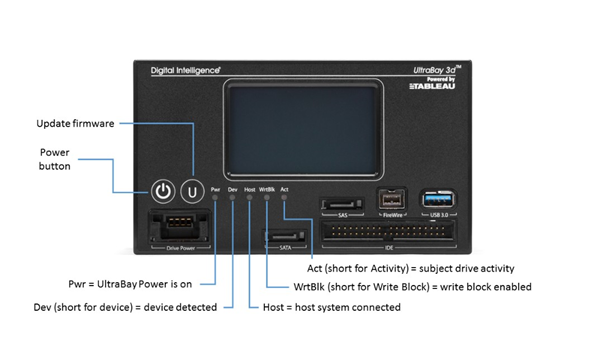
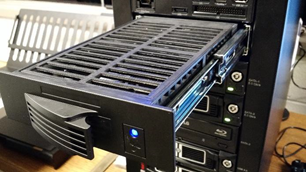
The FRED UltraBay 3d (pictured below) is your first choice for USB hard drives as it has the fastest USB connection (USB 3.0) of any of write-blockers. Only one device may be connected to the UltraBay at a given time.
- Extend the imaging shelf (immediately beneath the UltraBay) and rest the media storage device or drive on it.
- Plug the USB connecting cable into the hard drive or device and the other end into the UltraBay 3d USB slot.
- If the hard drive has a separate power cord, plug one end into the hard drive and other into a wall outlet. If there is a separate power button on the hard drive itself, turn it on.
- Press the power button (hold for 3 seconds) and allow time for UltraBay to start and the device to be recognized.
- If functioning correctly and the device is recognized, the first four LED lights should light up (green). The fifth light will light up (red) when you are accessing or imaging the drive.
- Proceed to the imaging and transfer section.
- Once finished, press the power button(s) to turn off and if it is a hard drive, allow it to spin down for 10 seconds before removing it.
Option 2: Tableau write-blocker
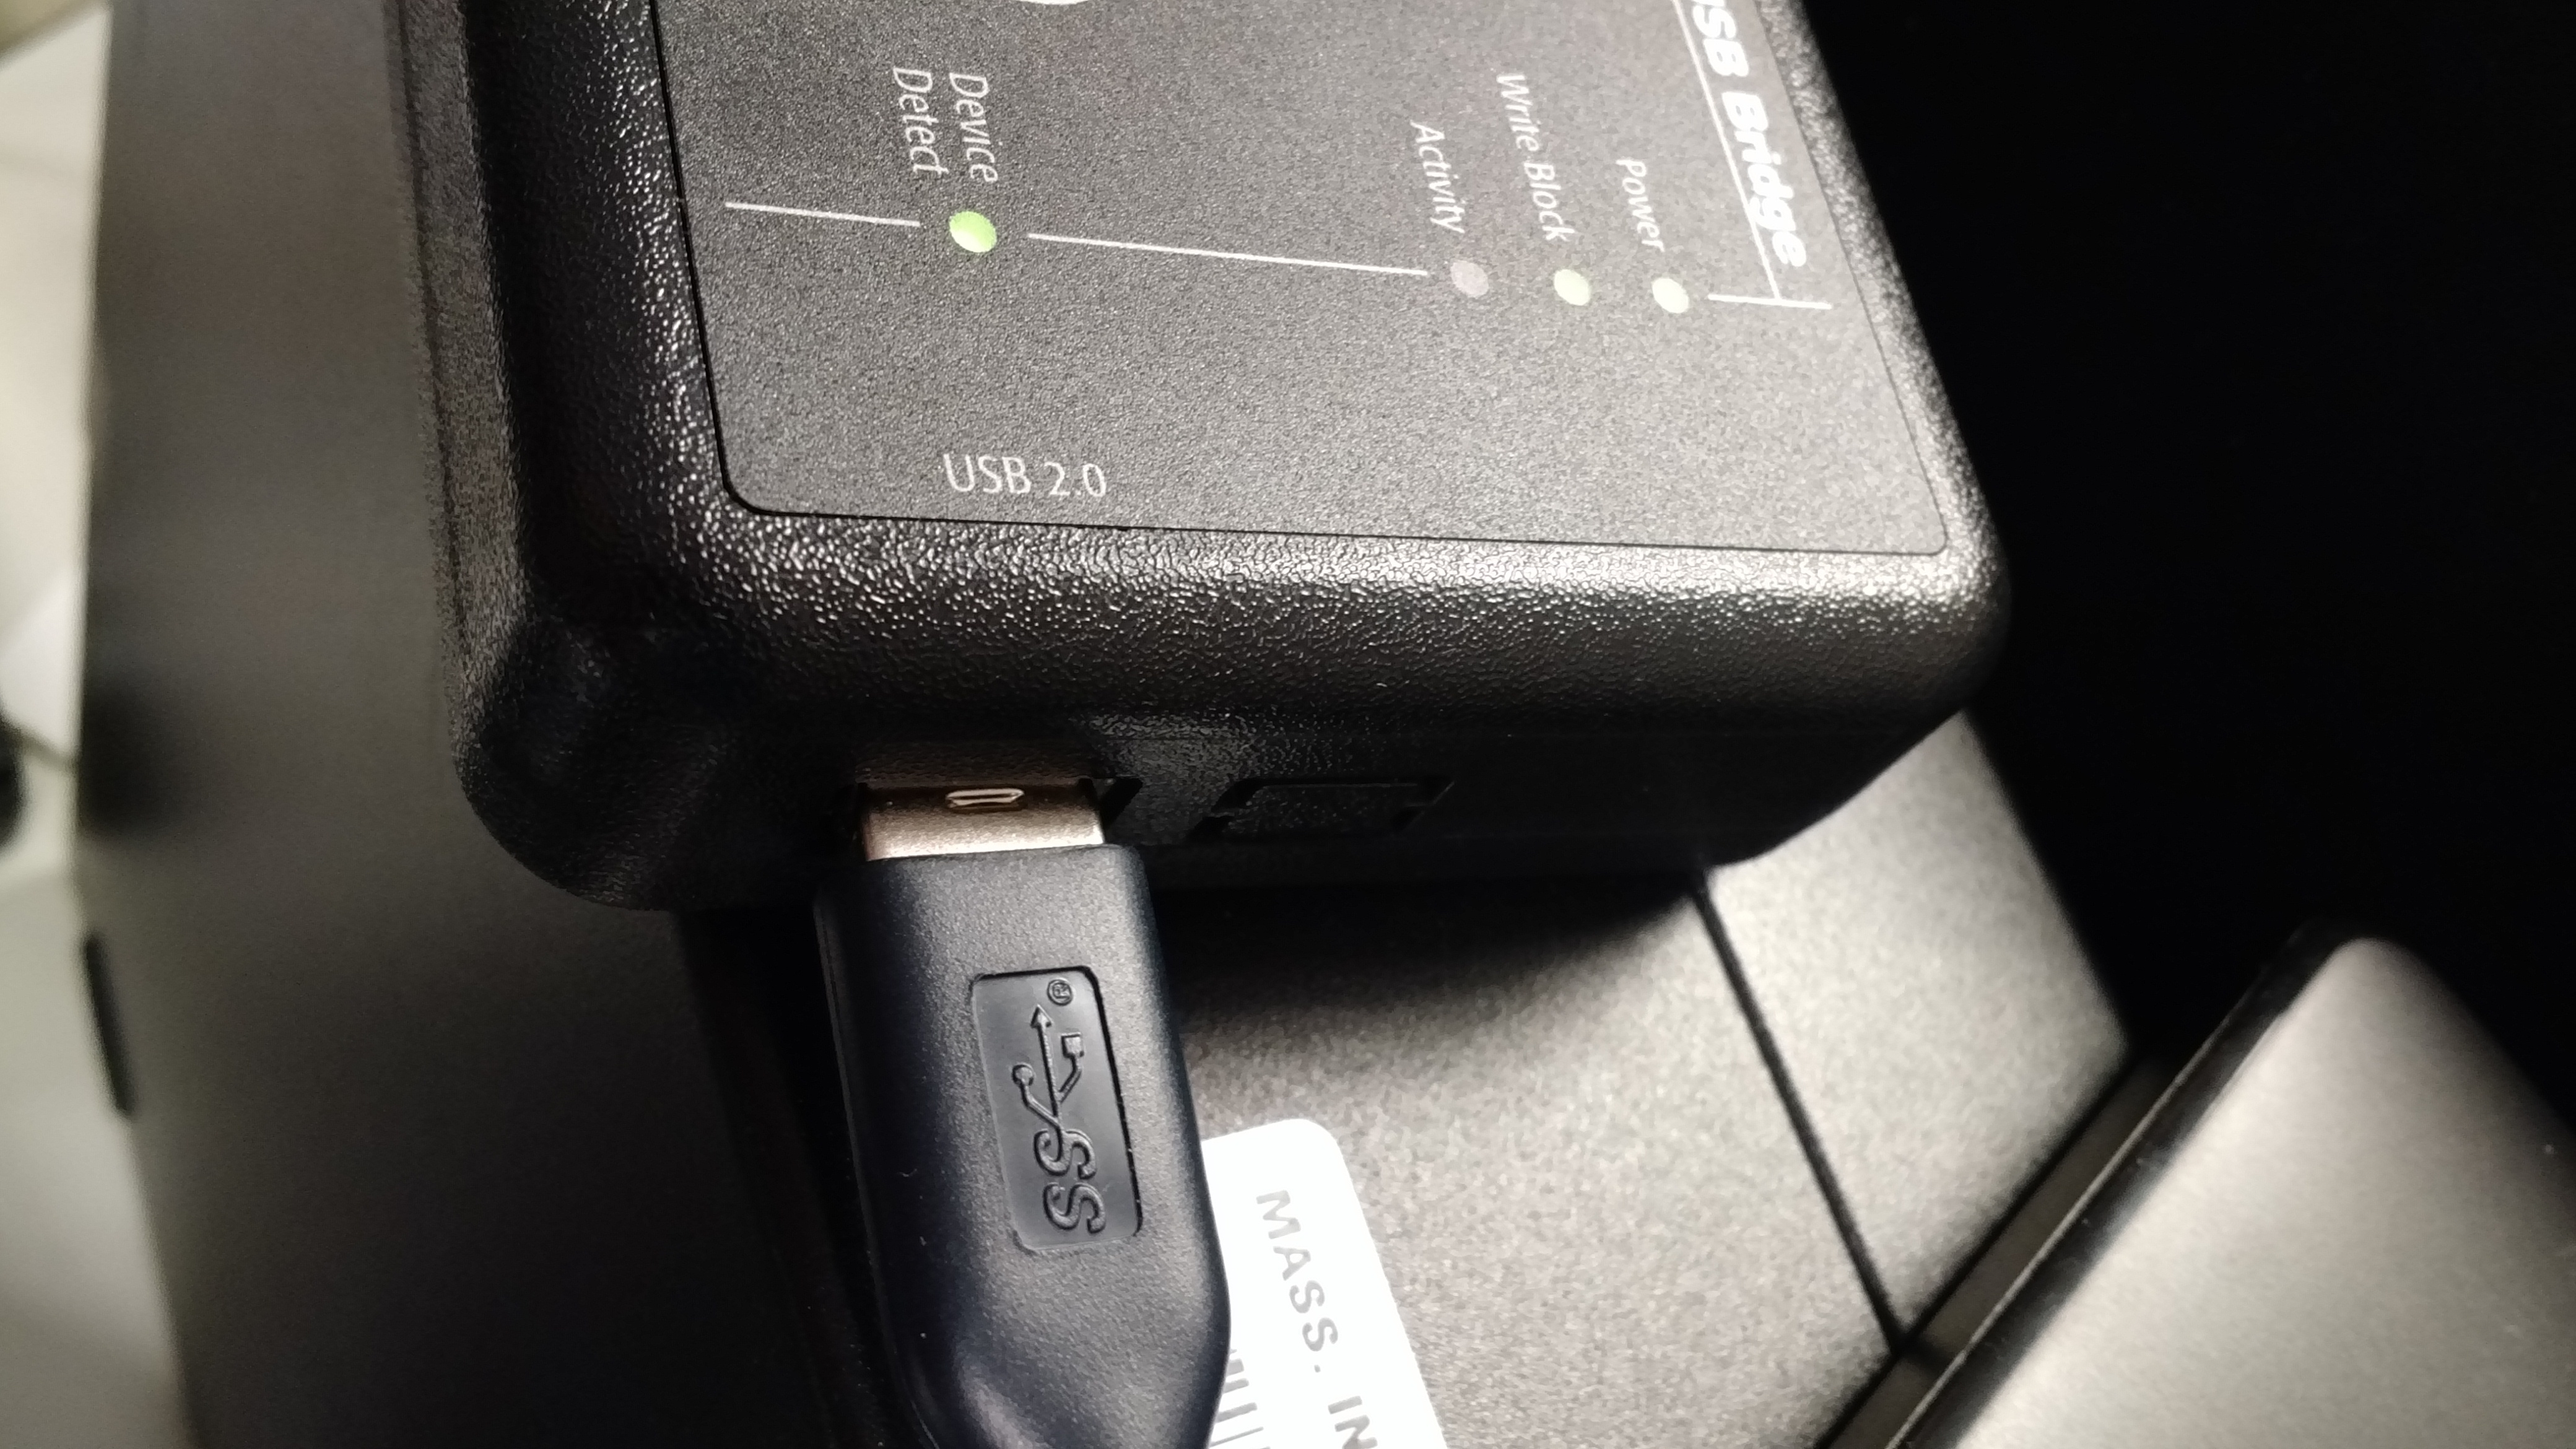
The Tableau write blocker is your second choice because it uses a slower USB interface (USB 2.0, compared to the USB 3.0 write blocker on the FRED).
Find the Tableau write-blocker in its storage bag.
Connect the power connector (5 pin din connector) to the write blocker (DC IN slot) making sure you orient it correctly (the flat part should be facing up). Plug the other end into the wall outlet.
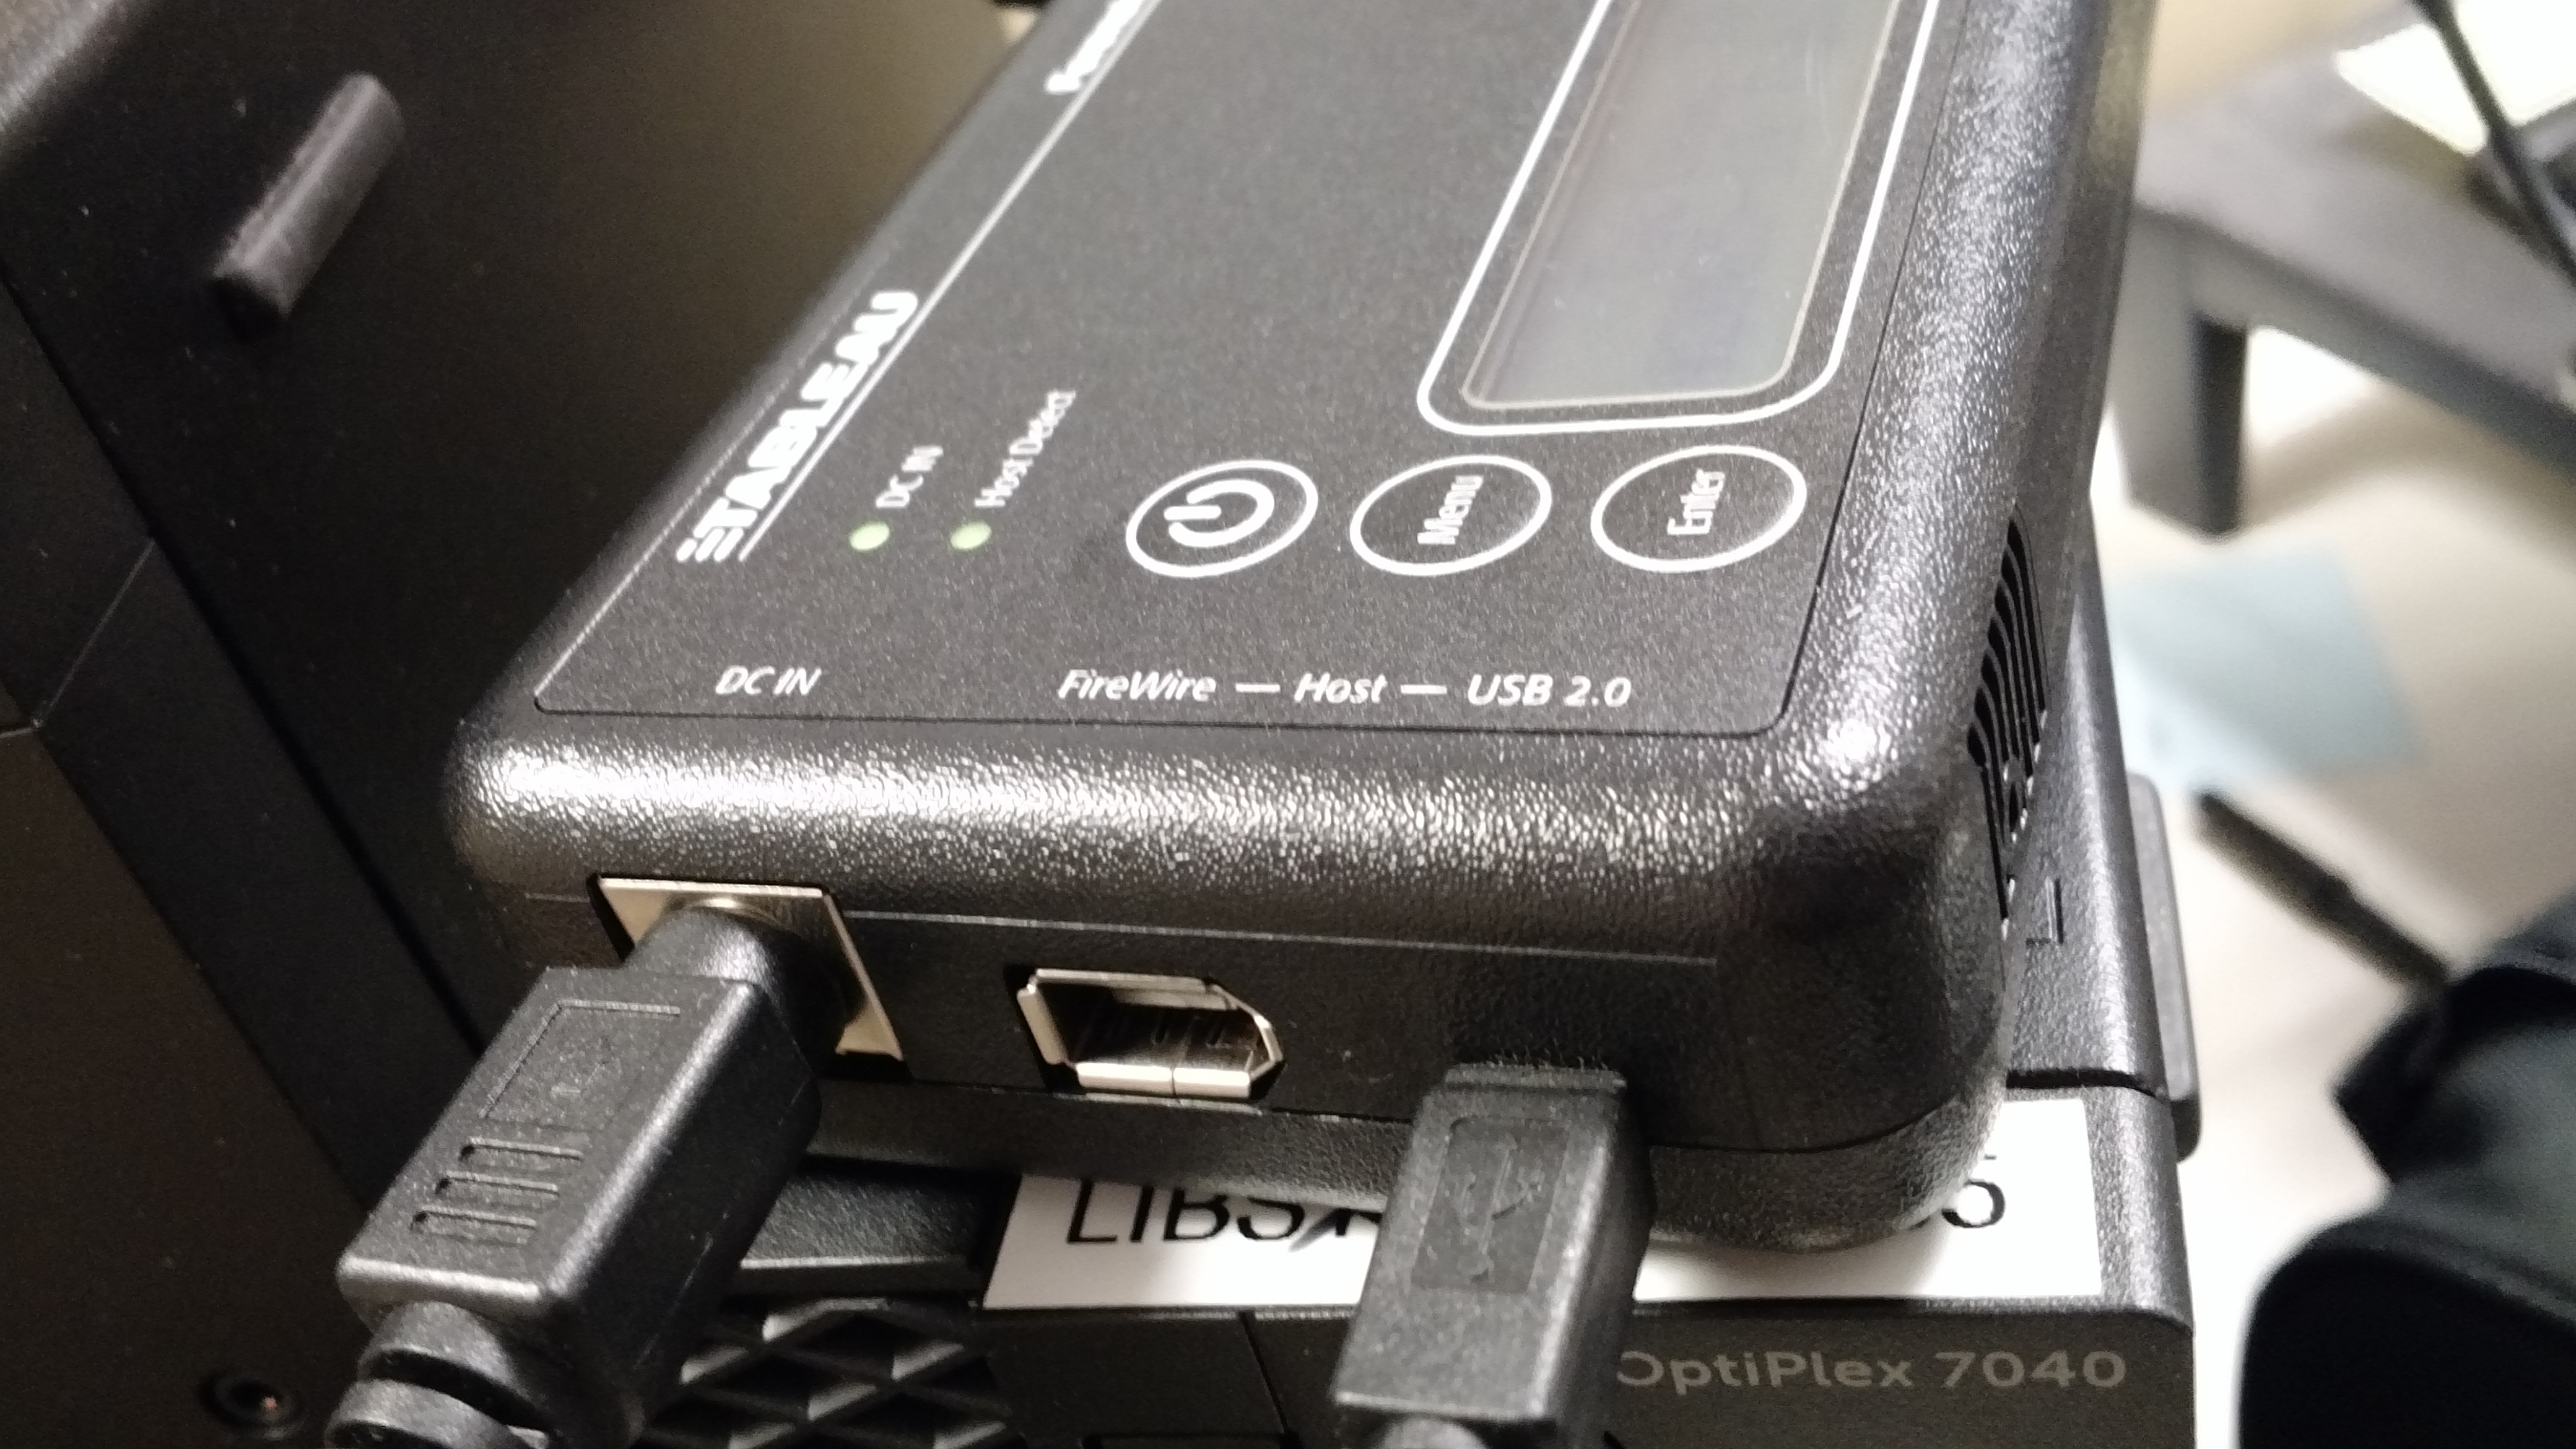
Connect the mini-USB into the write blocker and the standard USB (USB type A) into the processing computer.
Plug in the USB cable from the hard drive into the USB port on the write blocker.
Press the power button on the write blocker (the circle with the line through the center).
The drive should now be recognized on the processing computer.
Proceed to the imaging and transfer section.
IDE hard drives
IDE hard drives are generally older and connect via an IDE connection.
Option 1: FRED UltraBay 3d write blocker
The FRED UltraBay 3d (pictured below) is your first choice for IDE hard drives it is on the more powerful computer. Only one device may be connected to the UltraBay at a given time.
- Extend the imaging shelf (immediately beneath the UltraBay) and rest the media storage device or drive on it.
- Put one end of the 40-pin IDE cable into the write blocker. The pink pin 1 line on the cable will be on the left. There is also a notch on the bottom of the cable plastic connector which will guide you to putting it in the correct way. One of our IDE cables has different color ends. This makes it easier: connect the blue end of the data cable to the Ultrabay port and the black end to the hard drive
- Put the other end of cord with the flap on it into the hard drive. There is also a notch on the bottom of the cable which will guide you to putting it in the correct way.
- IDE drives have a separate power cable, plug the 4-pin molex connector into the hard drive. Plug the other end into the “Drive Power” outlet on the UltraBay
- Press the power button (hold for 3 seconds) and allow time for UltraBay to start and the device to be recognized.
- If functioning correctly and the device is recognized, the first four LED lights should light up (green). The fifth light will light up (red) when you are accessing or imaging the drive.
- Proceed to the imaging and transfer section.
- Once finished, press the power button to turn off and, if it is a hard drive, allow it to spin down for 10 seconds before removing it.
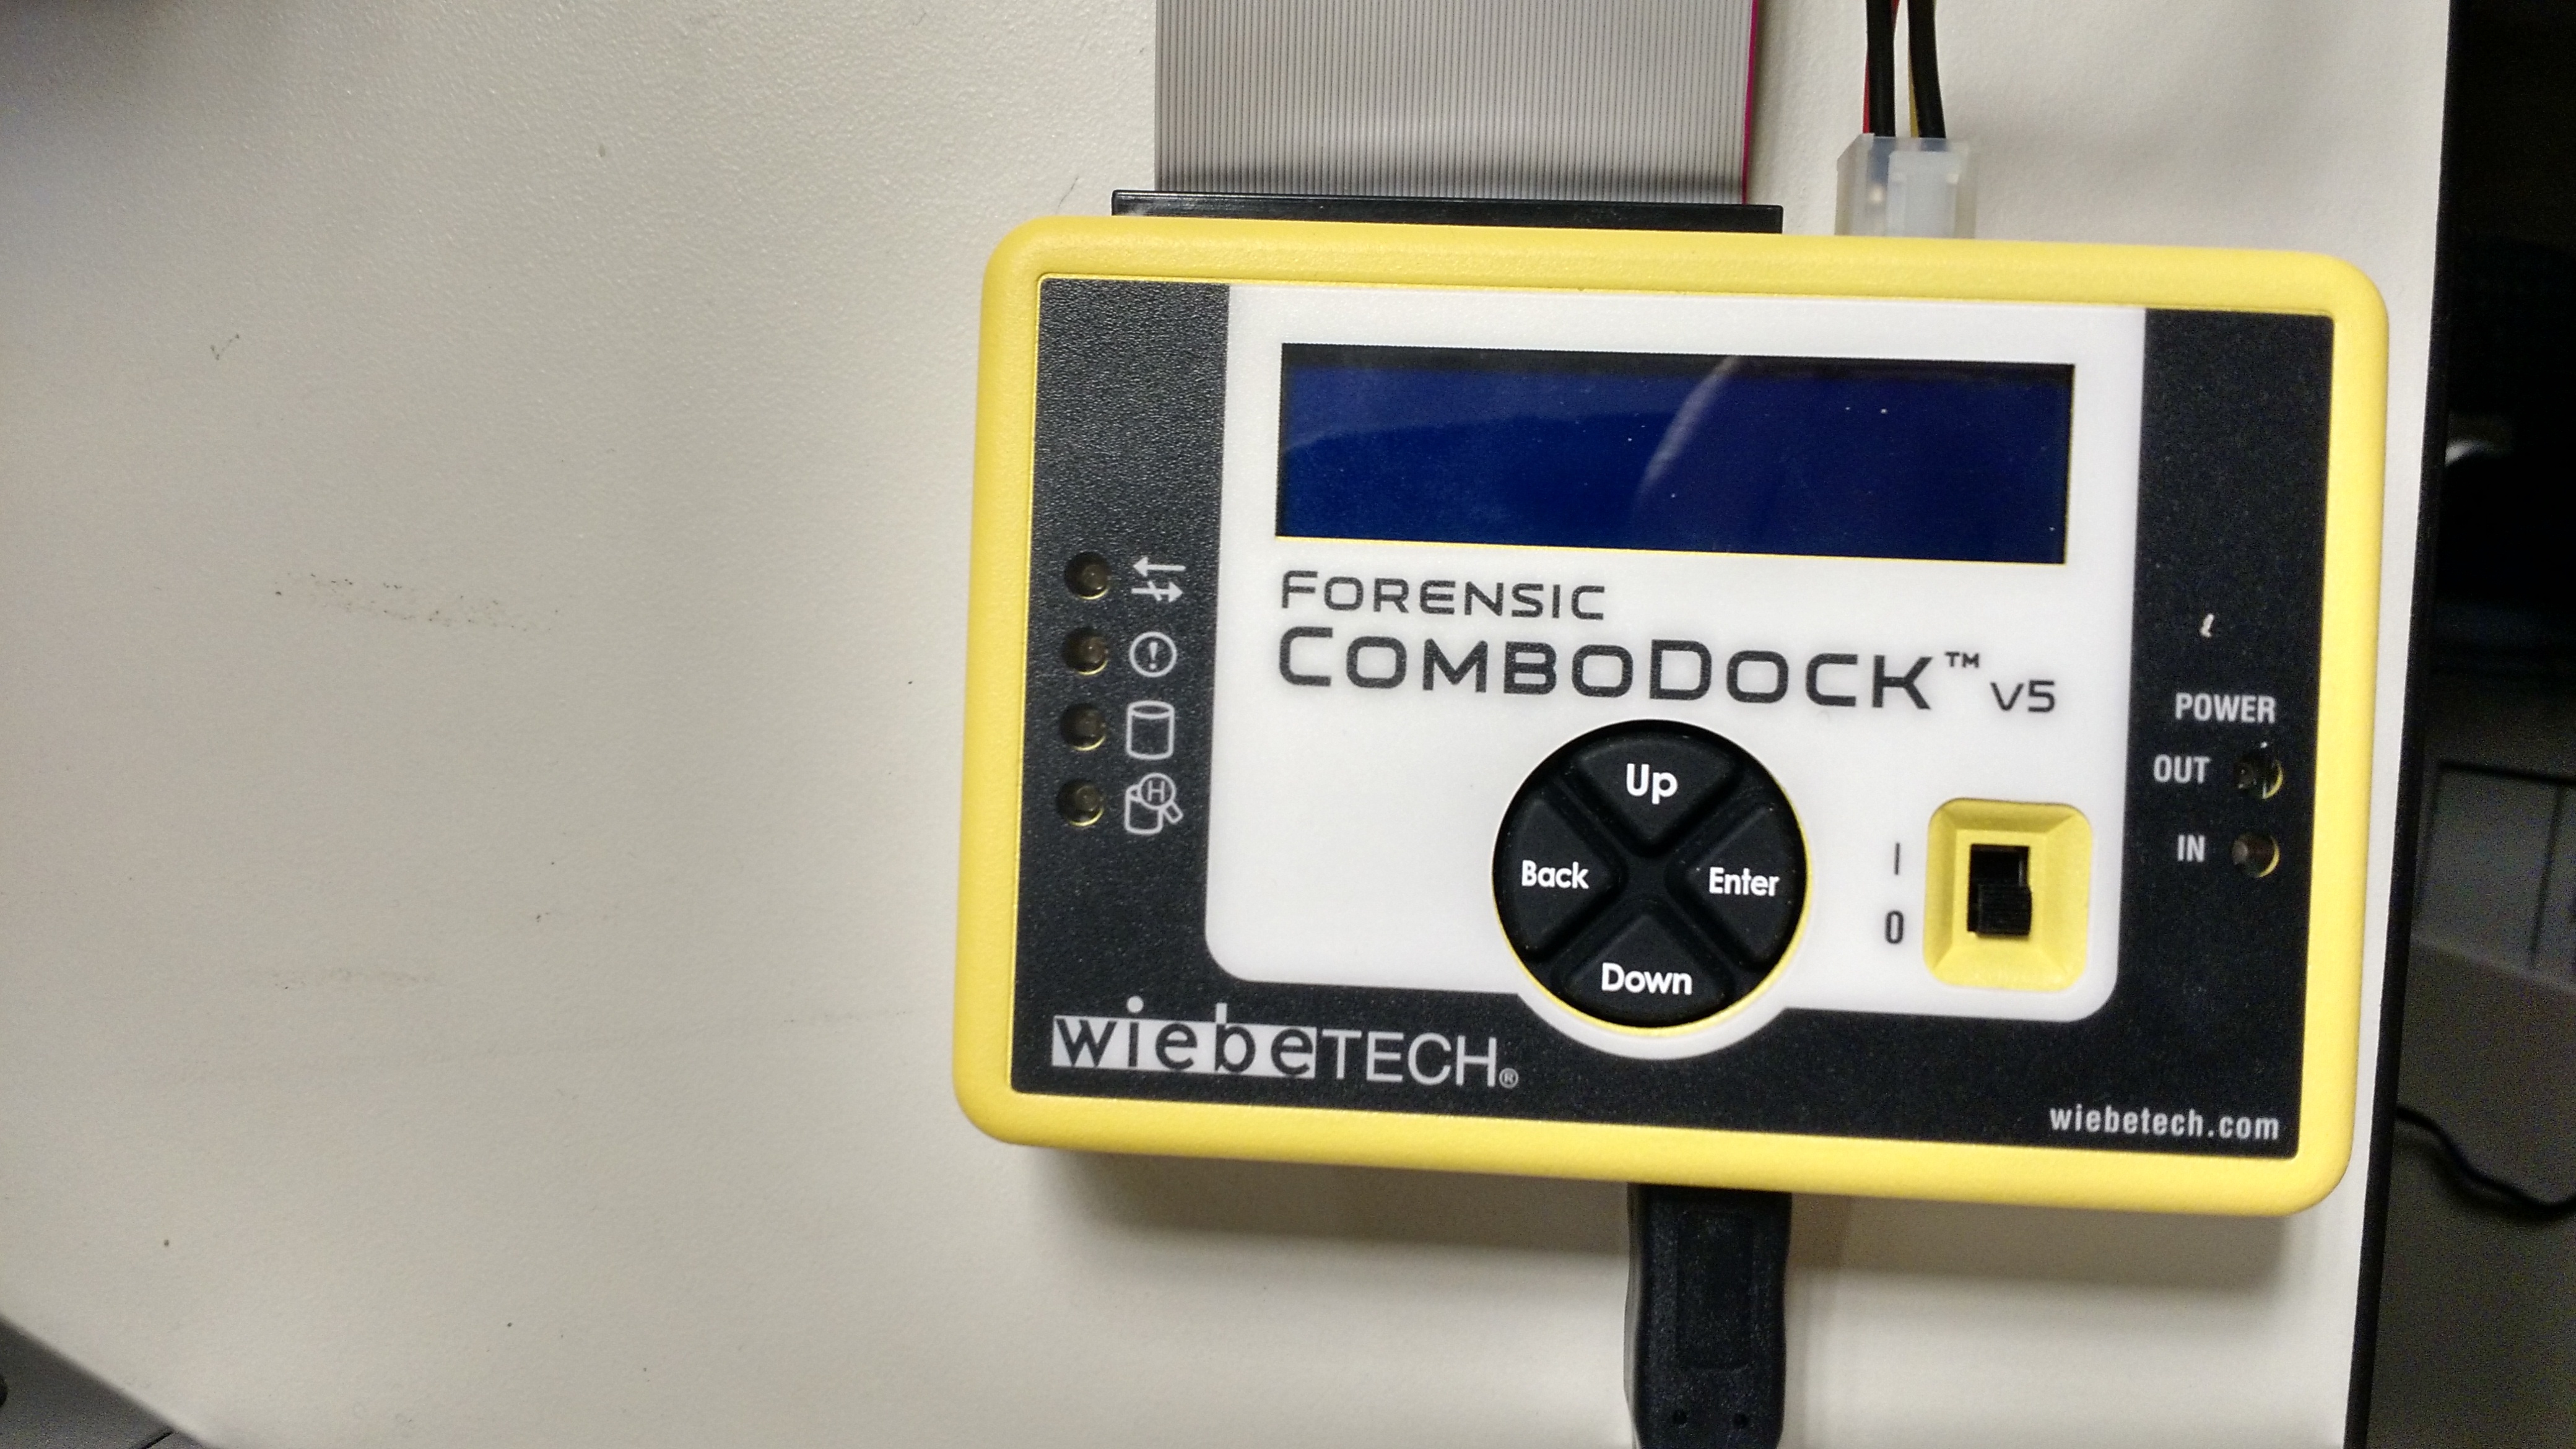
Option 2: Wiebetech write blocker
The Wiebetech write blocker is your second choice as it is on a less powerful computer.
Find the Wiebetech write blocker in its storage box.
Attach the 4-pin molex cord to the 4-pin molex outlet on the back of the hard drive.
Connect the other end of the cord (ATX power cord) into the square “Power Out” port on the write blocker.
Put one end of the 40-pin IDE cable into the write blocker. The pink pin 1 line on the cable will be on the left. There is also a notch on the bottom of the cable plastic connector which will guide you to putting it in the correct way.
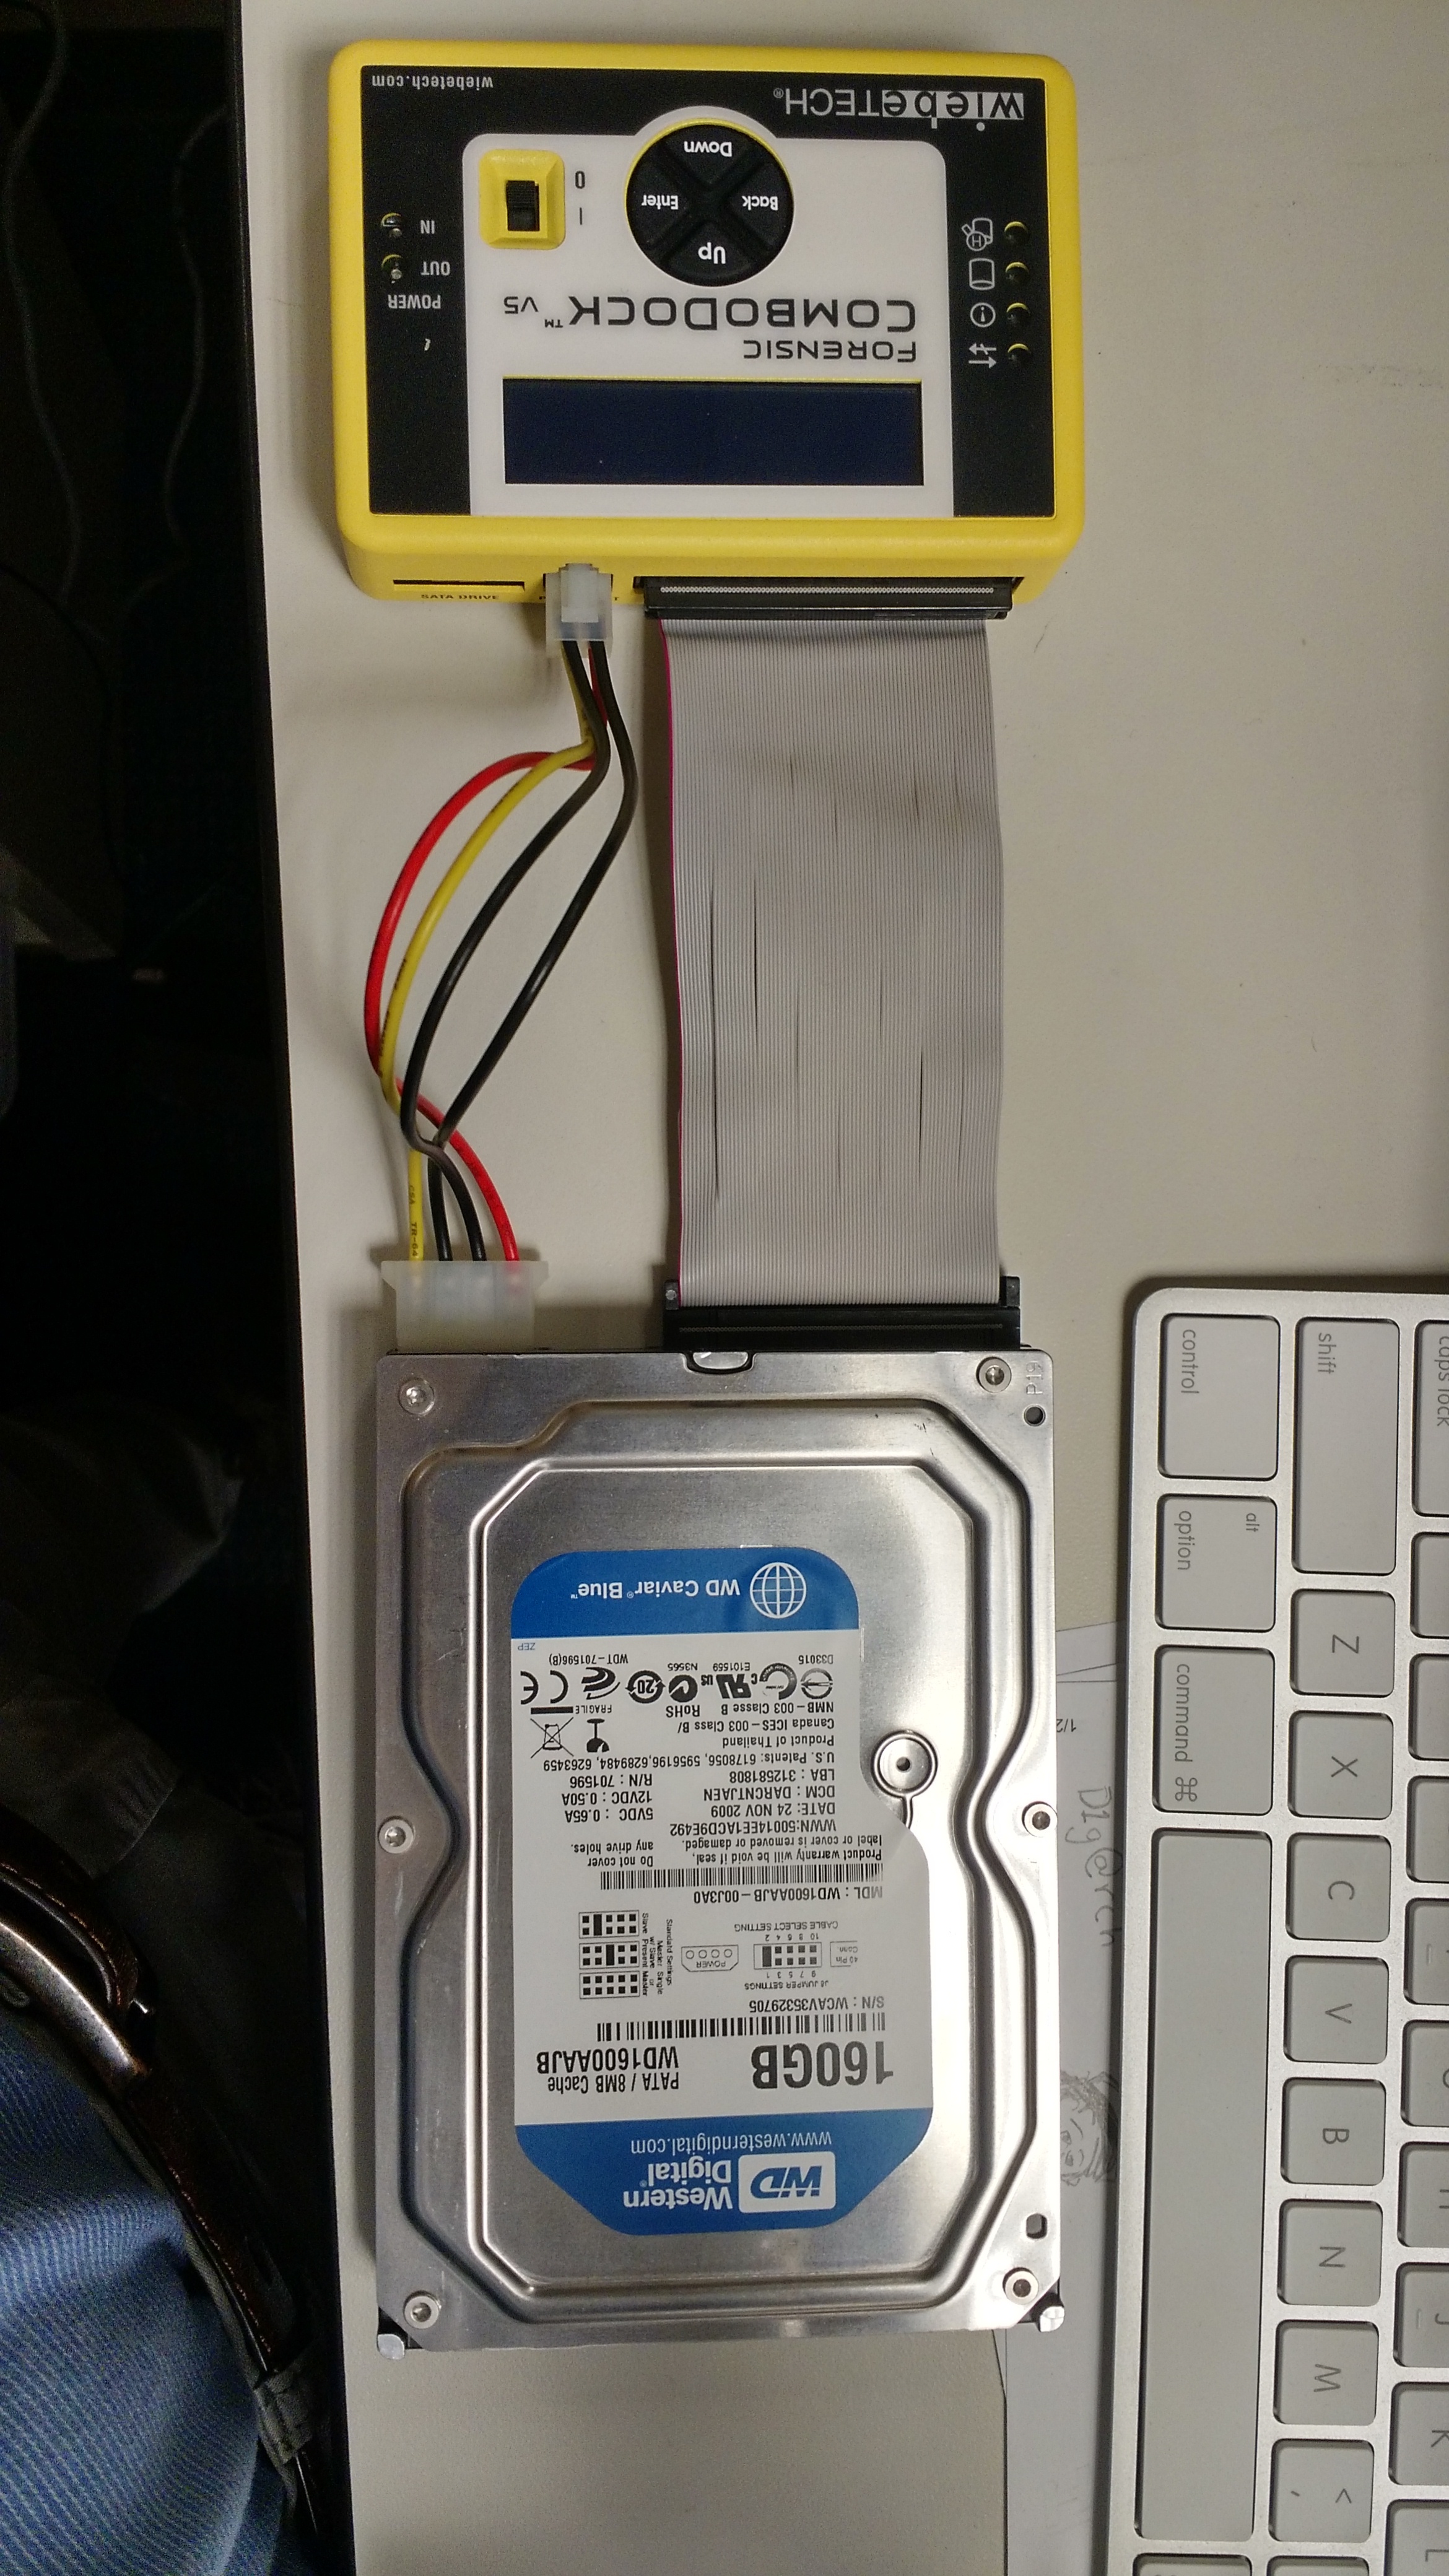
Put the other end of cord with the flap on it with the pink pin 1 line on the cord so it’s on the left when facing the back of the drive. There is also a notch on the bottom of the cable which will guide you to putting it in the correct way.
Plug the USB 3.0 cord into the write blocker and the other end into the processing computer.
- Plug the DC power cord into a power outlet and the other end (circular jack-like power plug) into the write blocker.
- Flip the power switch on the top of the write blocker.
- On the on-screen menu, select “SELECT MODE: WRITE-BLOCKED” will appear, you should then press the enter button on the keypad. If write blocked is not the mode that appears on the screen, use the up and down buttons to move to that mode and press the enter button.

- The drive should now be recognized on the processing computer.
- Proceed to the appropriate imaging and transfer section.
SATA hard drives
SATA hard drives are still a standard connection used on many internal hard drives.
Option 1: FRED UltraBay 3d write blocker
The FRED UltraBay 3d (pictured below) is your first choice for SATA hard drives it is on the more powerful computer.

- Extend the imaging shelf (immediately beneath the UltraBay) and rest the media storage device or drive on it.
- Put one end of the SATA data cable into the write blocker port labelled SATA.
- Put the other end of the cord into the hard drive that has the same SATA port as on the write blocker
- SATA drives may have a separate power cable or a combined data/power cable. If so plug the power or combined plug into the hard drive and plug the other end into the “Drive Power” outlet on the UltraBay.
- Press the power button (hold for 3 seconds) and allow time for UltraBay to start and the device to be recognized.
- If functioning correctly and the device is recognized, the first four LED lights should light up (green). The fifth light will light up (red) when you are accessing or imaging the drive.
- Proceed to the imaging and transfer section.
- Once finished, press the power button to turn off and, if it is a hard drive, allow it to spin down for 10 seconds before removing it.
Option 2: Wiebetech write blocker
Find the Wiebetech write blocker.
Put one end into the SATA cable into the drive and the other end into the write blocker in the “SATA drive” port.
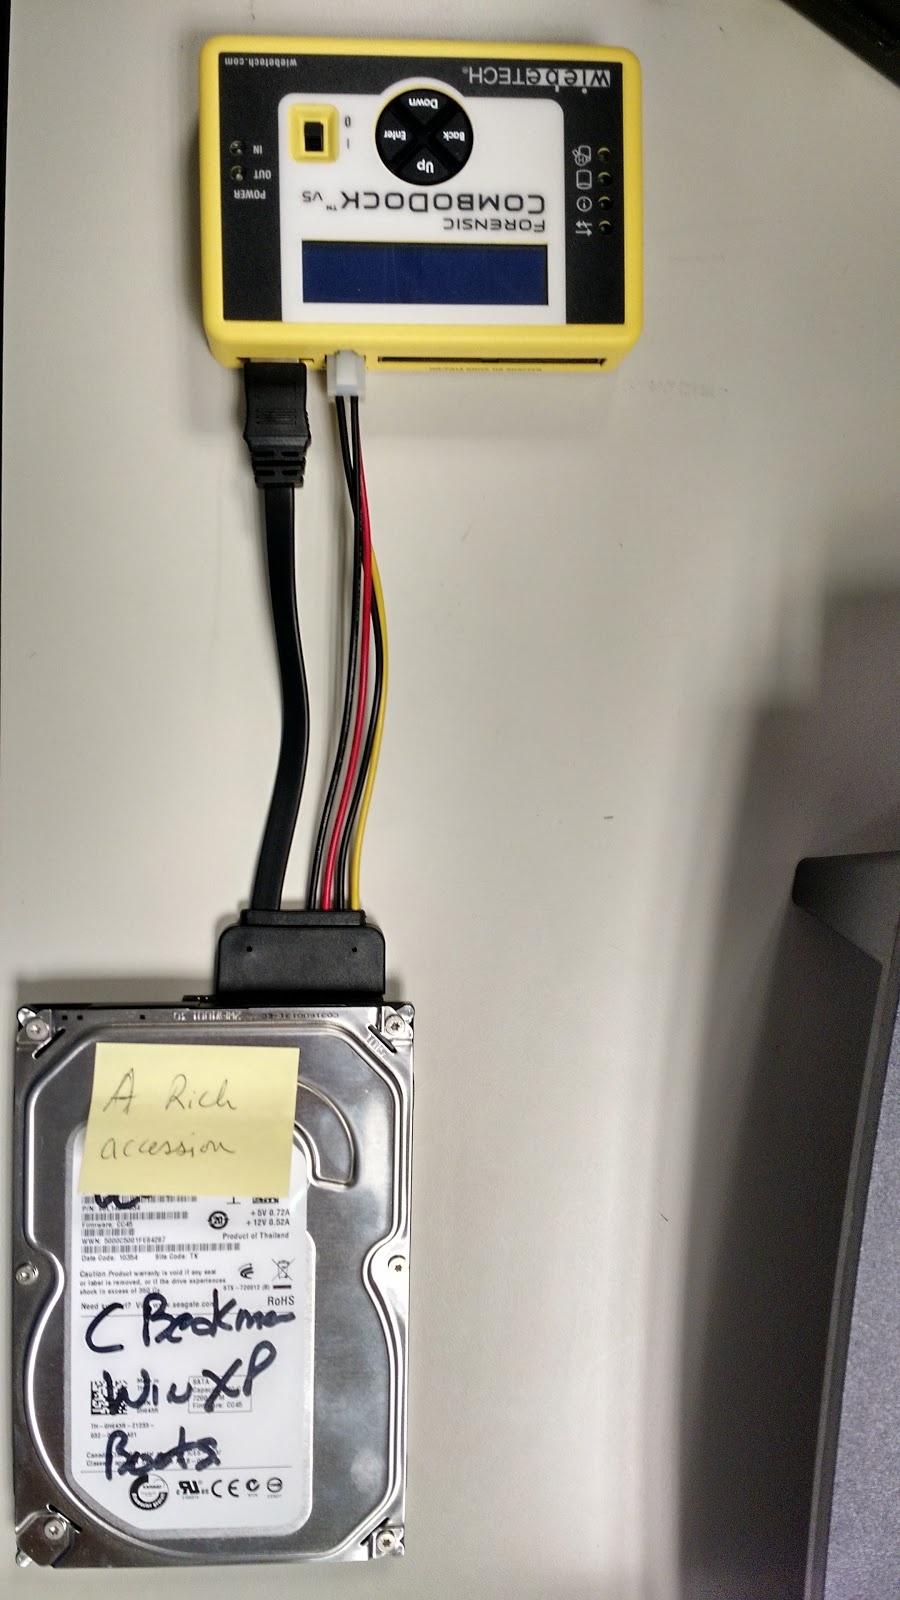
- Connect the other end of the cord (ATX white power plug) into the square “Power Out” port on the write blocker.
- Plug the USB 3.0 cord into the write blocker and the other end into the processing computer.
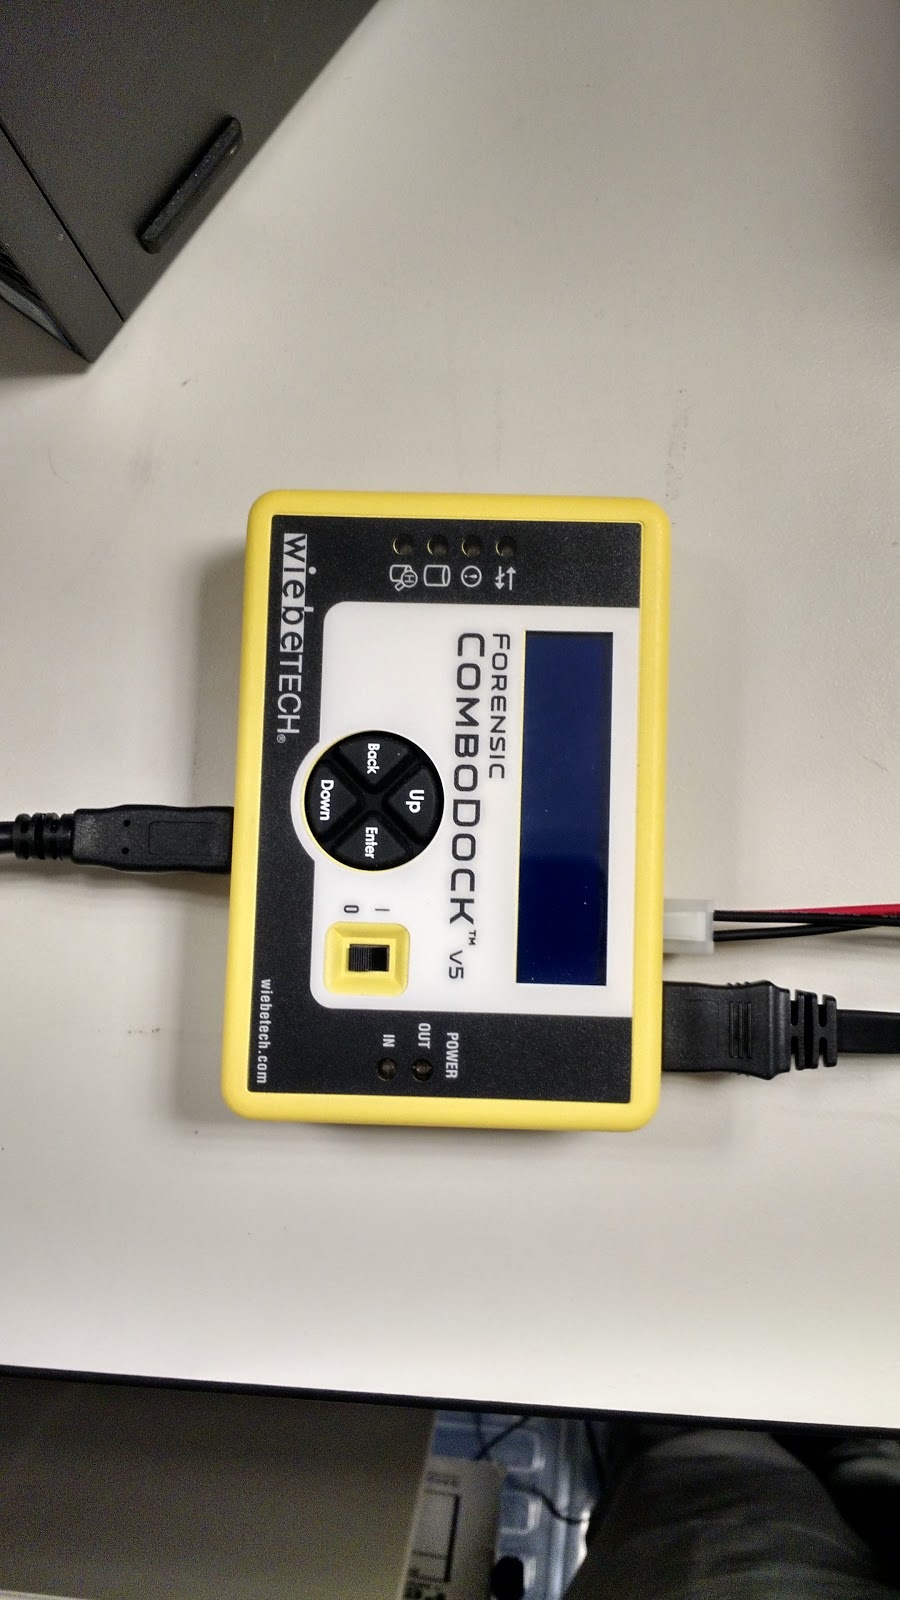
Plug the DC power cord into a power outlet and the other end (circular jack-like power plug) into the write blocker.
Flip the power switch on the top of the write blocker from 0 to 1.

- On the on-screen menu, select “SELECT MODE: WRITE-BLOCKED” will appear, you should then press the enter button on the keypad. If write blocked is not the mode that appears on the screen, use the up and down buttons to move to that mode and press the enter button.
- The drive should now be recognized on the processing computer.
- Proceed to the imaging and transfer section.
SCSI hard drives and devices
SCSI connections are an older connection type used in many hard drives in the 1980s and 1990s. There are various different versions of this connector
Option 1: Tableau write-blocker
We have a tableau write-blocker specifically for SCSI drives. The connector on it is for a micro-DB 68-pin port, but we currently do not have a cable for this type of connection but an adapter for it so it can connect to a 50-pin internal SCSI drive connection. If you have another connection type other than a 50-pin internal SCSI drive, contact the digital archivist.
- Find the Tableau SCSI write-blocker in the Tableau storage bag.
- Connect the power connector (5 pin din connector) to the write blocker (DC IN slot) making sure you orient it correctly (the flat part should be facing up). Plug the other end into the wall outlet.
- Connect the mini-USB into the write blocker and the standard USB (USB type A) into the processing computer.
- Plug the micro-DB 68 to internal 50 pin adapter into the SCSI port on the write-blocker
- Plug one end of the 50-pin SCSI ribbon cable into the adapter. There is also a notch on the bottom of the cable which will guide you to putting it in the correct way.
- Plug the other end of the ribbon cable into the SCSI hard drive, there will most likely be another notch to guide you.
- Plug in the 4-pin molex cord to the write-blocker.
- Plug in the other end to the back of the hard drive.
- Flip the power switch on
- If functioning correctly and the device is recognized, the first four LED lights should light up (green). The fifth light will light up (red) when you are accessing or imaging the drive.
- The drive should now be recognized by the processing computer
- Proceed to the imaging and transfer section.