Getting Started
Pre-installation
In order to connect to the printers once they're installed, you will need to be connected to the MIT SECURE WiFi network or the GlobalProtect VPN.
Additionally, you will need to uninstall all of the old KI copiers. Follow these instructions to delete existing printers
Installing Copiers with Mobility Print
If you experience any issues after installing the software as defined below, please see Troubleshooting Common Issues with Papercut.
Windows 10/11:
- Download the Mobility Print client by clicking the following link: Windows
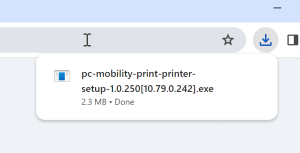
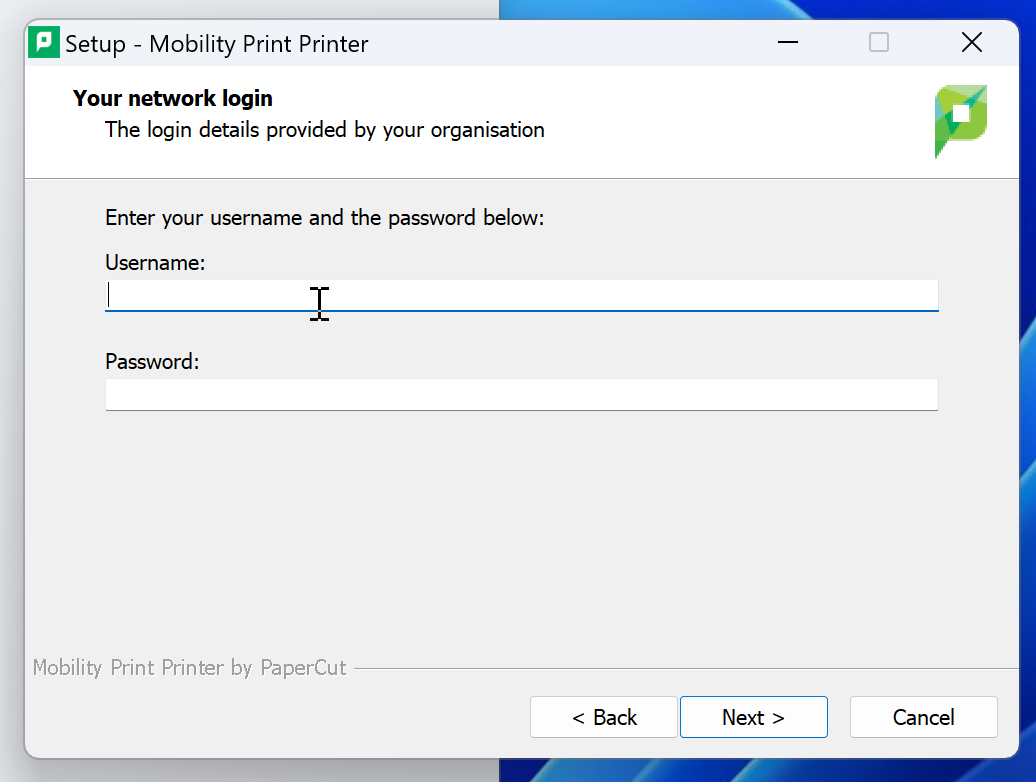
- Install the software by double-clicking on the .exe file in your Downloads folder.
- Continue through the installer process and be sure to enter your Kerberos credentials when prompted.
MacOS:
- Download the Mobility Print client by clicking the following link: macOS
- Install the software by double-clicking on the .dmg file in your Downloads folder. It is possible your browser may hold the download till you authorize it (the site is not recognized as secure but is internal to MIT).

- Next, you will need to also click on the .pkg file after opening the .dmg in order to run the installer.
- After running the installer, the first time you go to print to each printer you will be prompted to enter your Kerberos information
Click 'Remember this password' and you will not be prompted again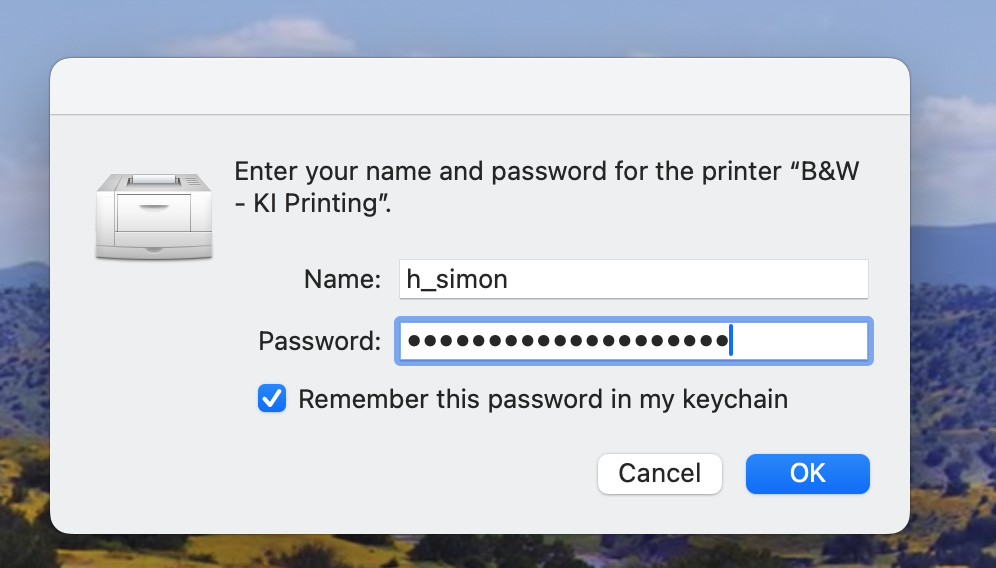
From there, please try printing to either of the installed virtual queue, and you should be able to tap your MIT ID and release at any of the Papercut enabled copiers.
Badging In
Before being able to print with your MIT ID, you'll need to first 'associate' it with your Kerberos username and password. To do so, please see below:
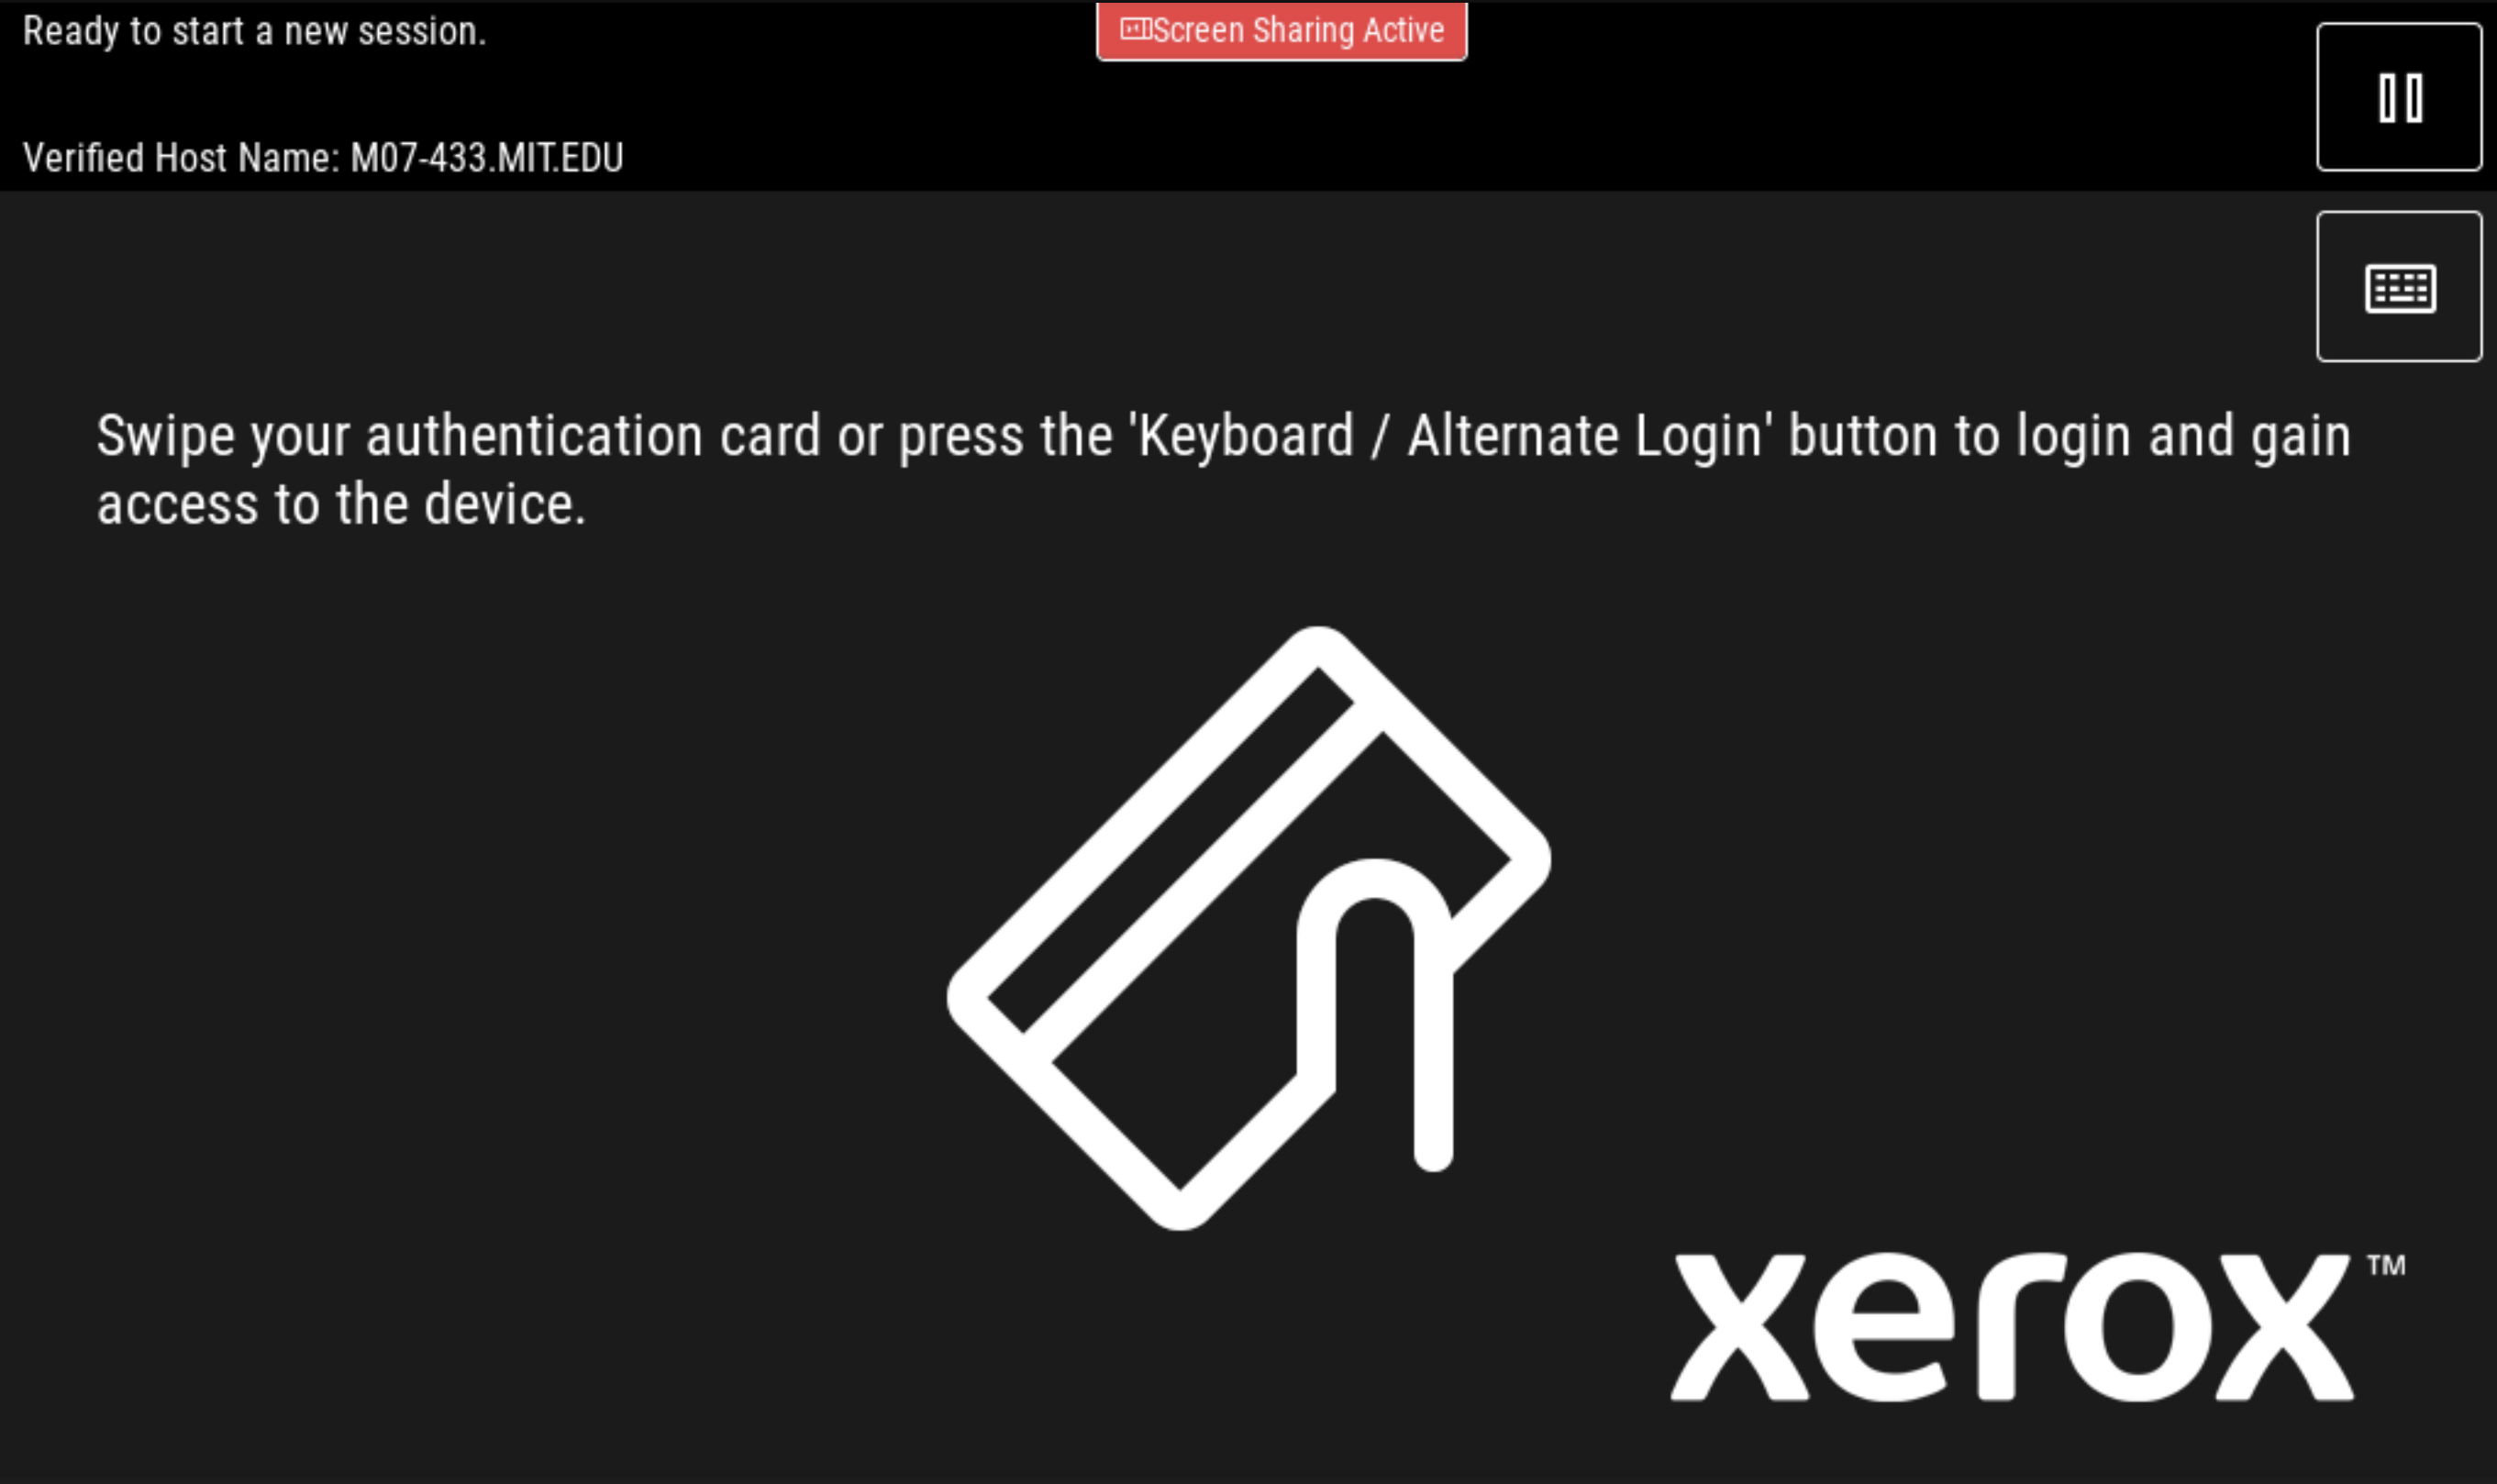
- At any Papercut enabled copier in KI, tap your card at the white sticker on the left side of the copier.
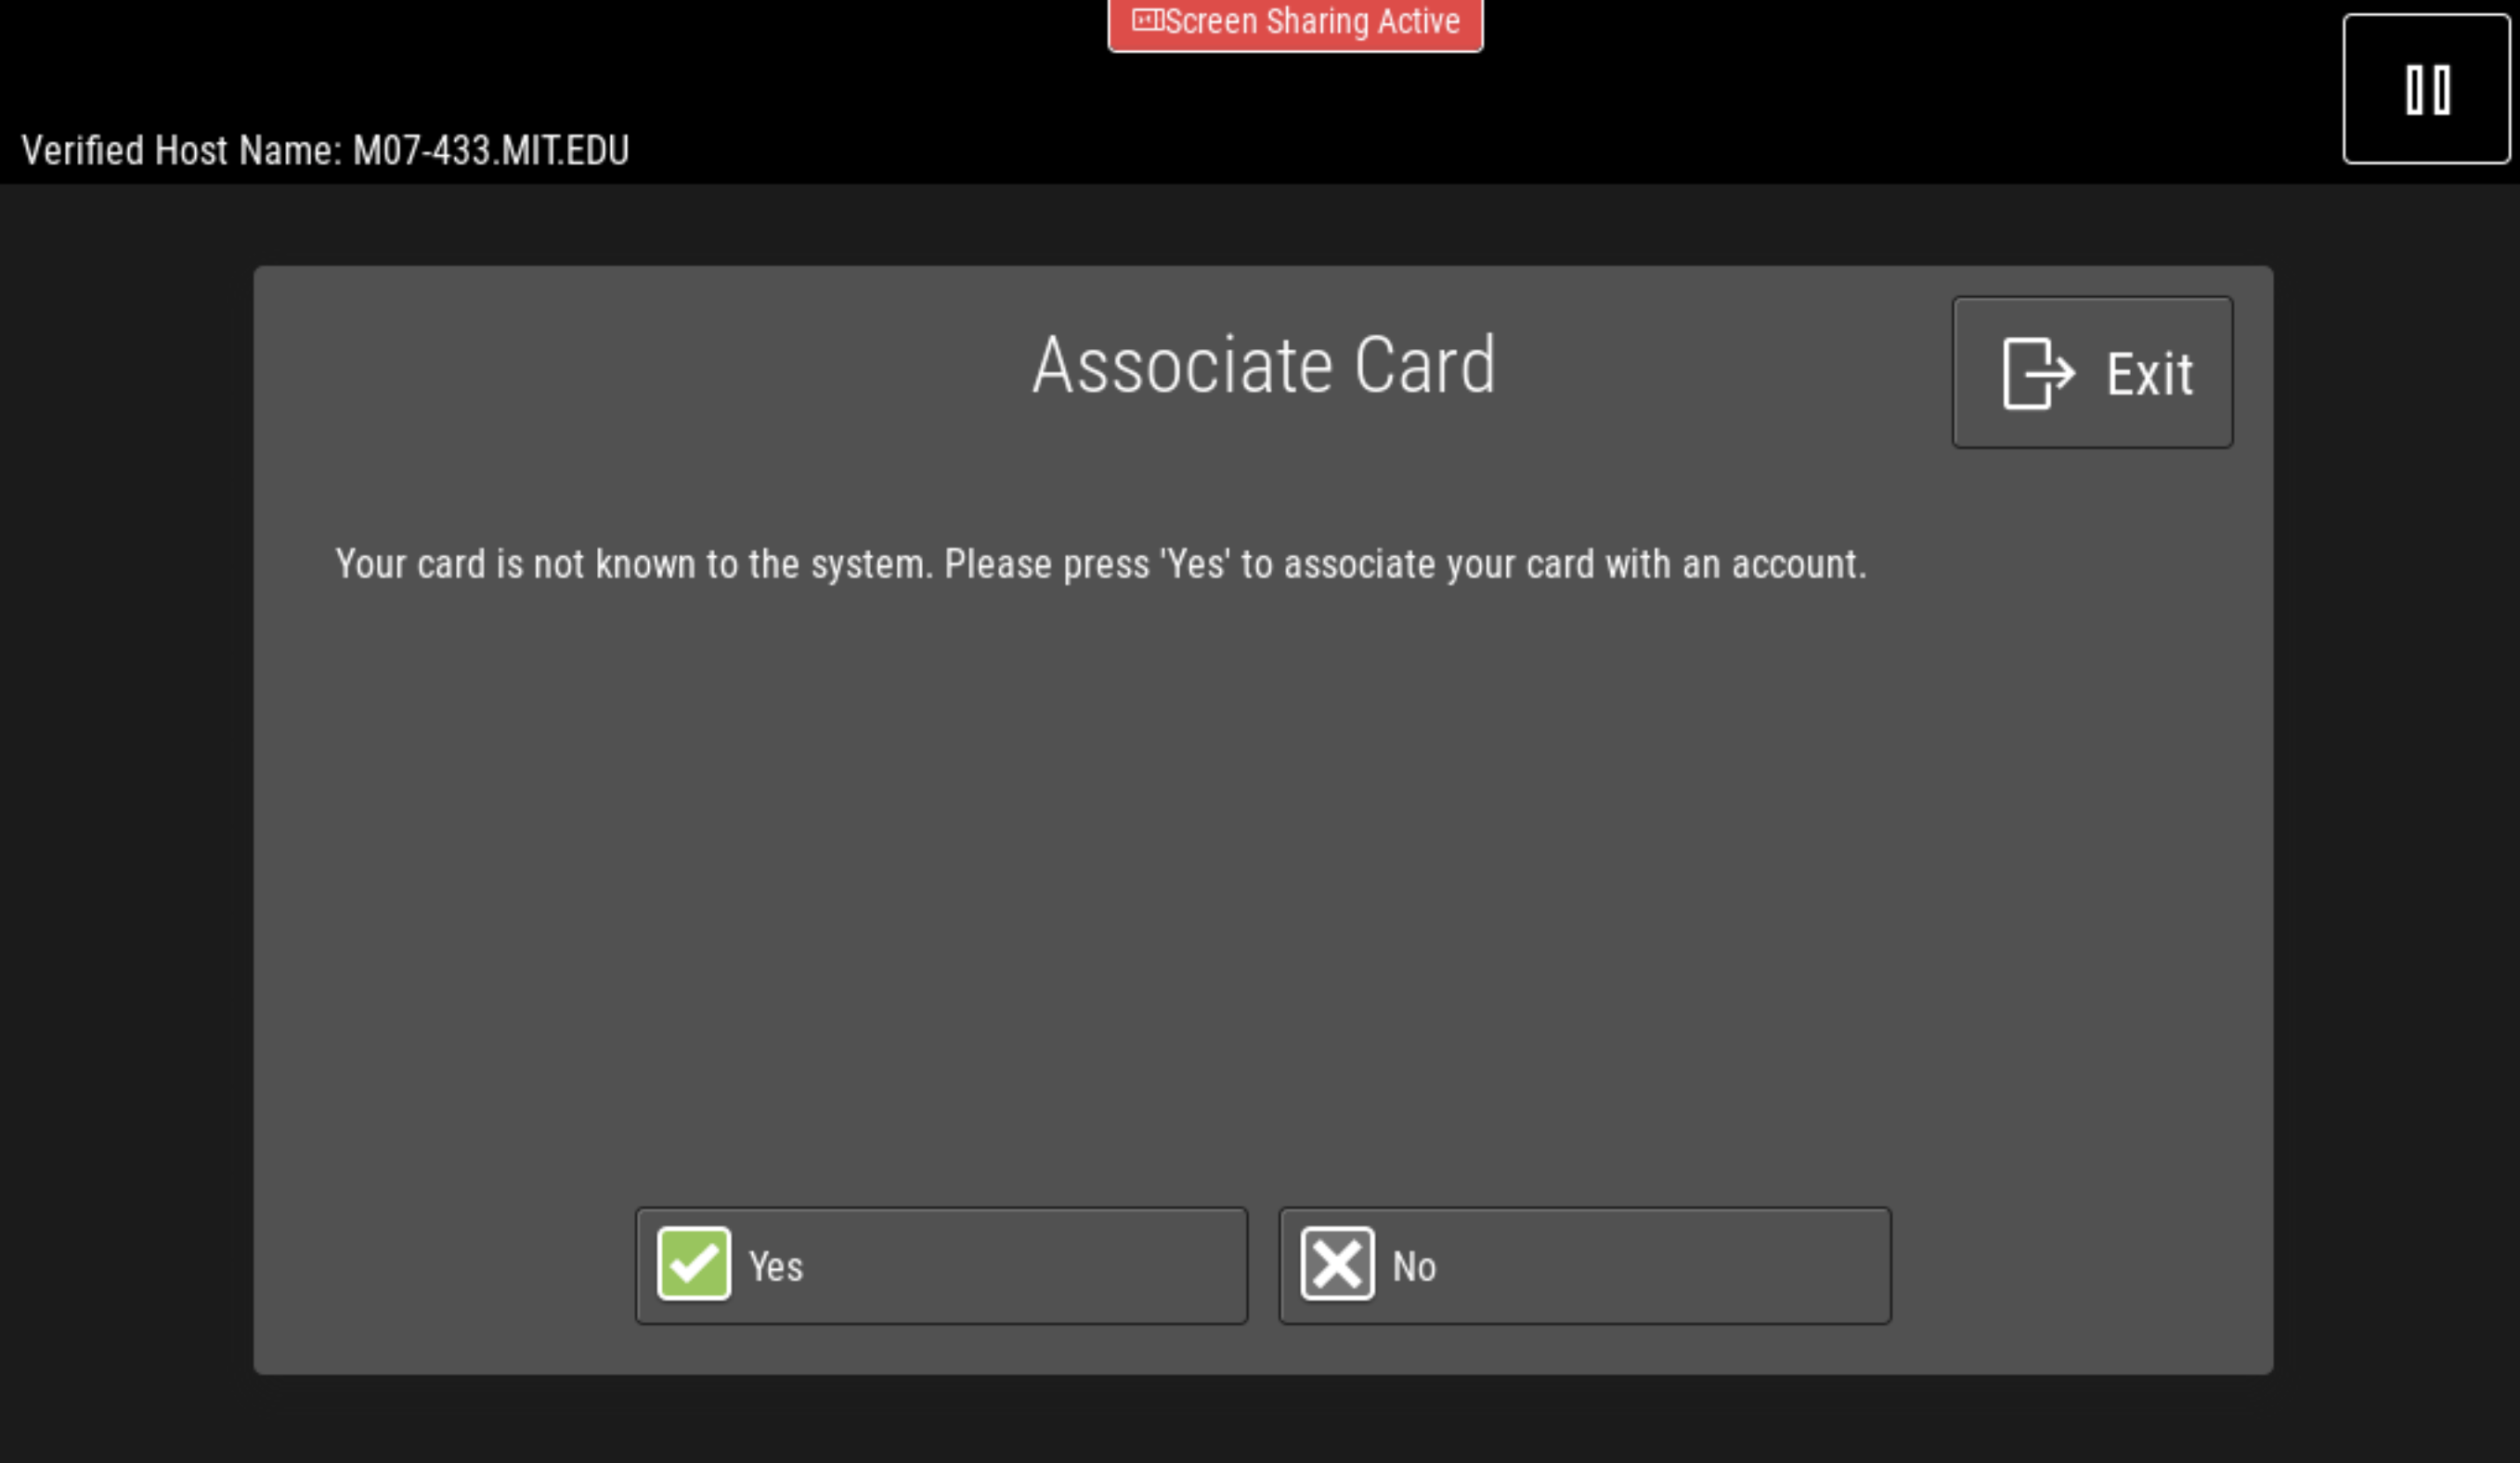
- When given the option to associate the card with an MIT account, tap 'yes'.
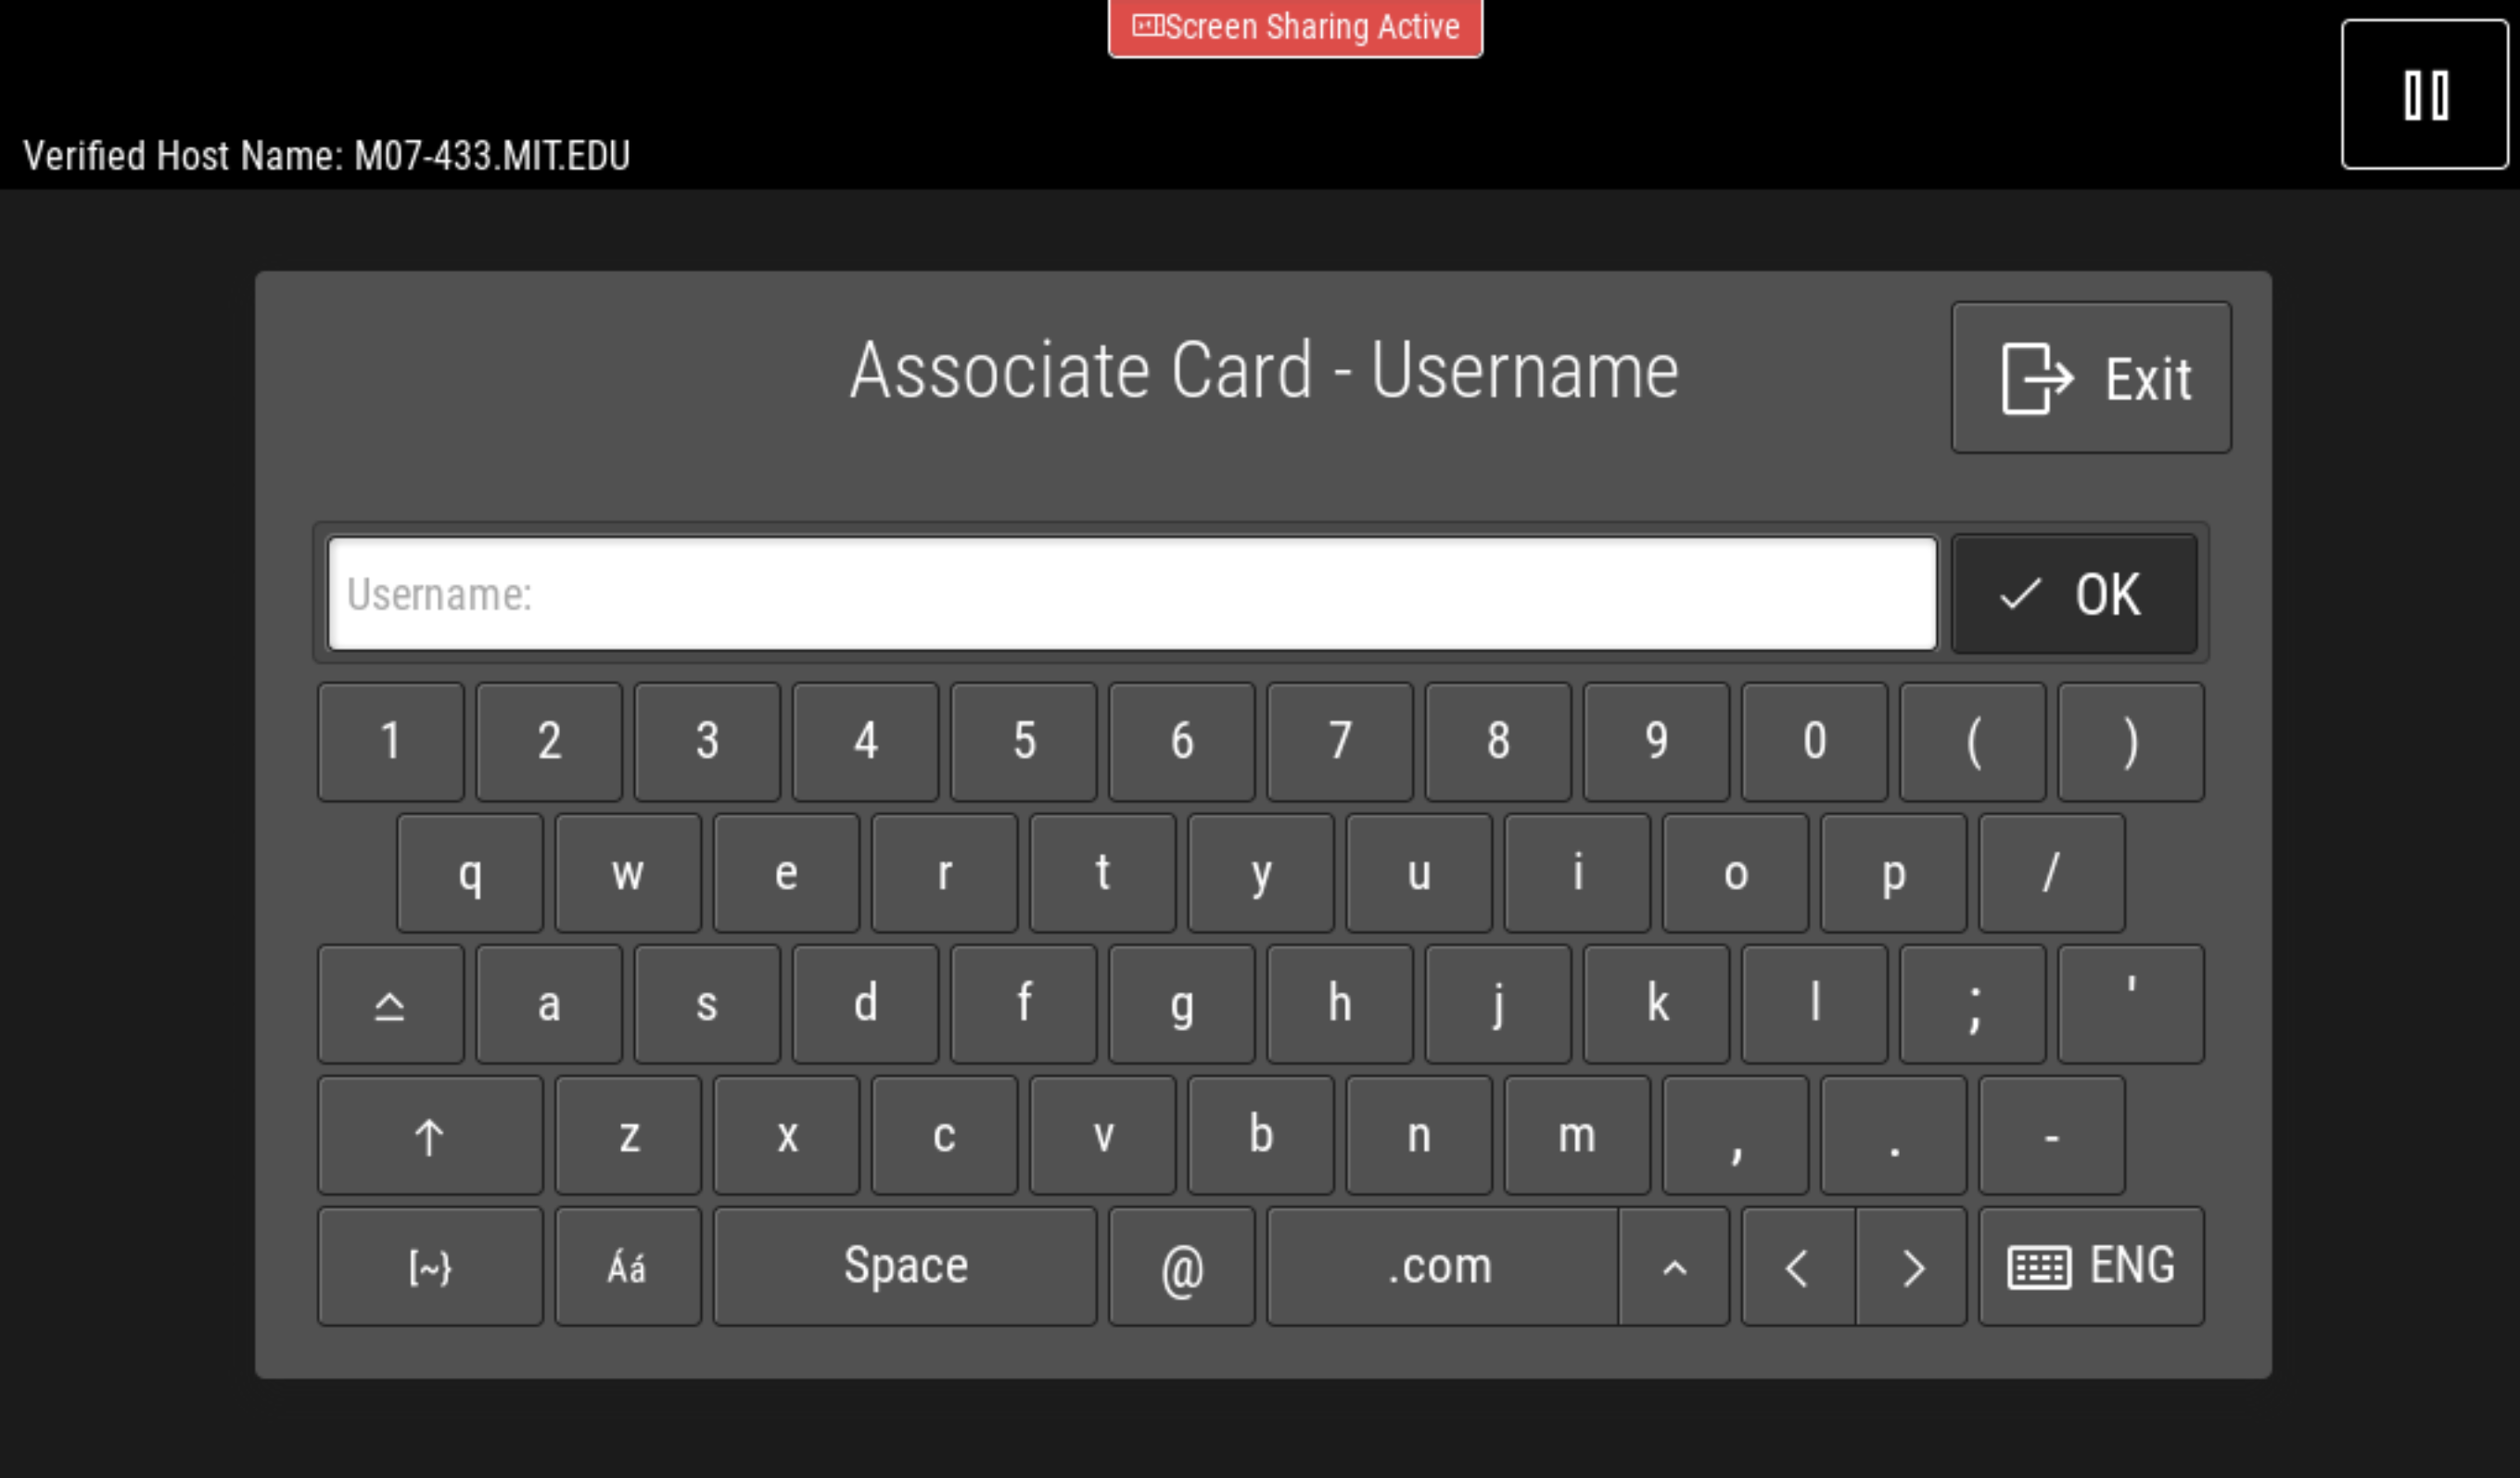
- Type in your Kerberos username and password when prompted.
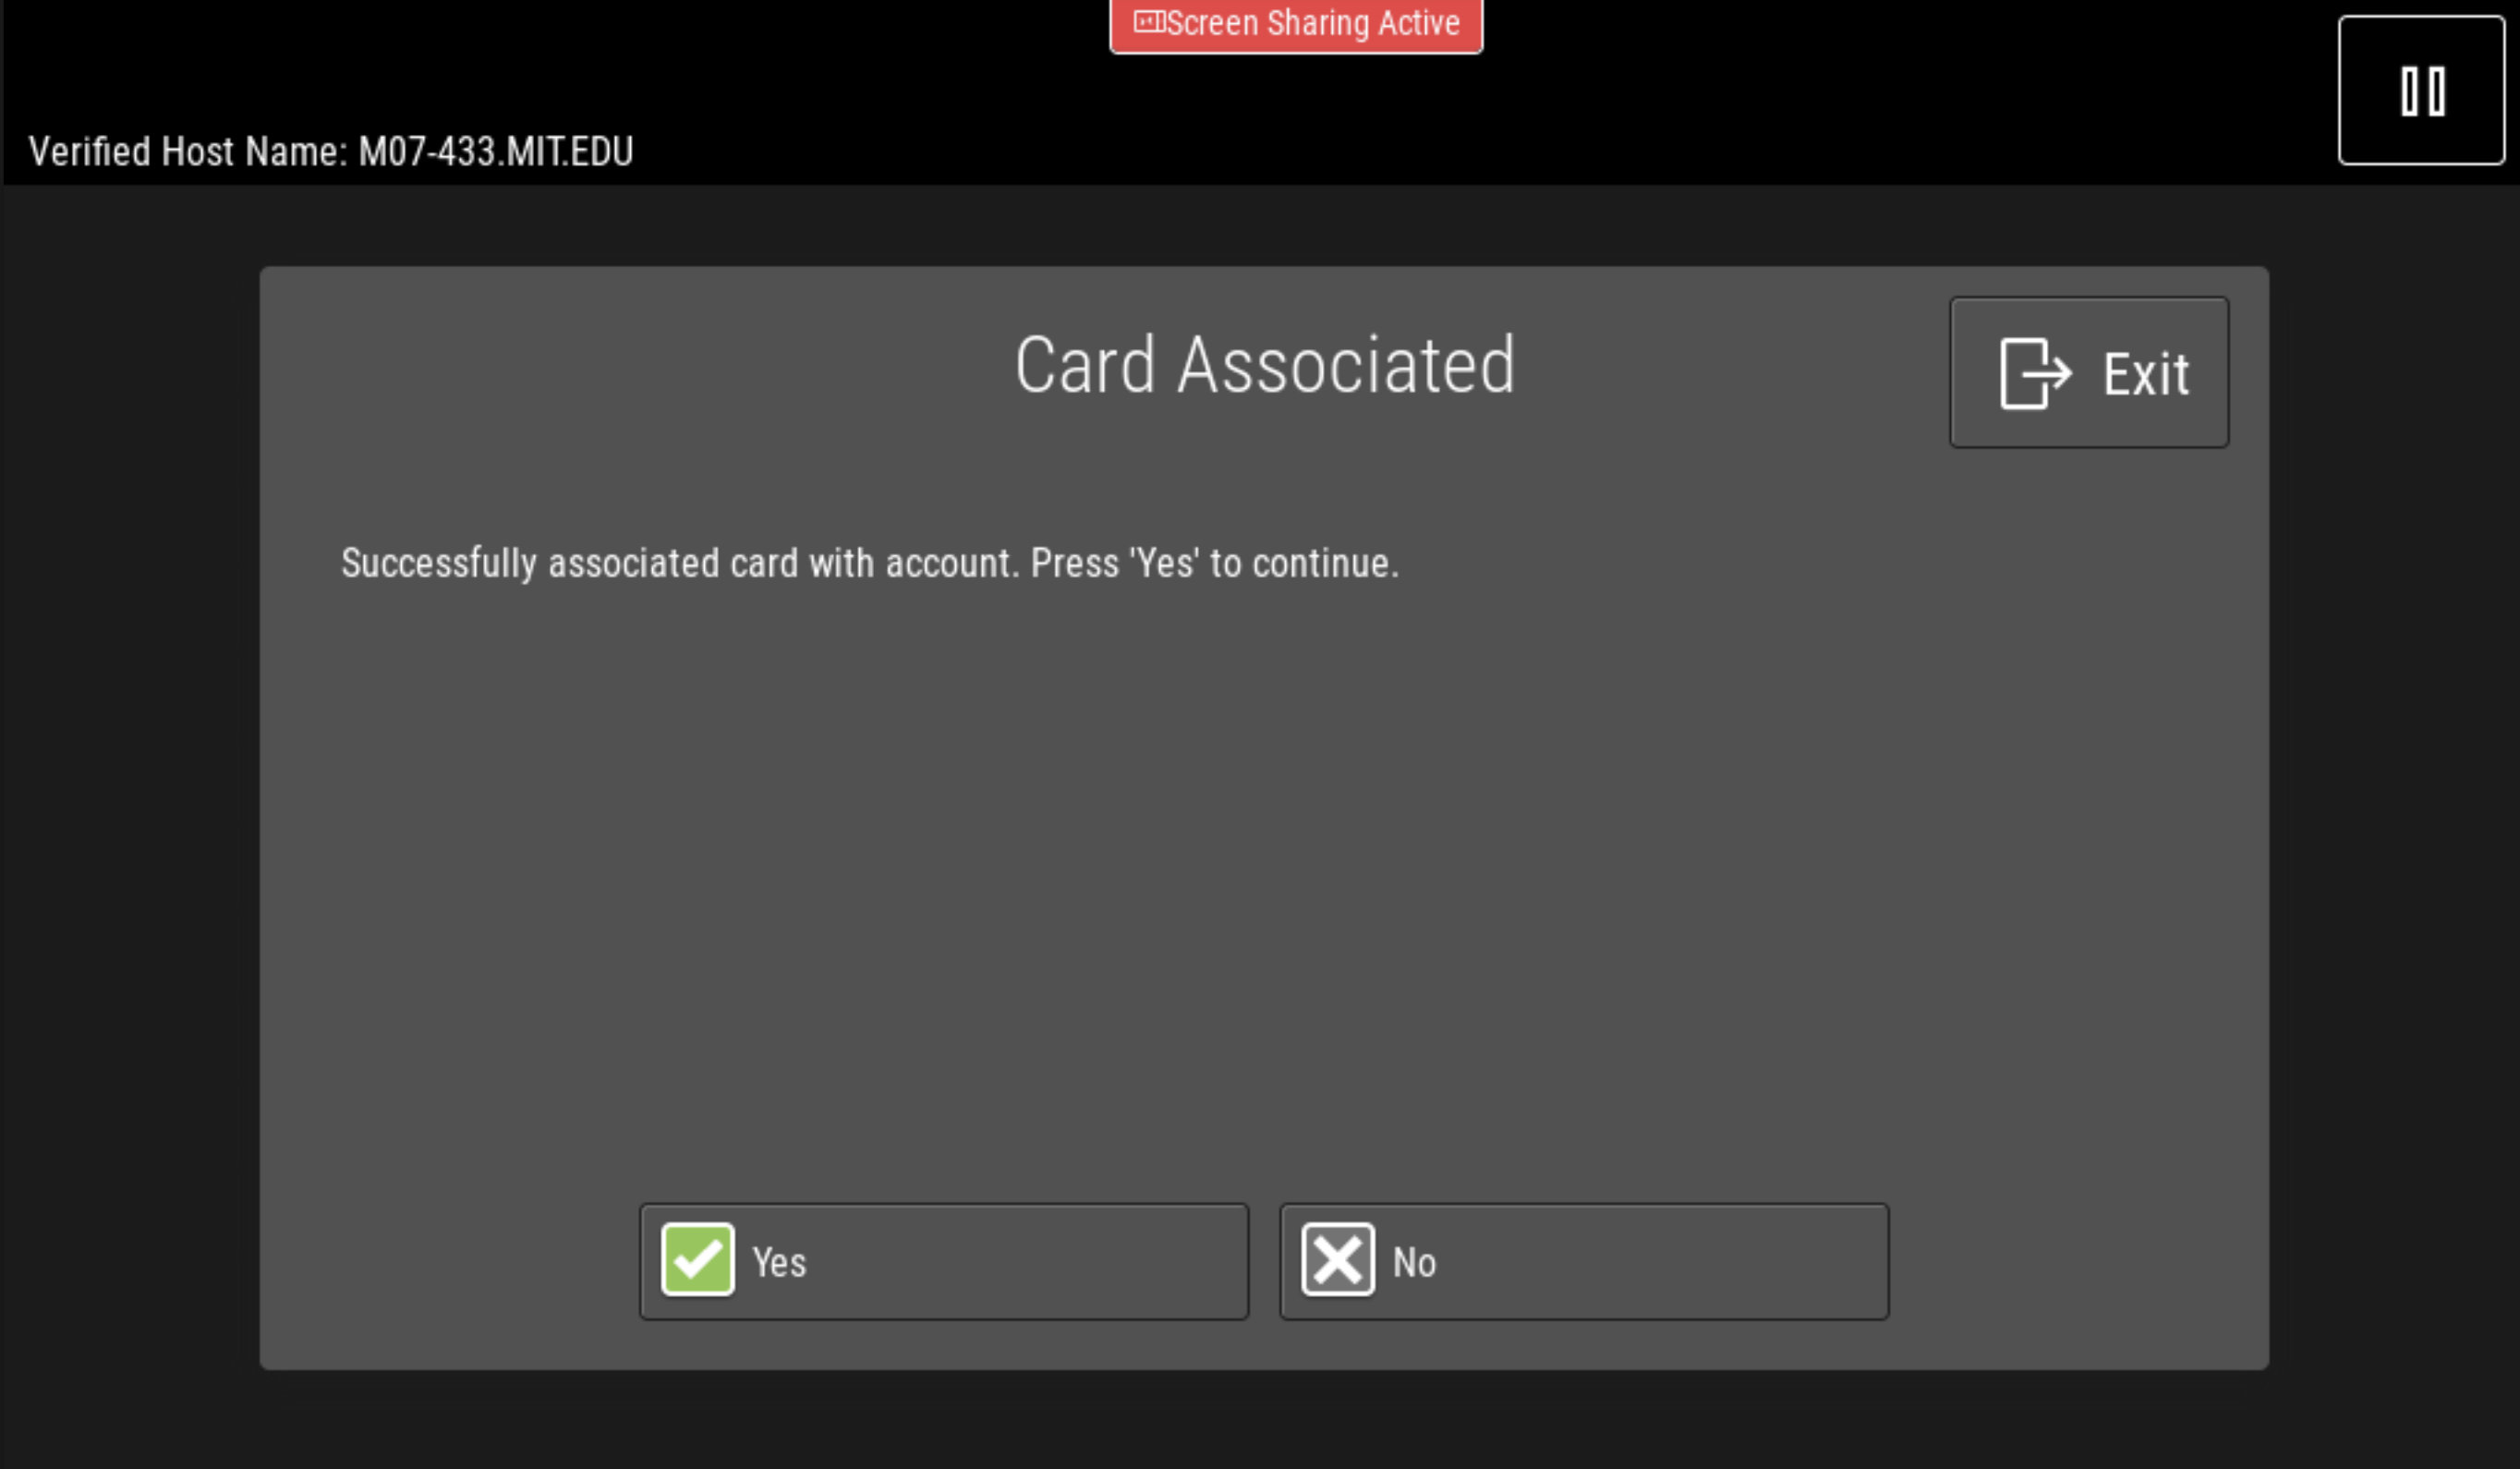
- Your card should now be linked to your account, and can be used to release jobs at any copier or plotter.
Uninstallation
Mac OS:
- In Finder, in Applications, navigate to and open the PaperCut Mobility Print Client folder.
- Run Uninstall.command. A small Terminal window will open.
- After the prompt Would you like to uninstall PaperCut Print Deploy Client, type
yesand press Enter on your keyboard. - When prompted, enter your account password.
The software and the two print queues will be removed. When you see [Process completed], you can close the Terminal window. Once that's done, you should be able to remove the printers and their drivers.
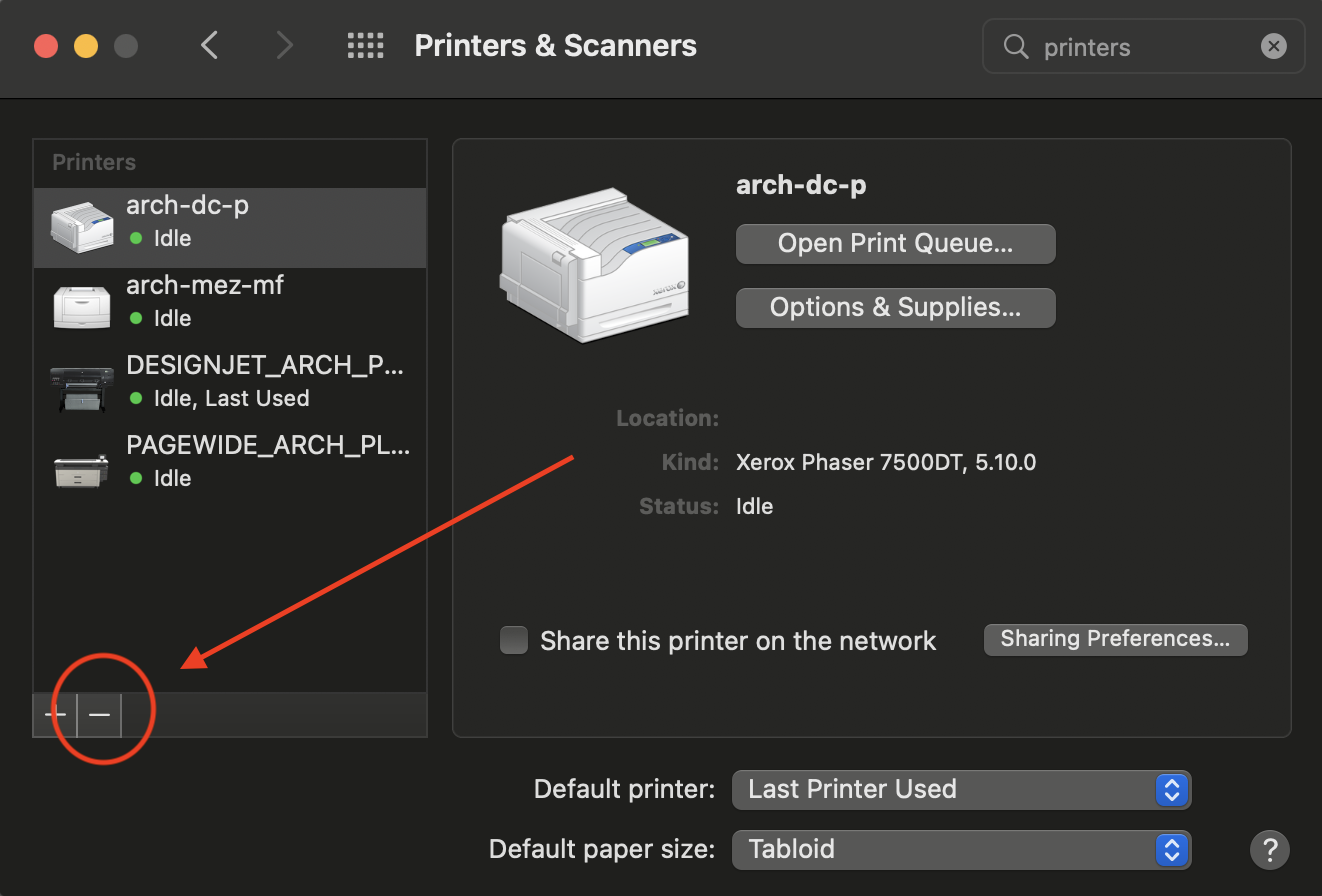
- Open System Preferences from the Apple menu in the top left-hand corner in the menu pane, then click Printers and Scanners.

- Remove all Papercut-managed printers and plotters, by left clicking the appropriate entry, then left-clicking the minus sign.
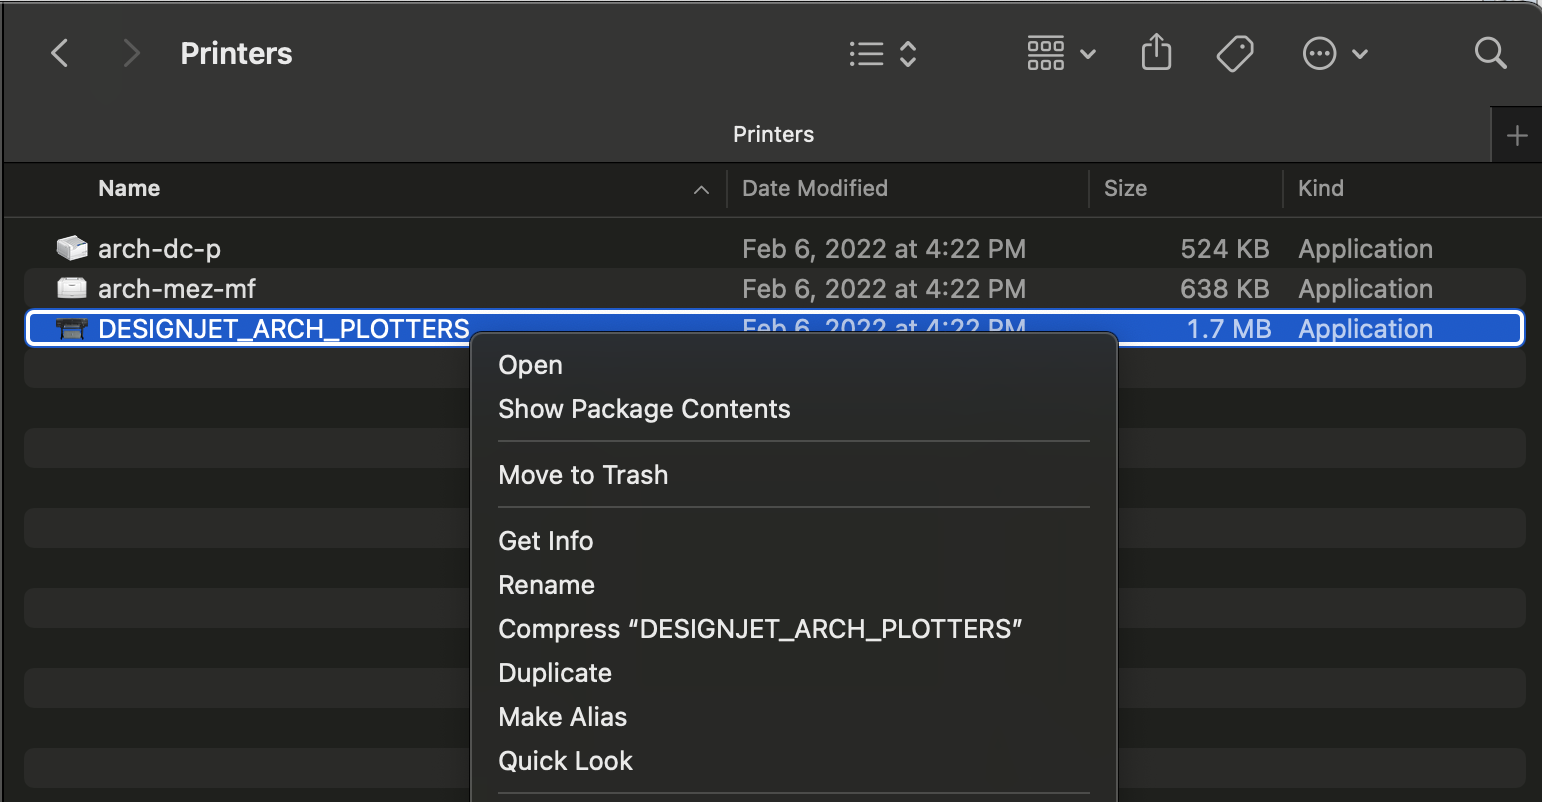
- Then, open Finder. Hold down the Option key and click Go in the top menu pane, then click Library, then Printers. This is where the driver files themselves are, should any remain.
- Delete all remaining entries for Papercut-managed printers and plotters, if applicable. These should be for the HP PageWide, HP DesignJet, and Xerox AltaLink models.
Windows 10:
- Click the Home button, where a search box should then open up.
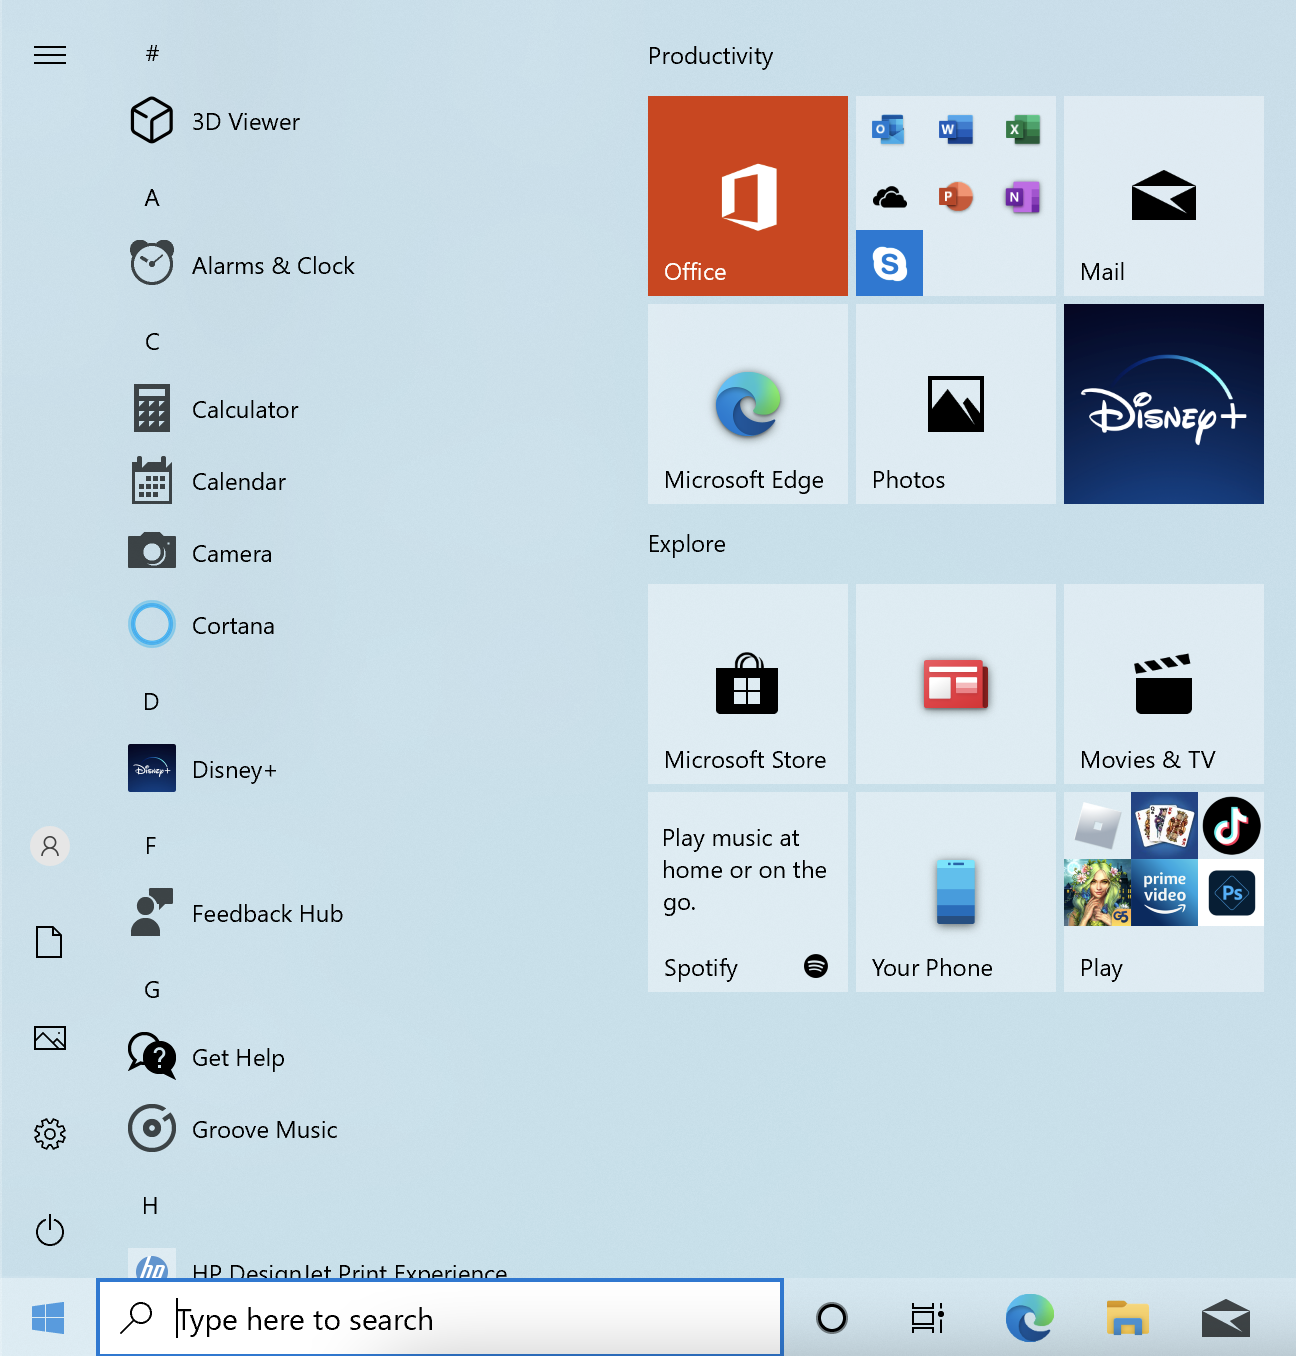
- Type in "Add or remove programs" into the search box.

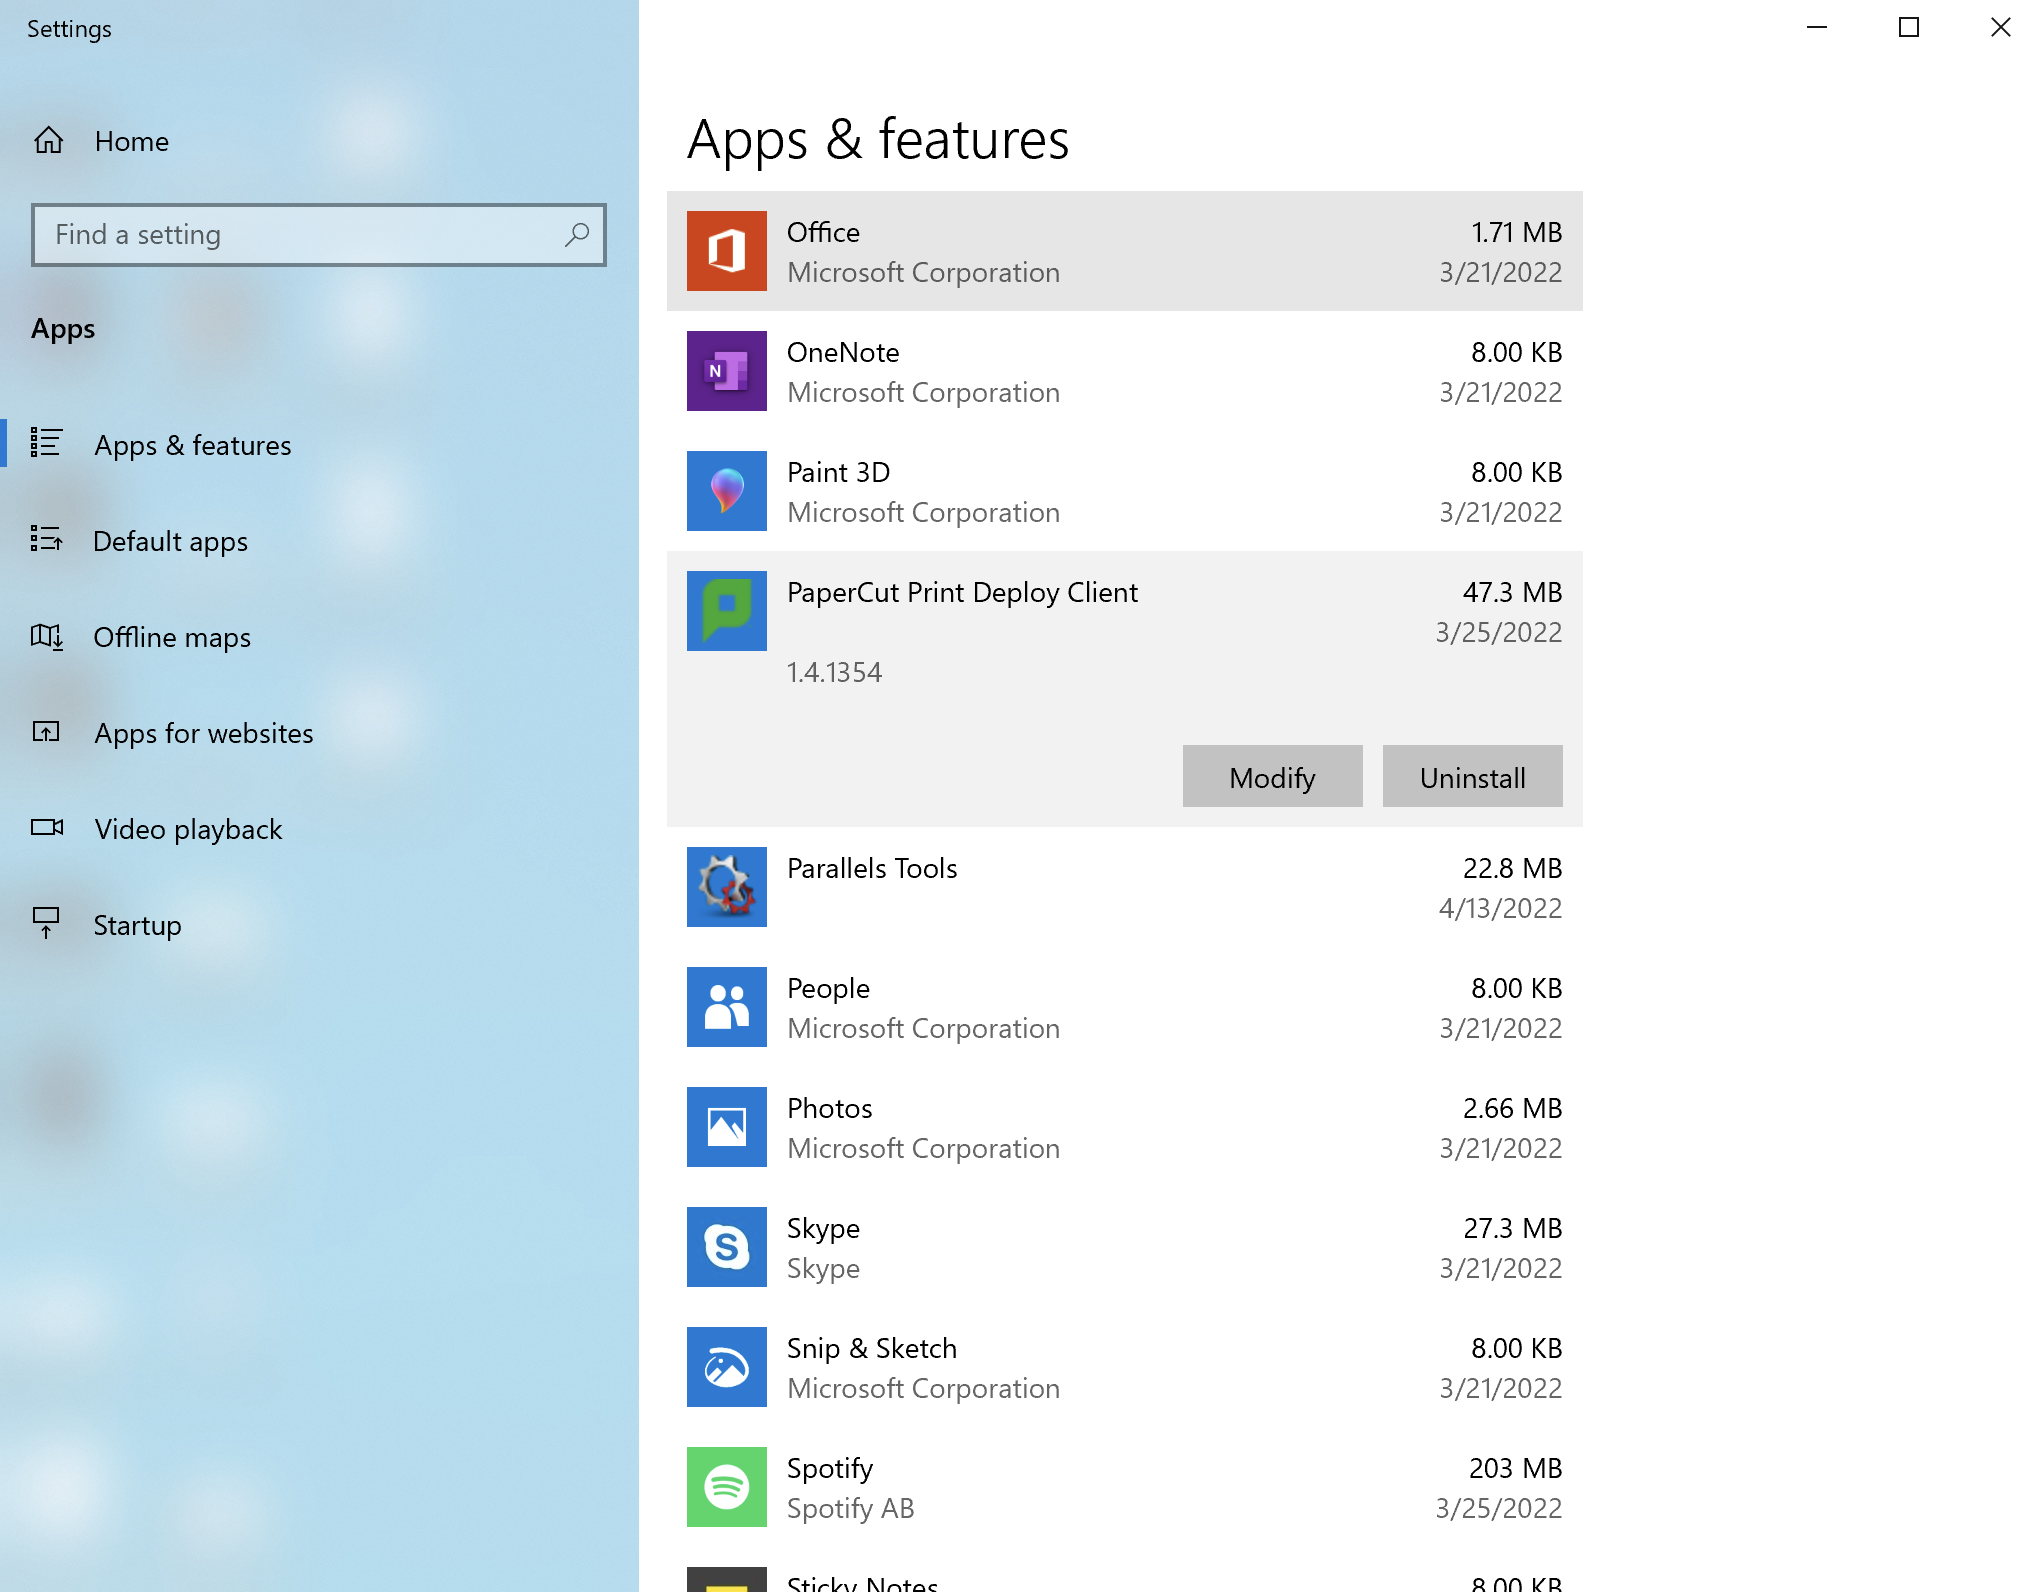
- Click 'Add or remove programs', then scroll down to 'Papercut Print Deploy'.
- Once there, left-click the app, then left-click 'Uninstall'.