Minimal instructions for deploying on to several kayaks at the sailing pavilion, including setup and tear-down.
Setup and Connect
Setup GPS
- Route the GPS coax cable over pipes to the door and throw upstairs.
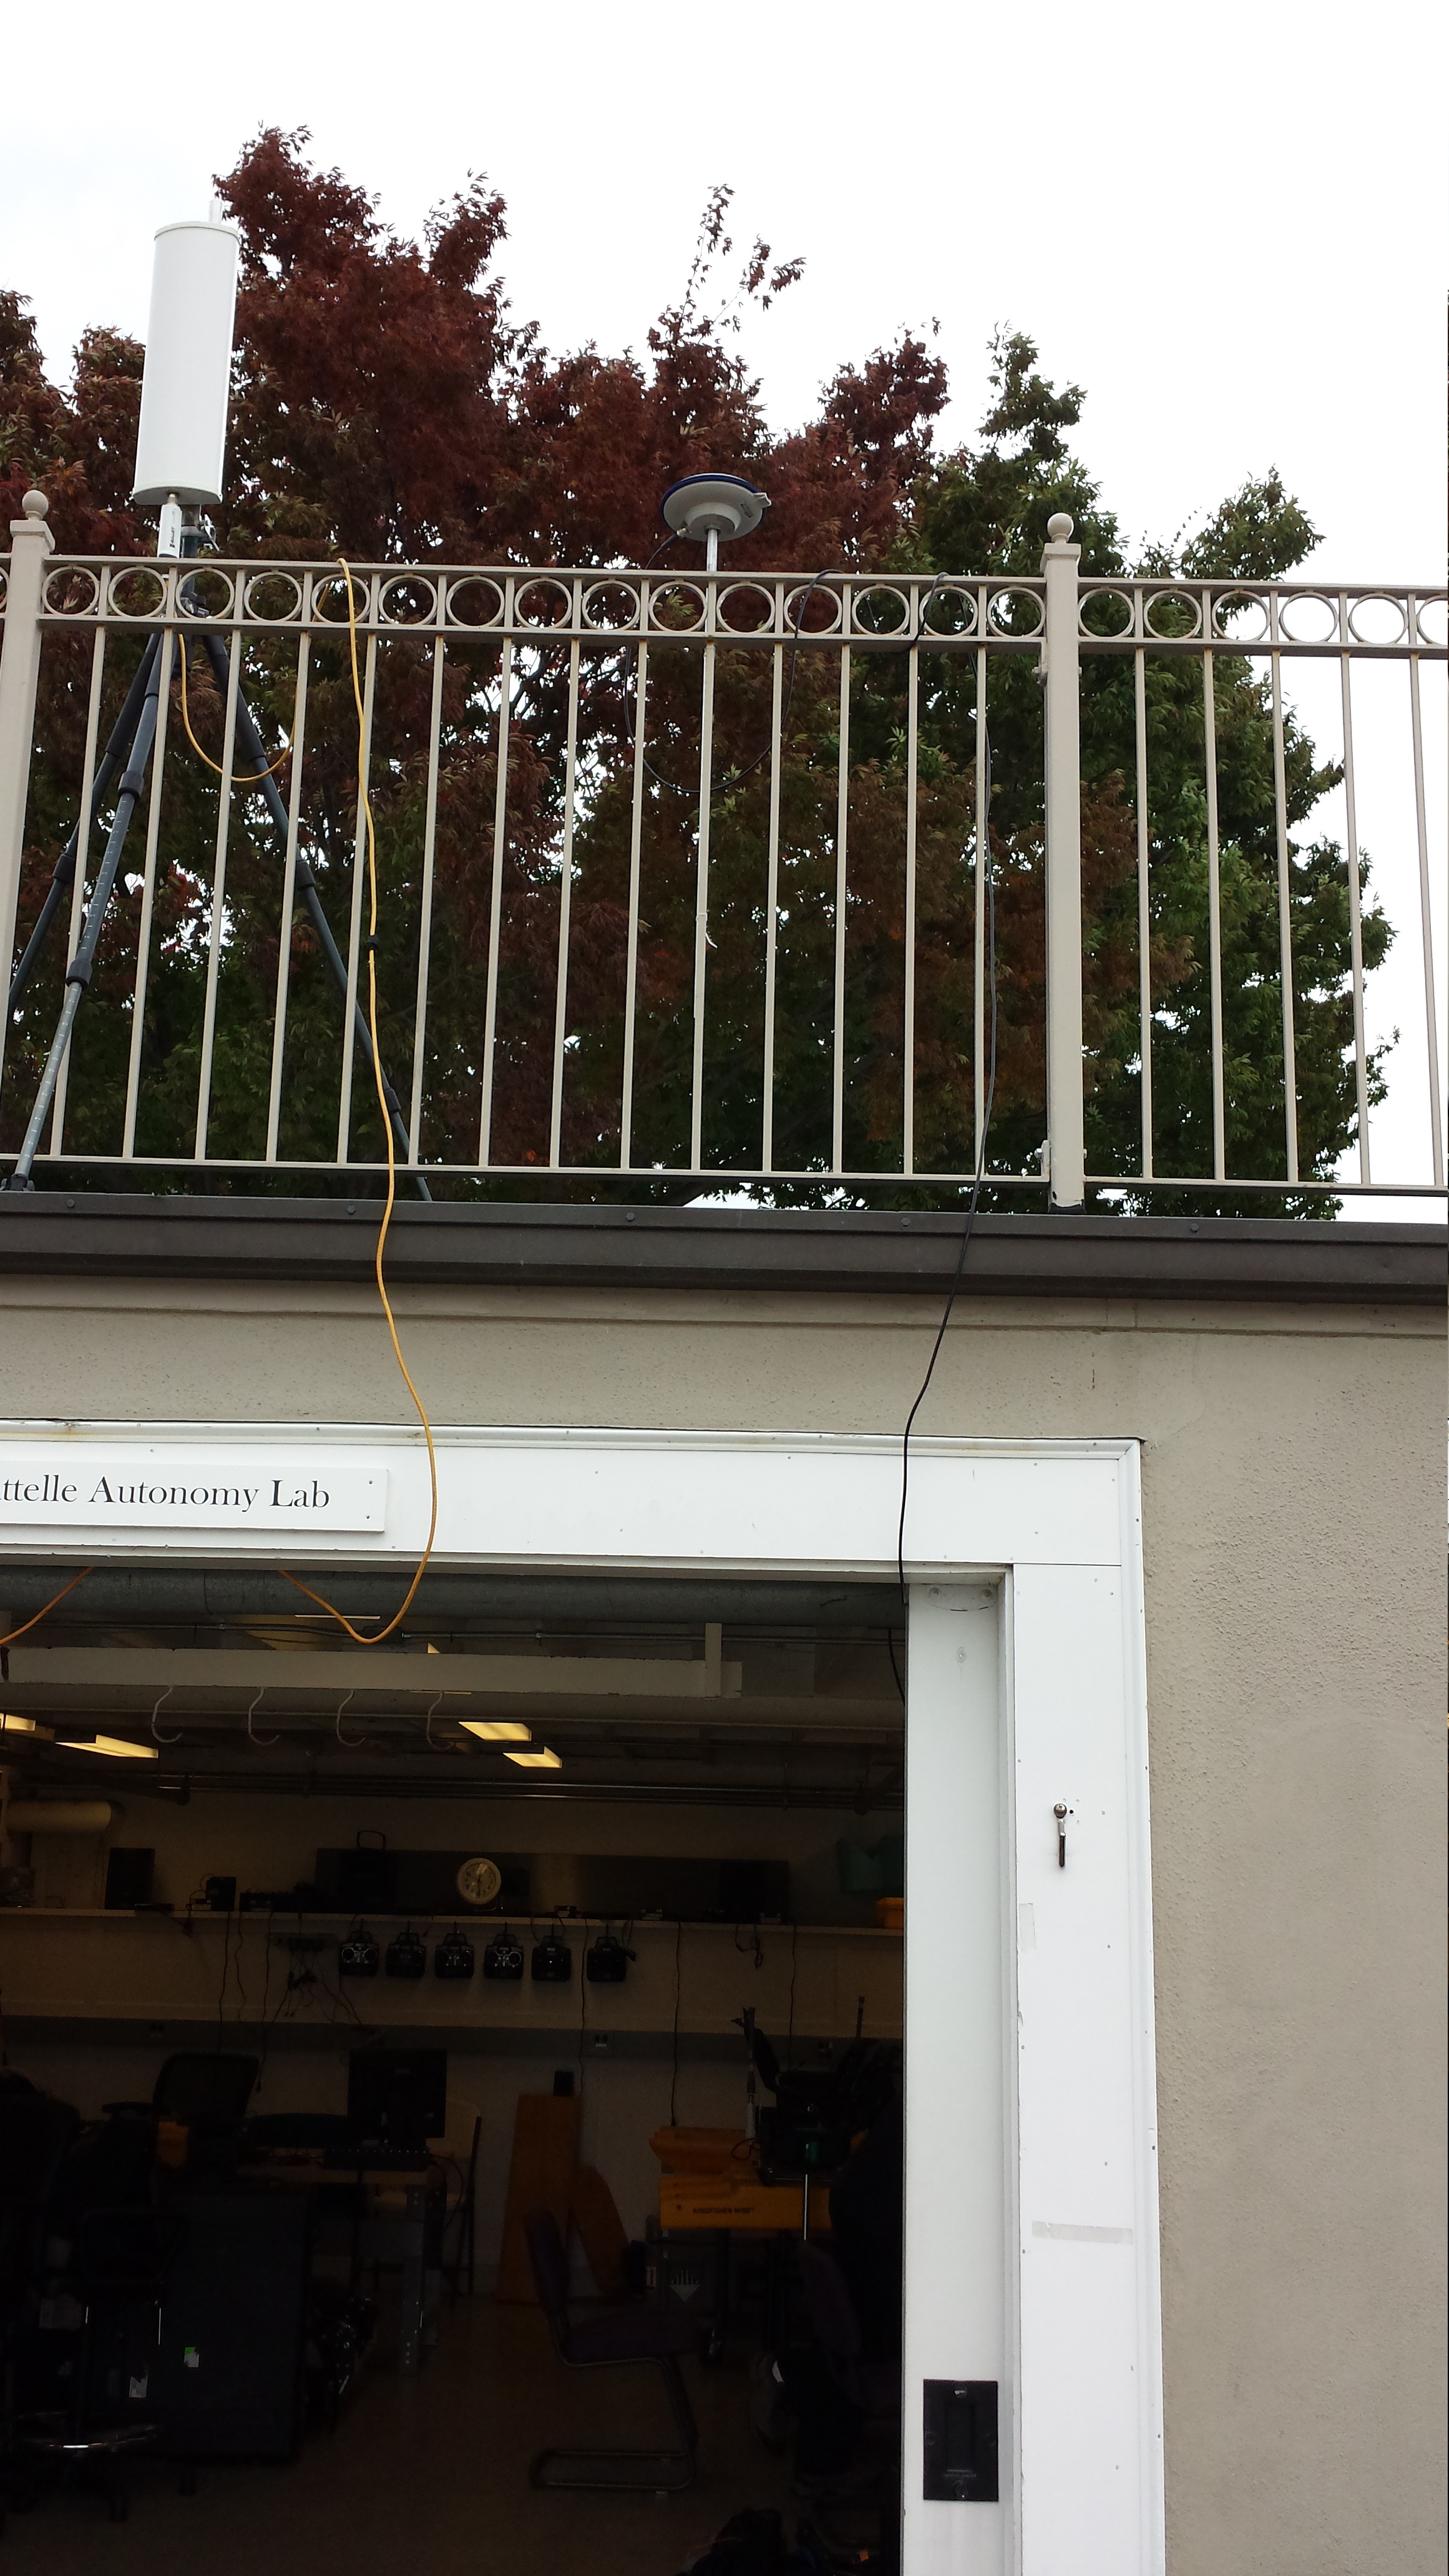
- Zip tie one of the pole-mounted GPS antennas to the upstairs railing. It is important to use the exact railing pole pictured here. Pass a loop of the cable through the railing and pass the end through the loop to provide strain relief.
- Plug the GPS's USB cable into the computer.
- Start the shoreside GPS server by running the script "start_shore.sh" in hovergroup/third-party/josh_rtklib. If it fails to start, wait a bit and try again.
Connect to vehicles
- Plug in the POE injector for the shoreside antenna next to the door. The antenna itself can be left downstairs or moved upstairs if more range is desired.
- Install a fresh battery into the rear position of a kayak and connect the power cable. Battery voltage can be checked by probing the left-most and right-most sockets of the larger connector. A fresh battery should read upwards of 13.5 volts.
- Make sure the kayak's e-stop switch is depressed. Power on the vehicle using the button at the top right of the CPU box. After 15 seconds or so you should be able to ssh to the vehicles from terra.
Deployment
Start mission software
To start the default mission use the following commands (substituting the correct vehicle name):
terra$ ssh nostromo
nostromo$ cd hovergroup-extend/missions/trunk/baseline_pShare
nostromo$ ./launch_vehicle.sh --nostromo
In a new terminal window:
terra$ cd hovergroup/ivp-extend/missions/trunk/baseline_pShare
terra$ ./launch_shore.sh
At this point pMarineViewer should launch and the kayak should appear. Open a browser window and go to localhost:8080 to view a vehicle status report. With the e-stop depressed you can also check that you are able to send waypoints to the vehicle by pressing deploy and right clicking in pMarineViewer.
Launch
Make sure the vehicles are all-stopped and the e-stop is depressed before launching. Launching is a two-person operation. Park the cart a parallel to the edge of the dock and lower the side wall. Place the modem on the dock before lifting the kayak into the water. Be careful not to bang the thruster or skeg. Lower the modem into the water once the vehicle is in. Finally, twist the e-stop to release and drive the vehicle away from the dock using the remote. Press the deploy button in pMarineViewer to activate all vehicles. Note that the RC will take precedence if it is turned on.
Monitoring Operations
Most important parameters are displayed in the web viewer. You should return the vehicles if their battery voltage drops to 11.8 volts. At 11.2 volts, maximum thrust will be limited to 20%. At 10.6 volts, which comes very soon after 11.2 volts, thrust is cut completely.
Retrieval
Take the vehicles out of the water just as they were launched. Always all-stop the vehicle and engage the e-stop before recovery.
If the terminal window you used to start the vehicle software is still open, you can use the "2" option to stop it. Otherwise, use the command "killall pAnter". Check that all apps have closed using the "ps -a" or "ps aux" commands and kill apps individually as needed.
Once the software is stopped use the following commands on the shoreside to fetch the log files.
- From anywhere on terra, type multi-logfetch followed by the first letter of each vehicle you want to get logs from. For example, type "multi-logfetch nst" to get logs from nostromo, silvana, and terra.
- Again from anywhere on terra, run "s3_upload" to upload the day's logs to Amazon S3.
Both commands can be rerun multiple times as needed without issue.
Cleanup
- Power off kayaks and remove batteries. Follow instructions inside charger box to charge.
- Stop GPS server and disconnect USB from computer. Retrieve antenna.
- Unplug WiFi antenna POE.