Adding a Network (IP) Printer on a Mac
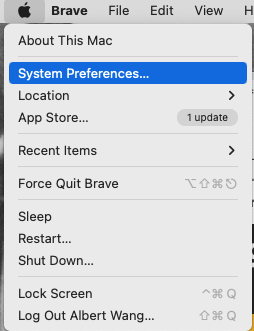
1) Go to Apple-> System Preferences
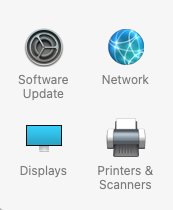
2) Select on Printers & Scanners
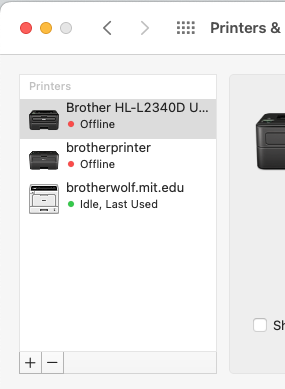
3) Click on the "+" sign at the bottom left of the printer list to add a printer
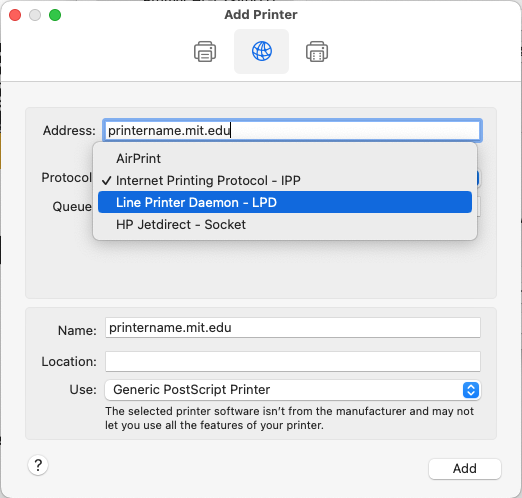
4) Click on the globe icon at the top of the "Add Printer" window.
On the address line type in the name of the network printer followed by .mit.edu . All MIT network printers have a name. For example, an IP printer at MIT named "printername" takes the form printername.mit.edu
If you don't know what your area's printer name is, definitely ask your area's Tech Liaison or one of the Administrative staff.
For Protocol, usually IPP works. Click on "Add". If it works, then it will find the printer and not throw a printer cannot be found error.
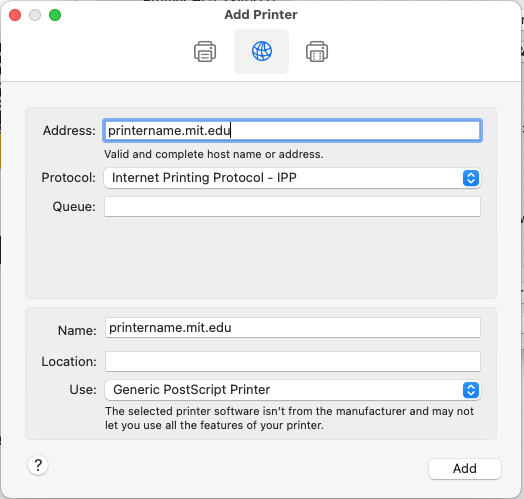
If for some reason IPP does not work and throws and printer cannot be found error, go back a screen and use the LPD protocol instead.
Finally click on Add and it should add the printer into your list of printers without throwing an error.
Sometimes a final screen comes up asking you if your printer has a duplexer. If it does, click on the duplexing option to enable double sided printing. Click on Add to finish the process.
That's it!