This doc has been converted into an article in itinfo. Please send any edits to aurora@mit.edu for inclusion in the formal document or there will be version skew.
Portions from Getting Started with VMware Fusion
- If you are upgrading from a previous installation of VMware fusion, close any open virtual machines and make sure the VMware Fusion is not running.
- Download "VMware Fusion 1.1.1 for MacOS X" from IS&T's VMware Distribution Site. The VMware Fusion disk image will be saved to your default download directory with the name of "VMware-Fusion-<1.x.x>-<xxxxx>.dmg", where <1.x.x> is the application version and <xxxxx> is the build number for the download release.
- Double-click VMware-Fusion-<1.x.x>-<xxxxx>.dmg to mount it.
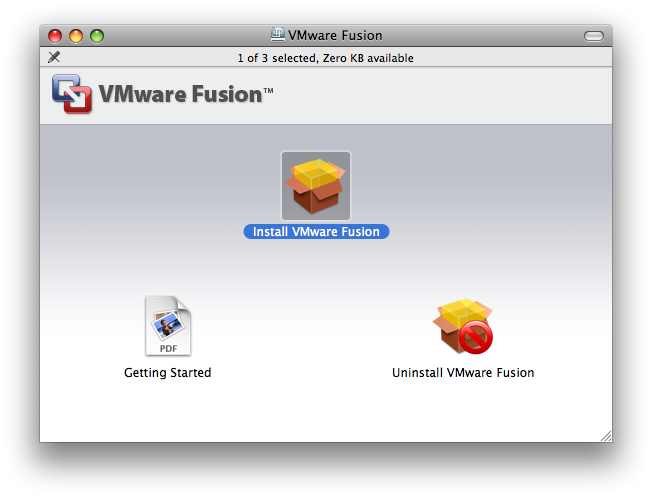
- Use the Finder to browse the VMware Fusion disk image and double-click the "Install VMware Fusion" package.
If you are warned about "Install VMware Fusion" being a application downloaded from the Internet, click "Open".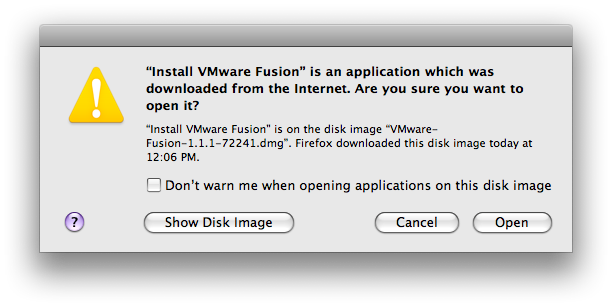
- You will be warned that the "package contains a program that determines if the software can be installed."

Click "Continue". - You will be presented with a welcome screen:
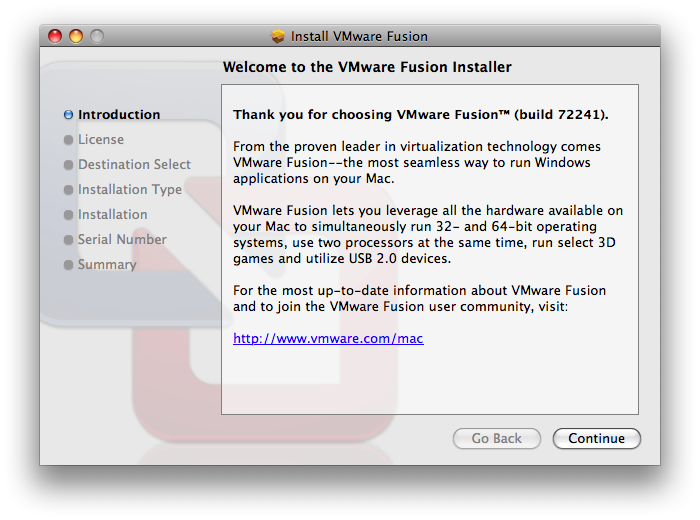
Click "Continue". - You will be presented with the Software License Agreement:
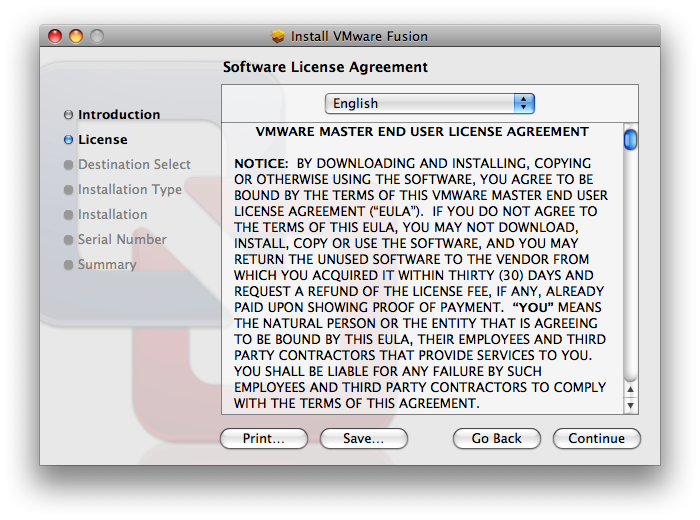
Click "Continue" - You will be asked if you agree to the software license agreement:
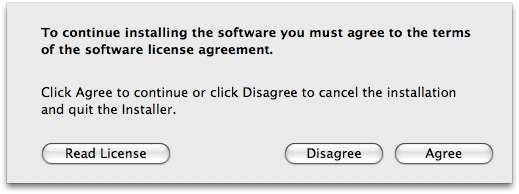
Click "Agree". - You will be asked to select an installation location:
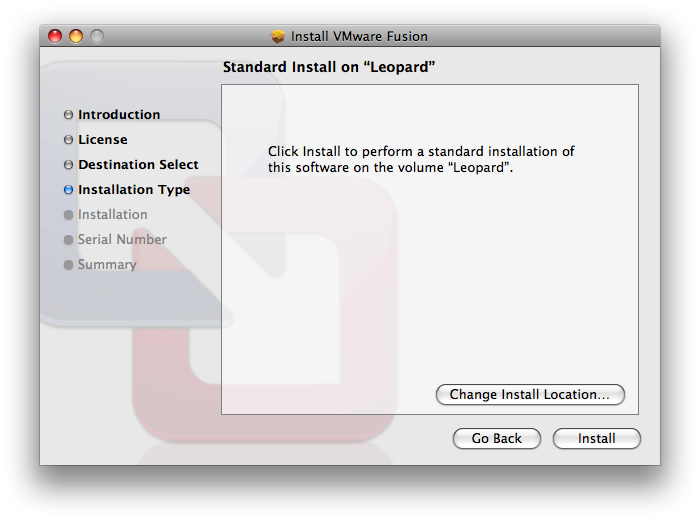
Click "Install" to use the default location of /Applications, or click "Change Installation Location..." to select a different destination. IS&T recommends that most users use the default location. - You will be asked to authenticate as an administrative user:

Enter your administrator name and password, and click "OK". - You will be presented with serial number information.
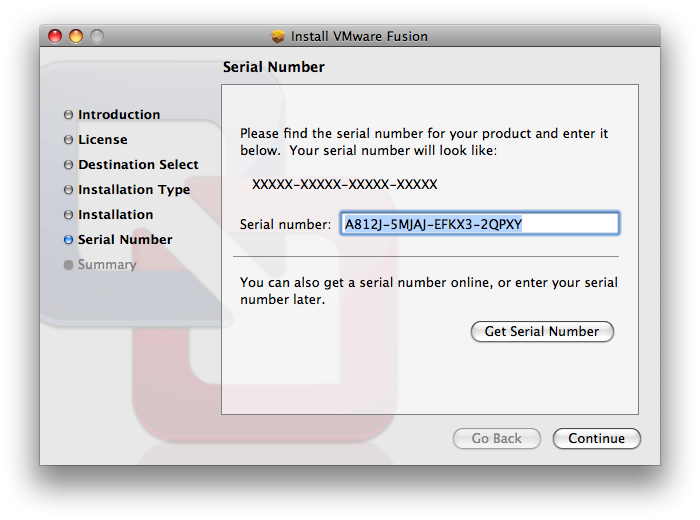
MIT's serial number is already entered. Click "Continue". - VMware Fusion is now installed:
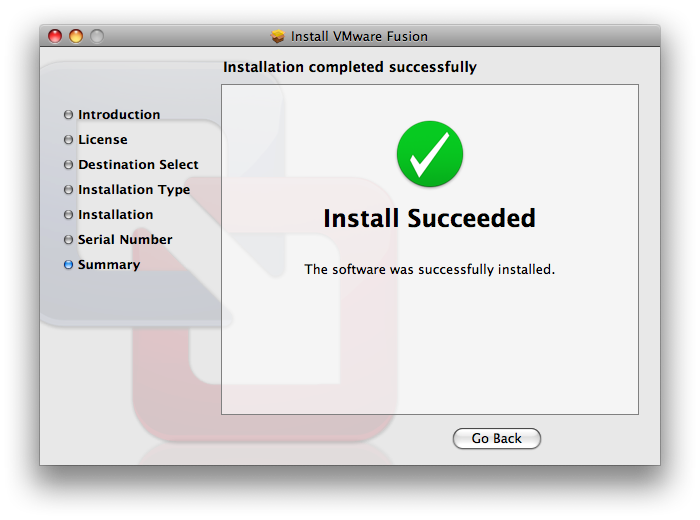
Click "Close" to exit the installer.