...
- 60-2000 grit sandpaper
- Spray bottle with water
- Shop towels
- System 3000 resin + hardener
- Phenolic microballoons
- Vacuum bagging materials
- Vacuum bag
- Vacuum tape
- Release film
- Peel ply
- Bleeder fabric
- Cabosil (fumed silica)
- Long rod
- Layup jig
- Mold release wax
- PVA film
- Mallet
- Popsicle sticks
- Fine-haired brush (This is for applying the PVA film to the mold for mold release. I used a makeup brush, which worked pretty well)
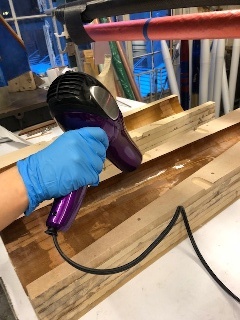
- Heat gun
- Sharp scissors
- Spray glue (Super77, made by 3M)
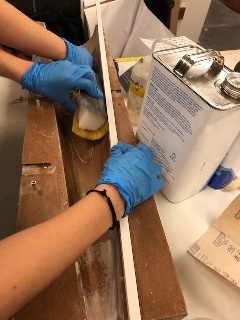
Below are pictures of some of the materials used (from left to right: cabosil, mold release wax, PVA film, fine-haired brush)
...
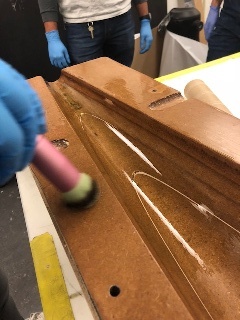
- Wet sand mold to 2000 grit using sanding block (made of foam)
- MAKE SURE TO PROTECT EDGES with some flat piece of aluminum or other rigid material, or you'll get a lip on the seam in the end that you need to sand
- Wax mold (3 layers of Mold Release Wax, yellow container). For each layer of wax,
- Get a dab of wax on a shop towel and start applying to the mold (top and inside and on either end for good measure)
- Rub in circles until you can't see streaks anymore and there is no more resistance (this is called "buffing")
- Let set for 15 minutes in between coats
- Apply PVA film with fine-haired brush, let set for 20 minutes
Layup Preparation
- Make a template: Make cutout by laying piece of fiberglass in mold and marking the edges, allowing for a 1" tab that decreases to around 0.5" as you get to the tip
- Be sure to mark where the tab is on the cutout so you know how to orient the ply during the layup.
- Using spray glue (3M Super77), lightly spray a piece of wax or parchment paper and, with the help of another person, lay down the ply.
- Smooth out any bubbles/wrinkles (start over if it isn't completely smooth)
- Cut using sharp scissors or pizza-roller type cutting tool on a plastic mat
Layup
- Clear surface and prepare supplies. Cover surface with Mylar because you're going to pour epoxy on it
- Scale for weighing epoxy
- Squeegees
- Shop towels
- Scissors
- Rollers
- Mix cabosil + epoxy and apply to mold (thick on edges)
- Use System 3000 epoxy
- Mix enough cabosil until the texture is like melted butter
- Using a roller, apply to the mold (apply thick coating on the edges in particular)
- Lay down first ply and, using a roller, roll the surface from end to end so that the cabosil + epoxy layer from underneath soaks in
- Pour a generous amount of epoxy in the middle of the table and roll the rollers in it, and apply to the first layer until thoroughly soaked
- Cut any stray fibers in the meantime, but don't wipe away the epoxy on the edges/top of the mold with acetone or you'll remove the PVA film.
- Place a second dry layerLayup- don't wet plies before laying down
- Tab at least 1" at base, shorter at tip
- Attach halves of mold carefully, making sure tab doesn't get stuck
...