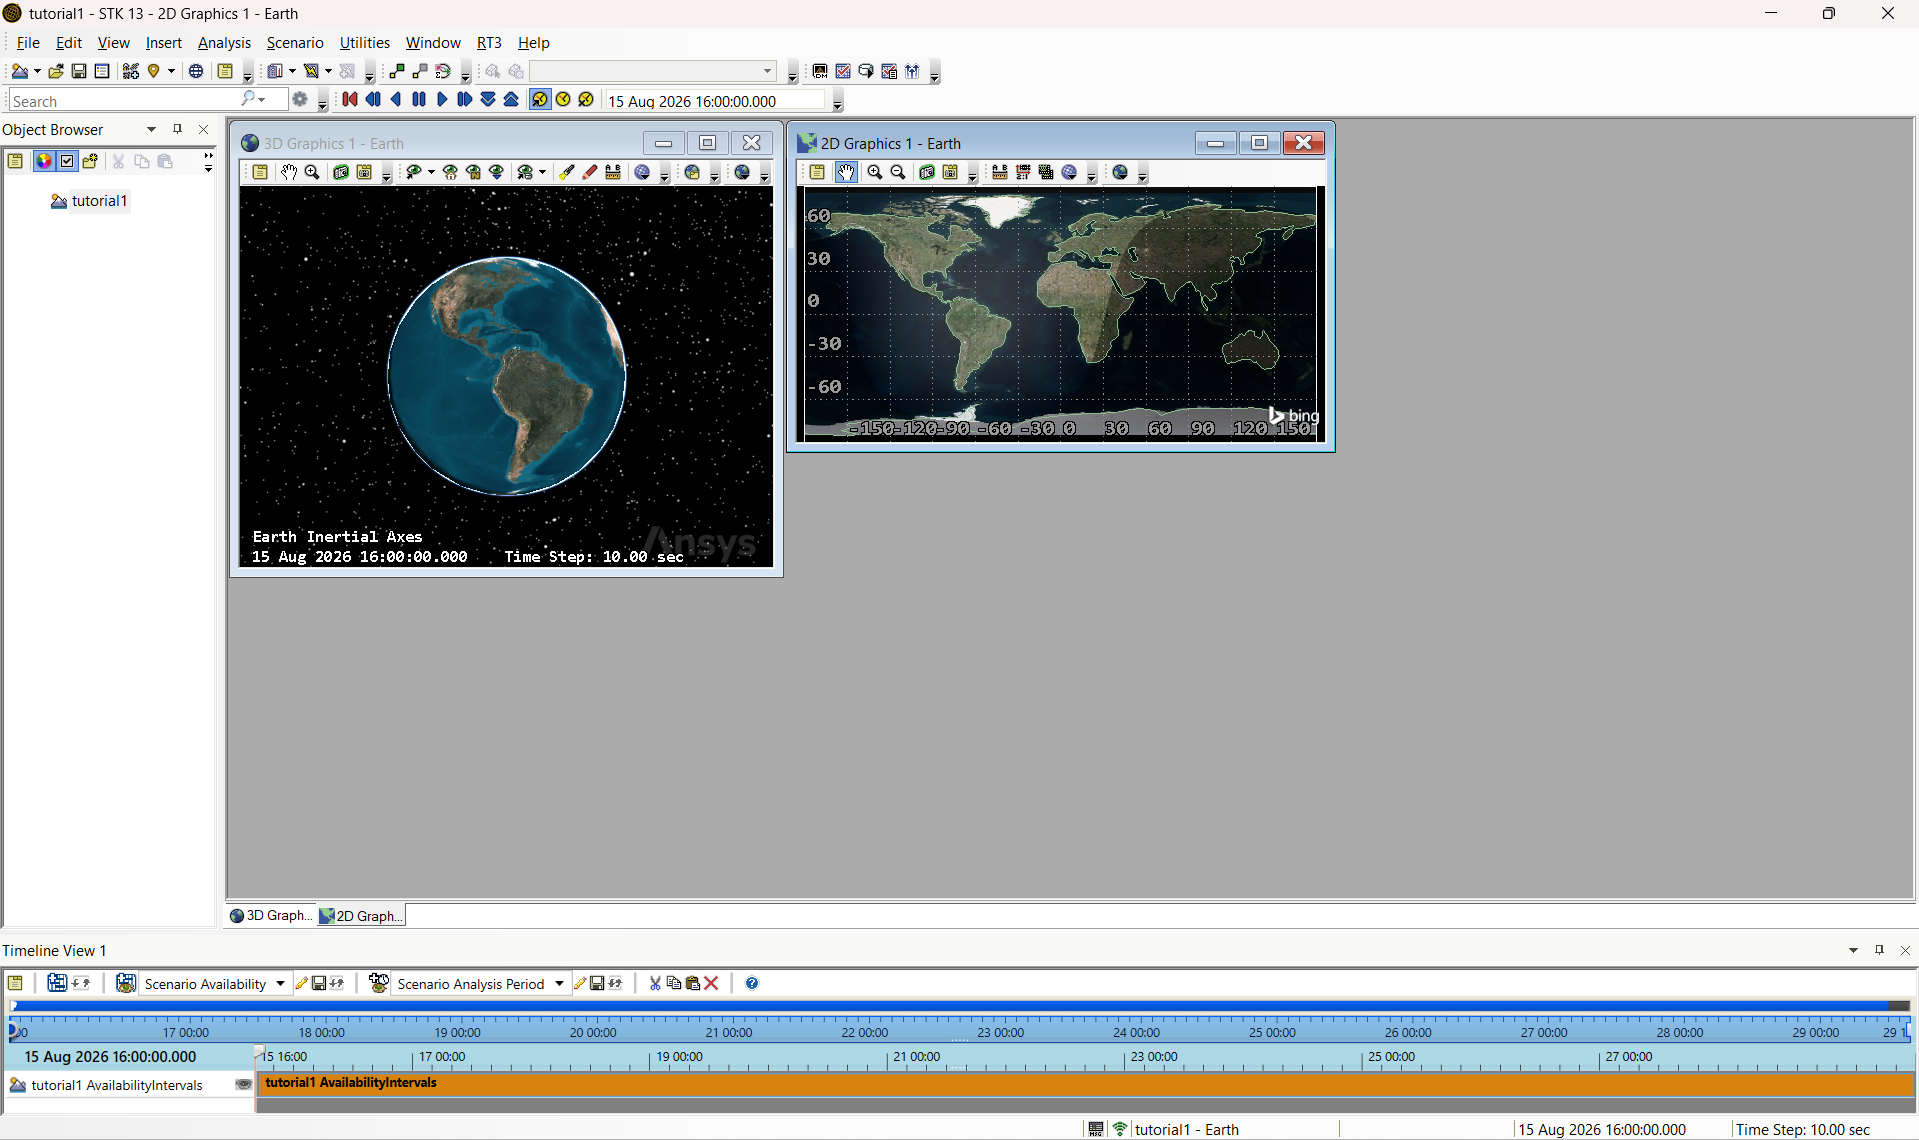
To get started with STK, we will first focus on what you'll see when starting up the application, and navigating all the panels in the interface.
Getting Started
When you first open up STK, you'll see the following window (after you click "Create New Scenario"):
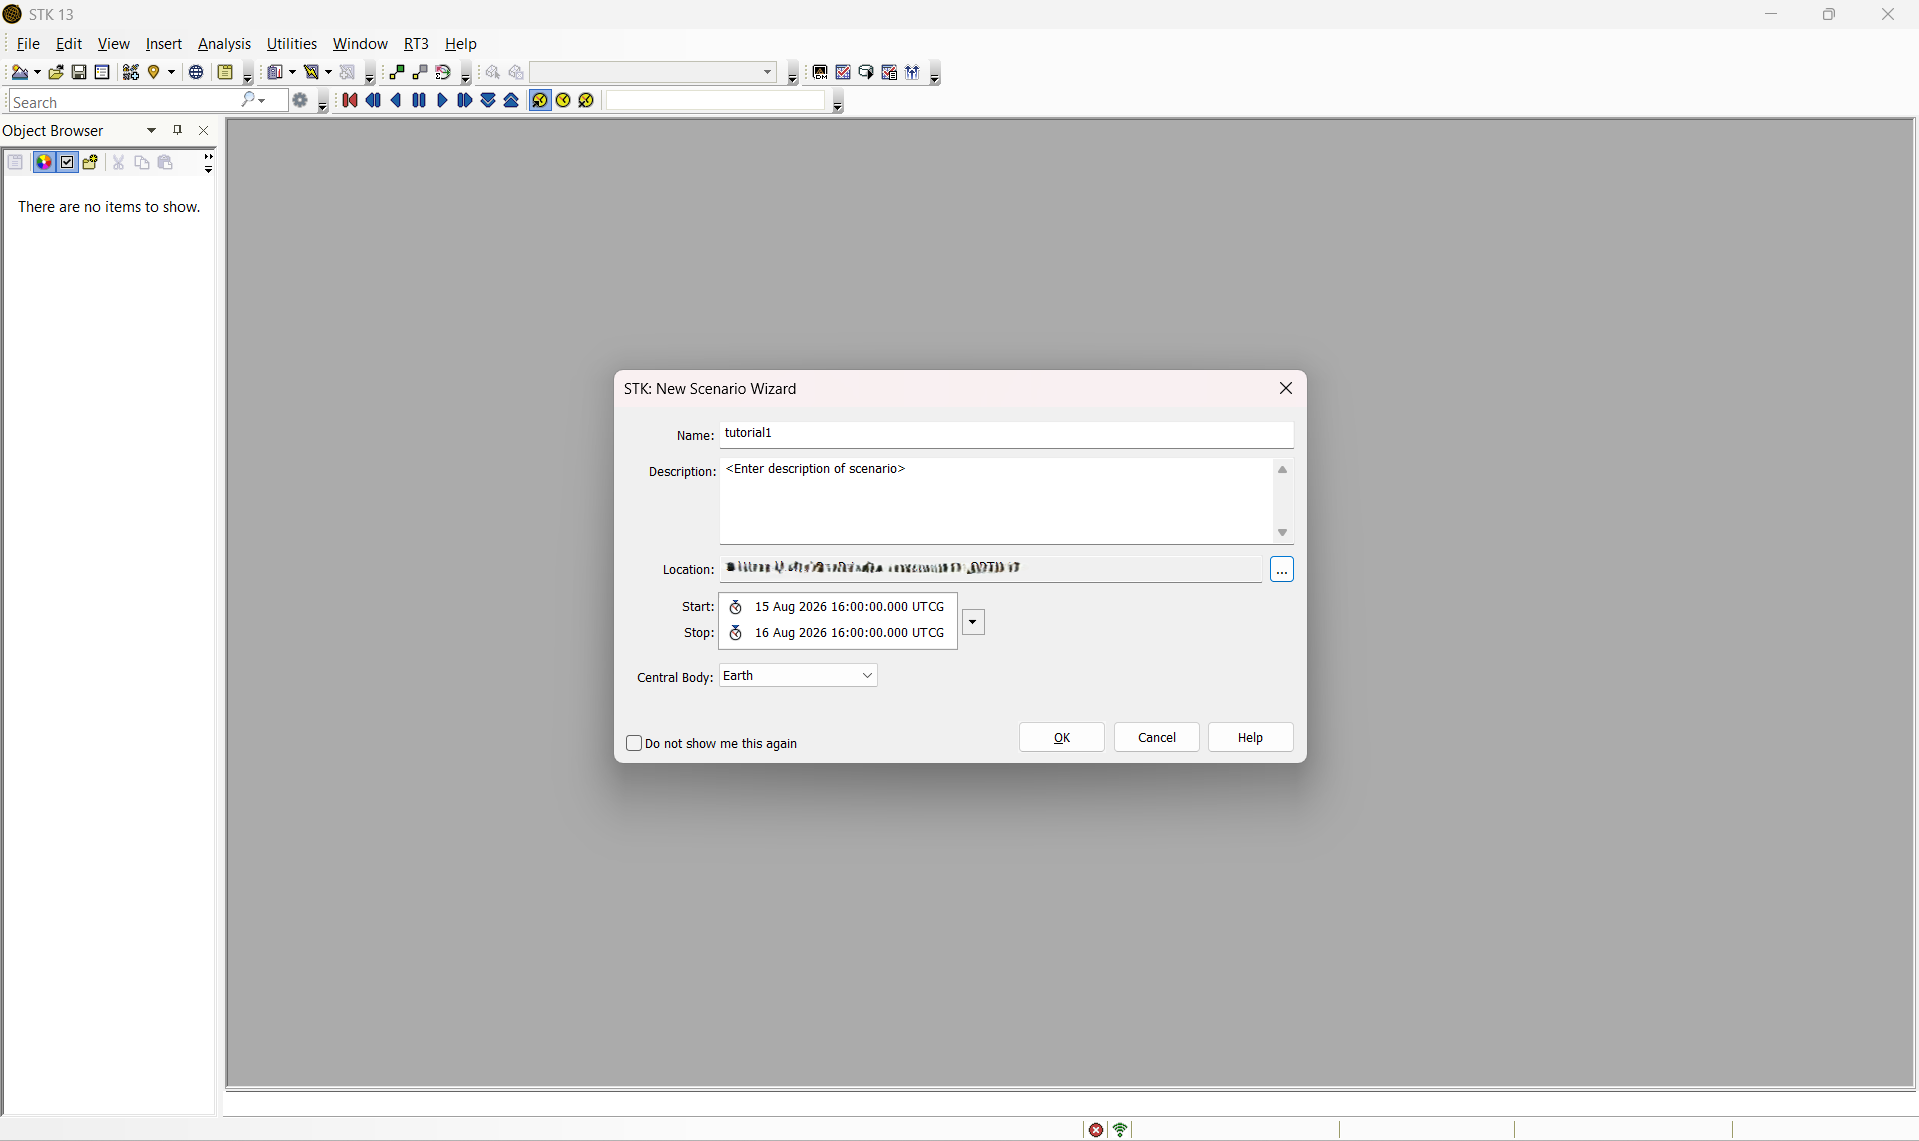
(click to enlarge)
The window in the center of your screen pops up and allows you to create a new scenario. Think of a scenario as a project file. You're analyzing some situation or trying to simulate some scenario, which would live within a single new folder that STK creates. You can name it whatever you want, but of course, you should make the name something relevant to your scenario. You can change where this folder lives, although I highly recommend that you just leave it in the default location.
Moving down along that window, you can see that you can change the start and stop time of the scenario. All this does is change the timeframe within which the scenario will be simulated. This is not particularly relevant right now, but if you import historical data from a satellite or really anything from the past, this becomes very important, as this could mess with the location of satellites, aircraft, planets, and more.
Finally, you can change the central body that you focus on. For the purposes of this and the next few tutorials, we will keep our central body as Earth to be our "home" planet or celestial body. Click "OK" to proceed!
Your Home Screen
You'll see a pop-up that invites you to create a new object. We'll get to that, so for now just close that window. Let's look at what's behind that. What you (should) see on your screen is shown below: