Help is available by sending an email to csf-support@mit.edu
Have any suggestion on how improve this wiki? Please give us your feedback at csf-support@mit.edu
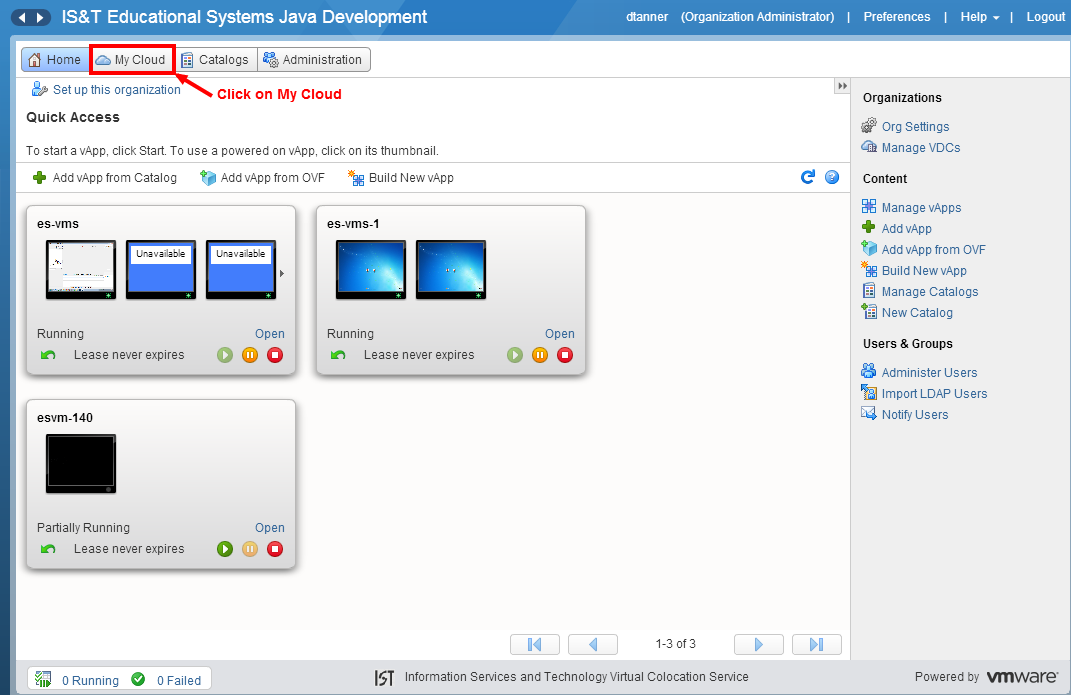
- Log into the VMware vCloud Director and from the home page, click on My Cloud as shown below:
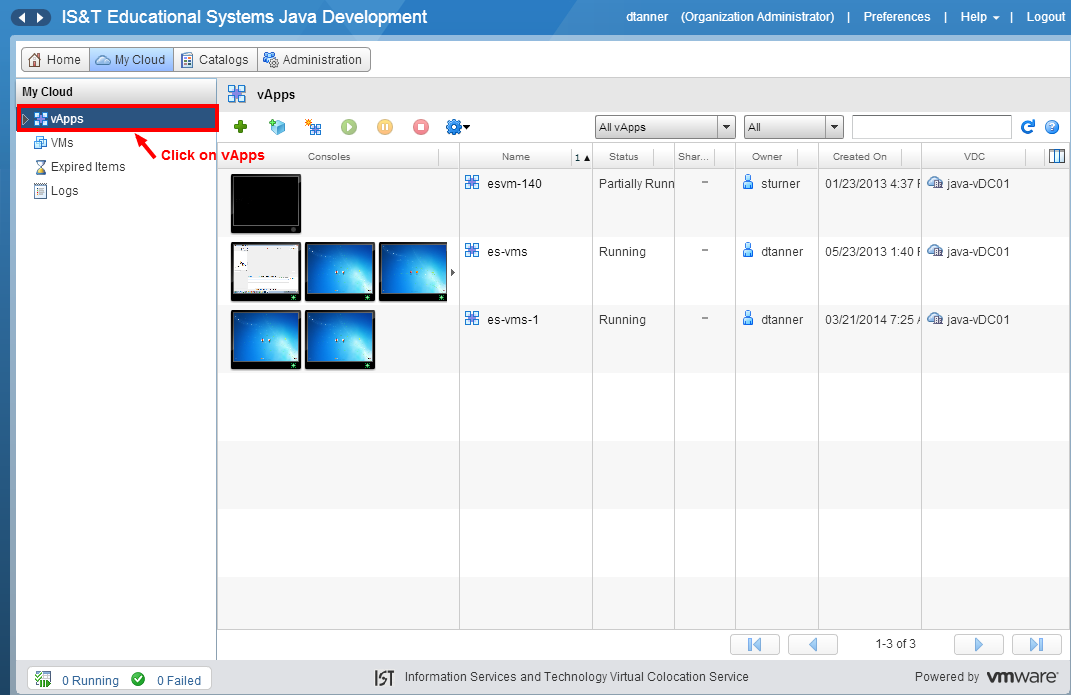
- Click on vApps as shown below:
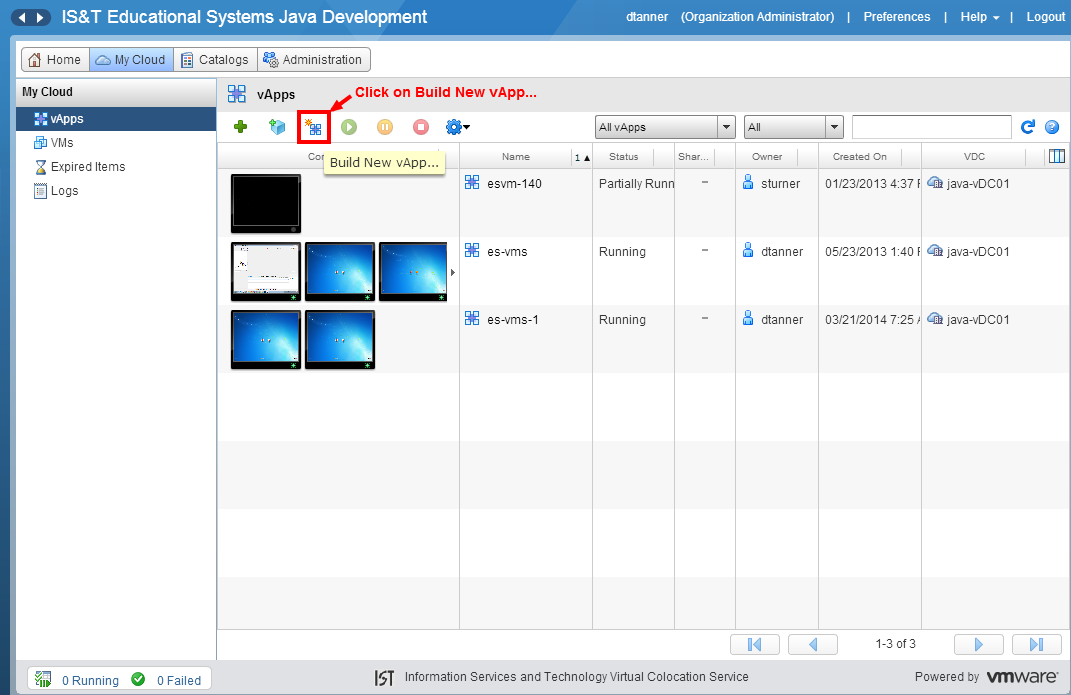
Click on Build New vApp... as shown below:
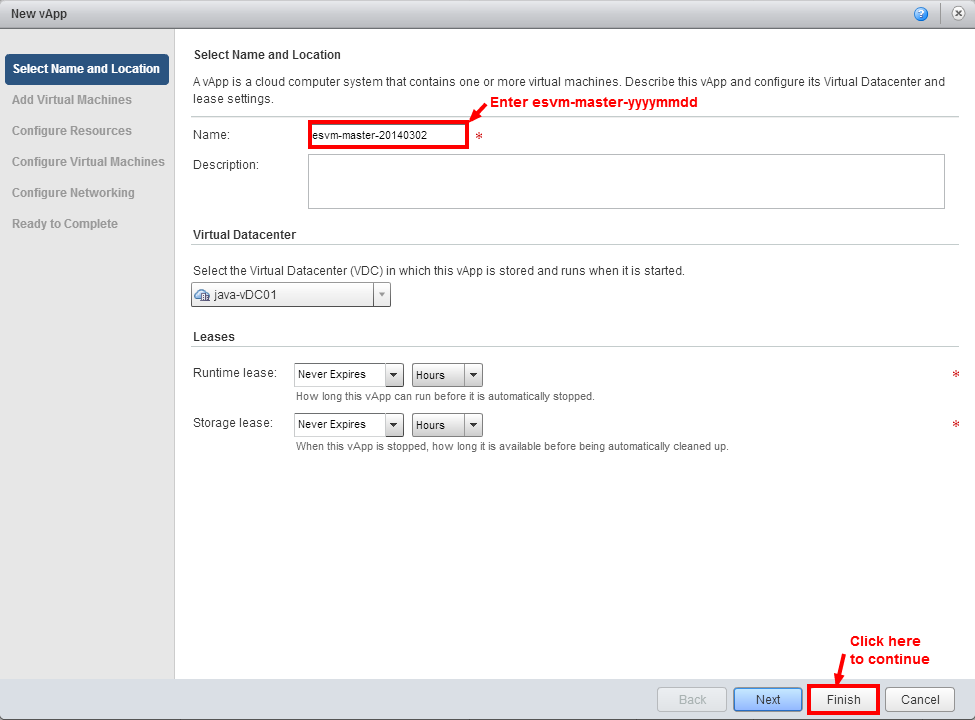
Enter a Name as shown below. The Name should be of the form: esvm-master-yyyymmdd, where yyyy is the year, mm is the month and dd is the day that the master was created.
In this example the Name is esvm-master-20140320. The creation date is March 20, 2014.
When you are satisfied that everything is correct click on the Finish button to continue.
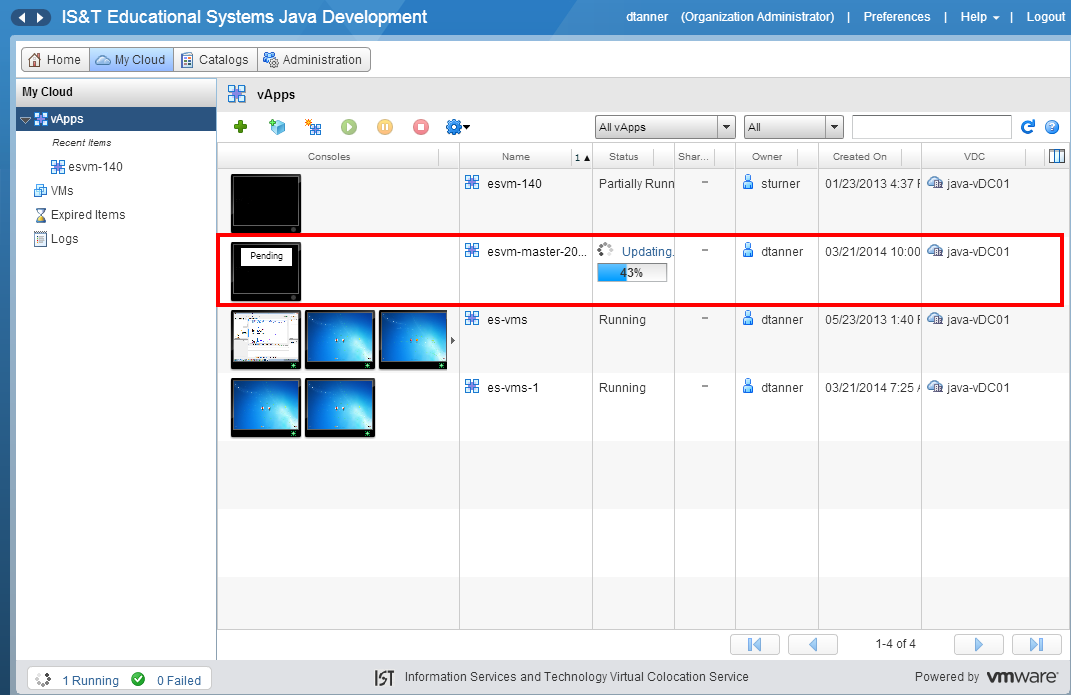
- The following page will be displayed indicating that the esvm-master-20140320 vApp is being created.
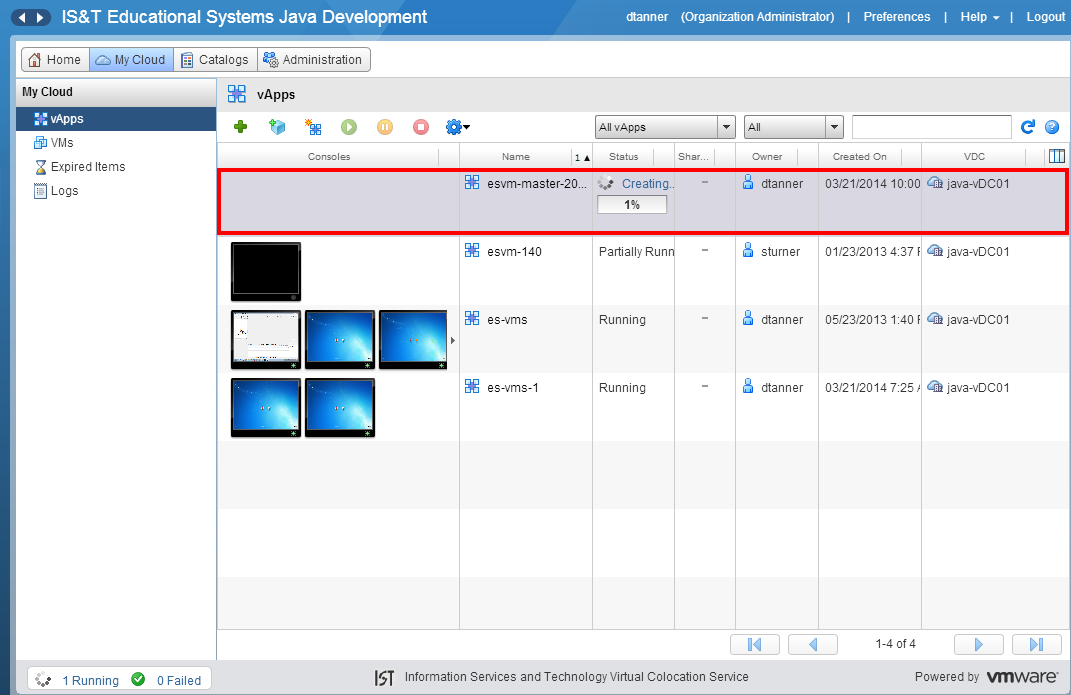
When the vApp has been created, the following will be displayed: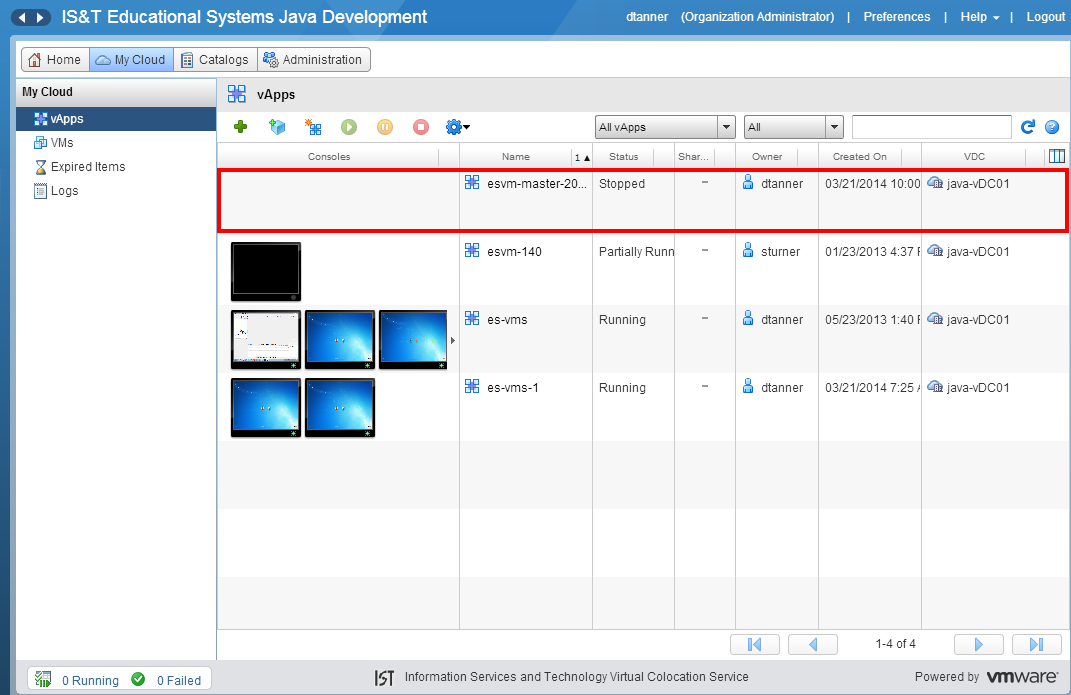
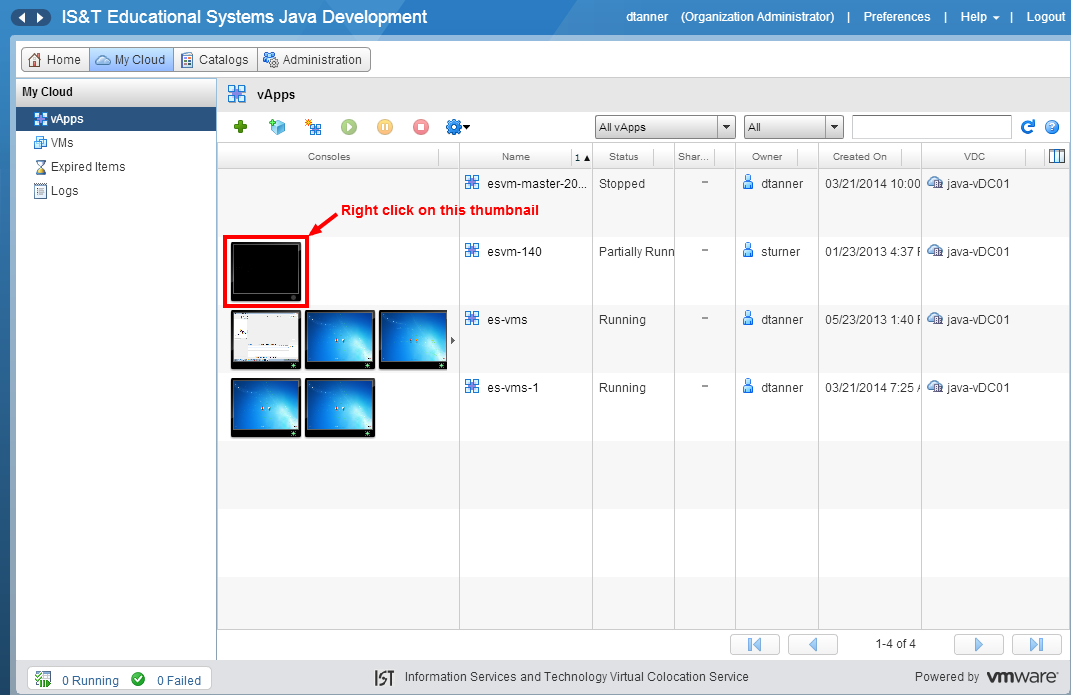
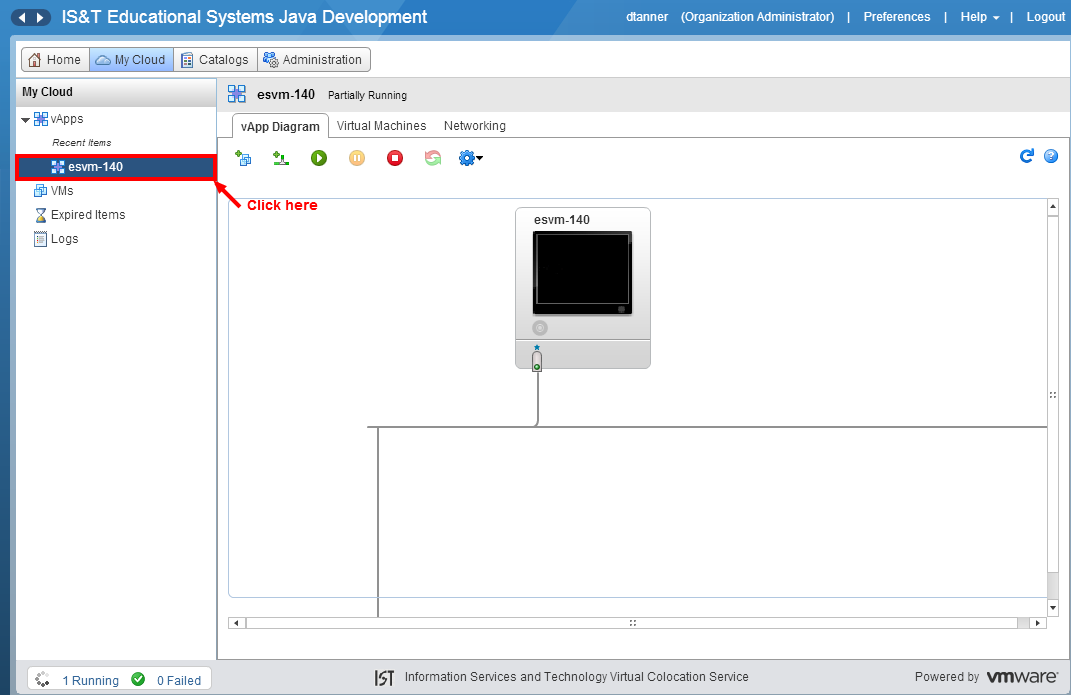
- Now we will create the VM that will be used for the template. Right click on esvm-140 console thumbnail as shown below:
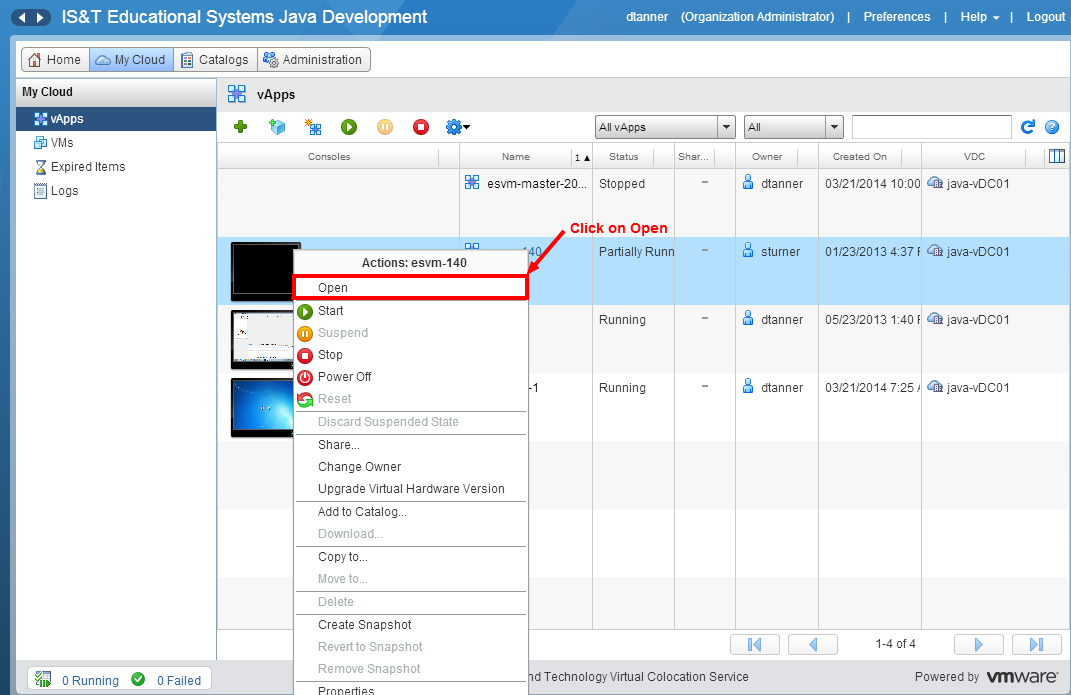
Click on Open as shown below:
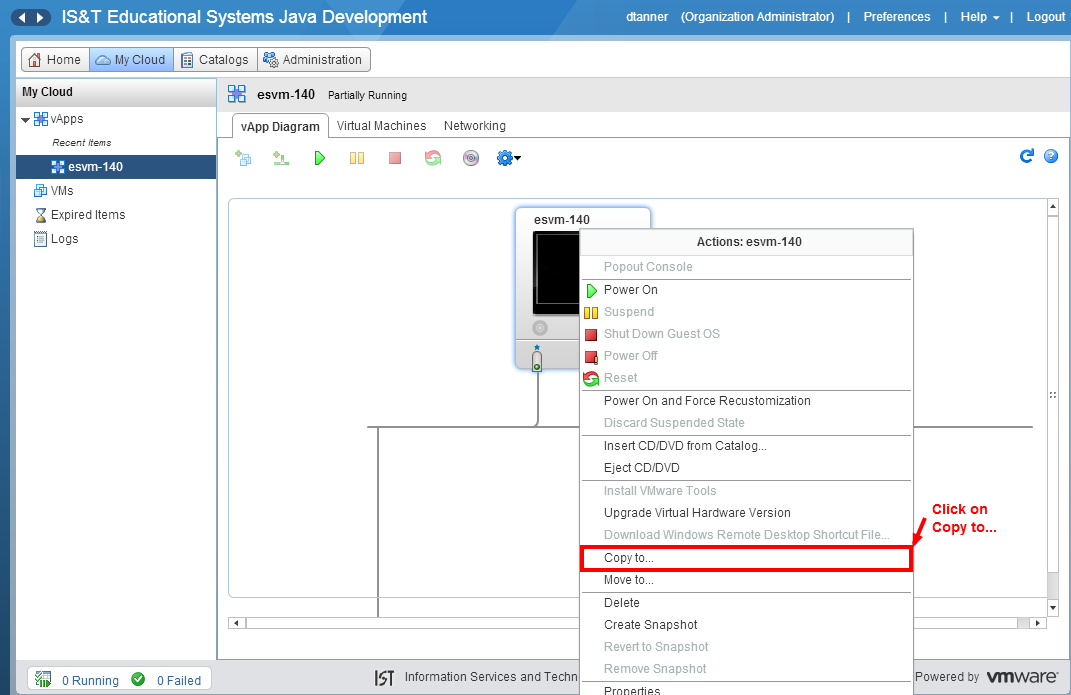
- Right click on esvm-140 console thumbnail and click on Copy to… as shown below:
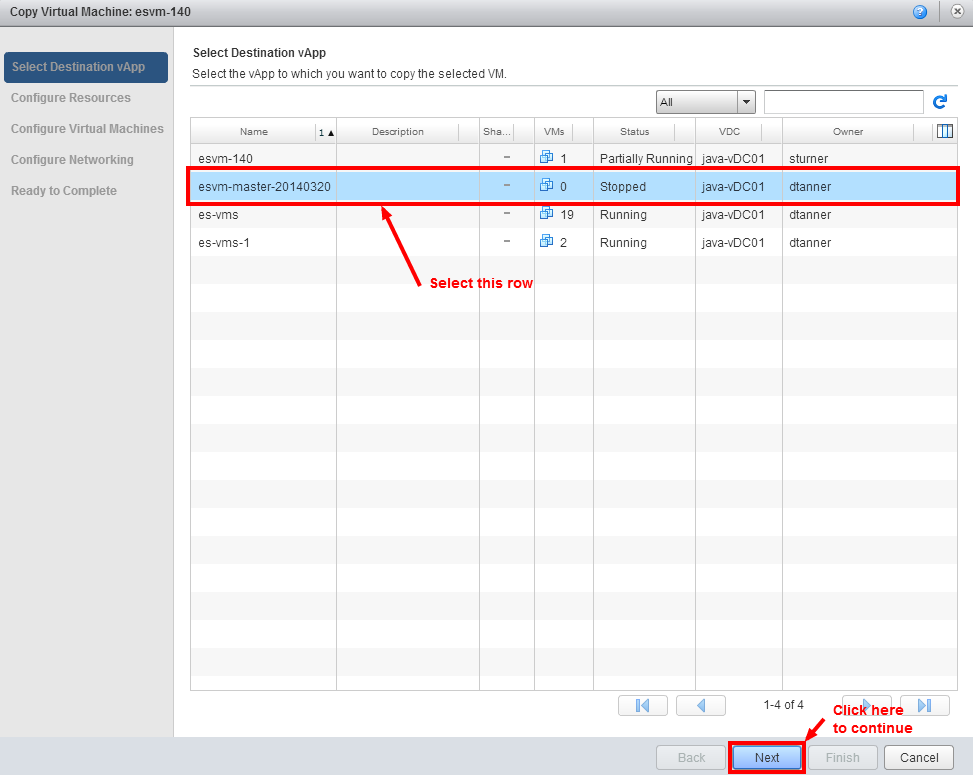
- Select esvm-master-20140320 vApp that you created earlier. When you are satisfied that everything is correct click on the Next button to continue.
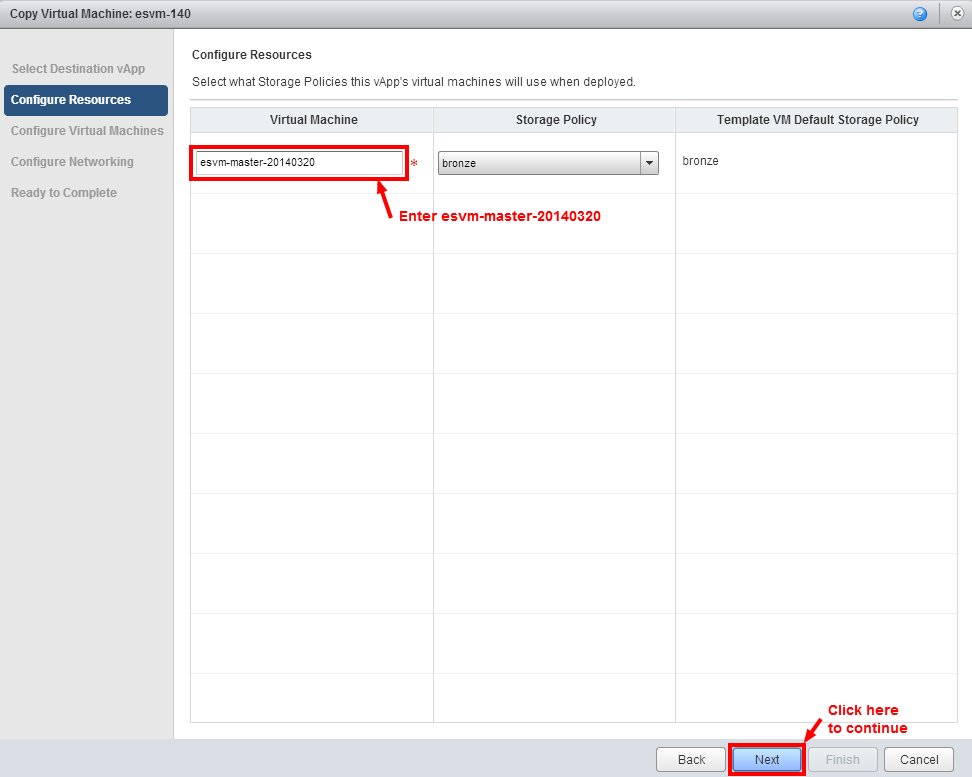
Change the Virtual Machine from esvm-140 to esvm-master-20140320. When you are satisfied that everything is correct click on the Next button to continue.
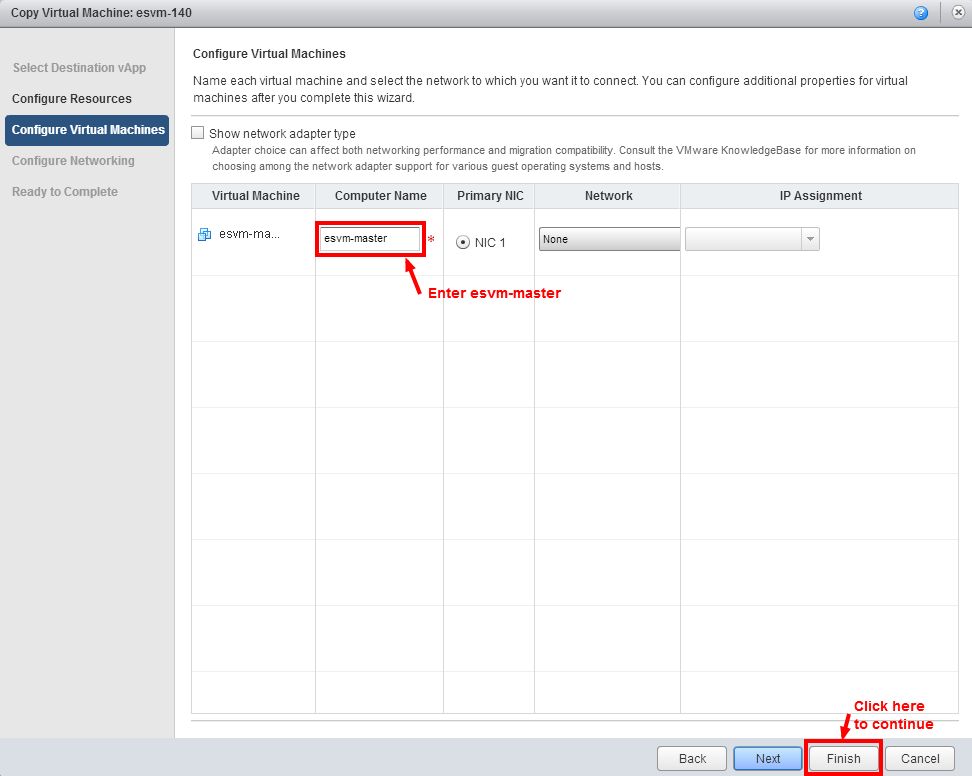
- Change the Computer Name from esvm-140 to esvm-master. When you are satisfied that everything is correct, click on Finish button to continue.
When the following screen is displayed, click on vApps as shown below:
- The esvm-master-02140320 vm is now being created. Please be patient, it take some time to complete.
- When the esvm-master-20140320 VM has been built, right click on the esvm-master-20140320 console thumbnail and select Open as shown below:

Right click on esvm-master-20140320 console thumbnail and click on Properties as shown below:

- Click the Hardware tab and scroll down to the NICs section and click the Delete button as shown below: