Help is available by sending an email to csf-support@mit.edu
Have any suggestion on how improve this wiki? Please give us your feedback at csf-support@mit.edu
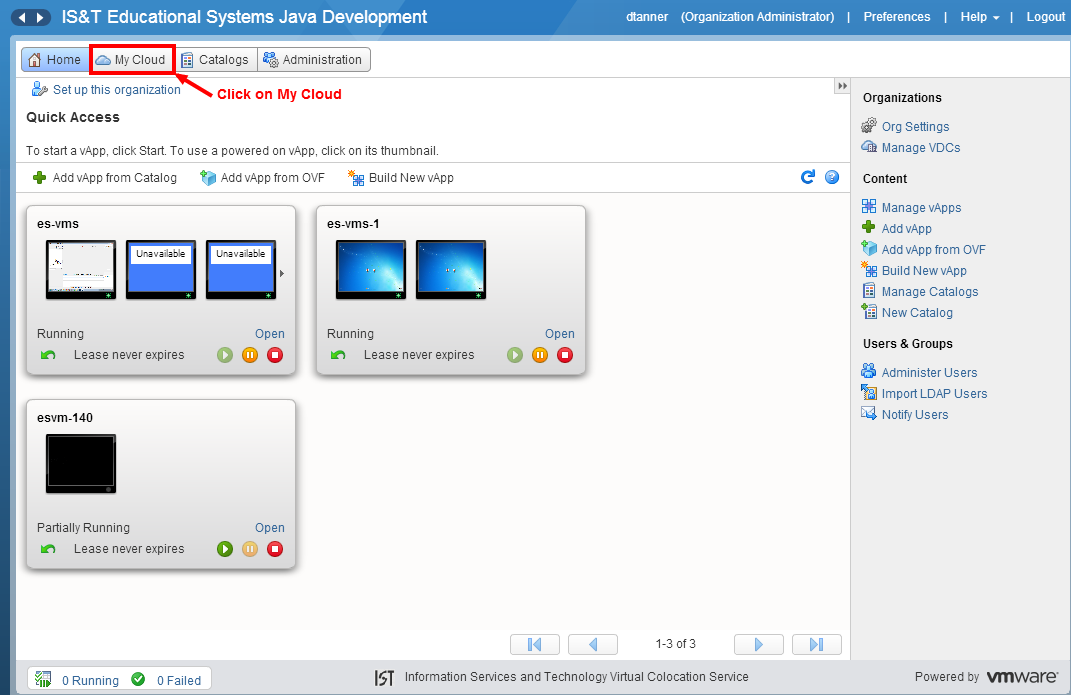
- Log into the VMware vCloud Director and from the home page, click on My Cloud as shown below:
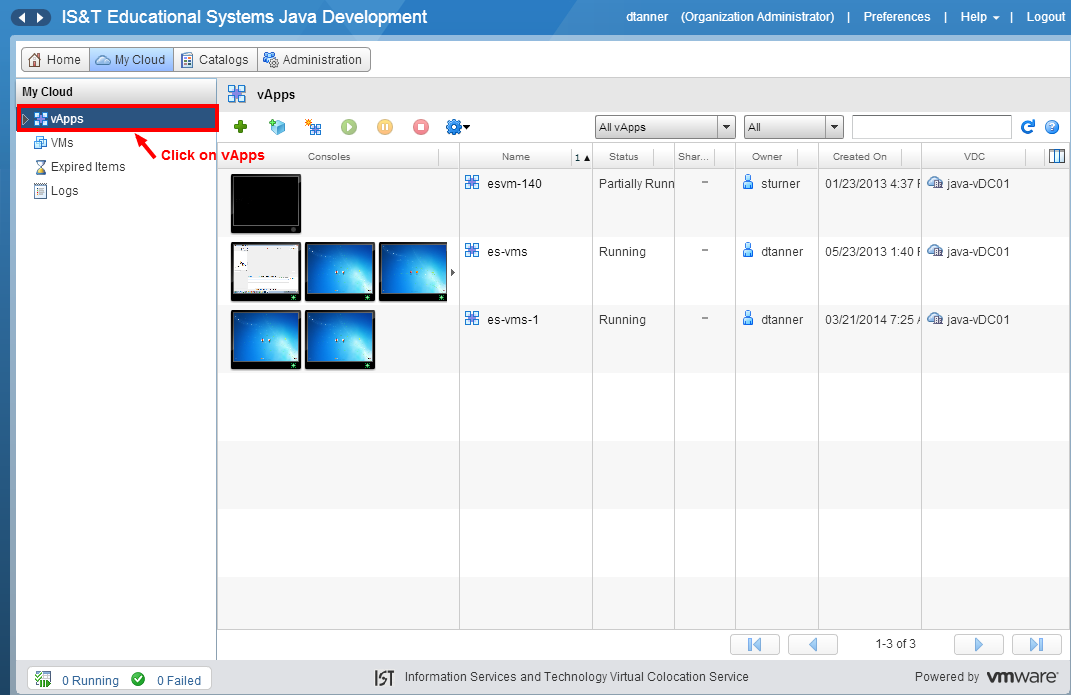
- Click on vApps as shown below:
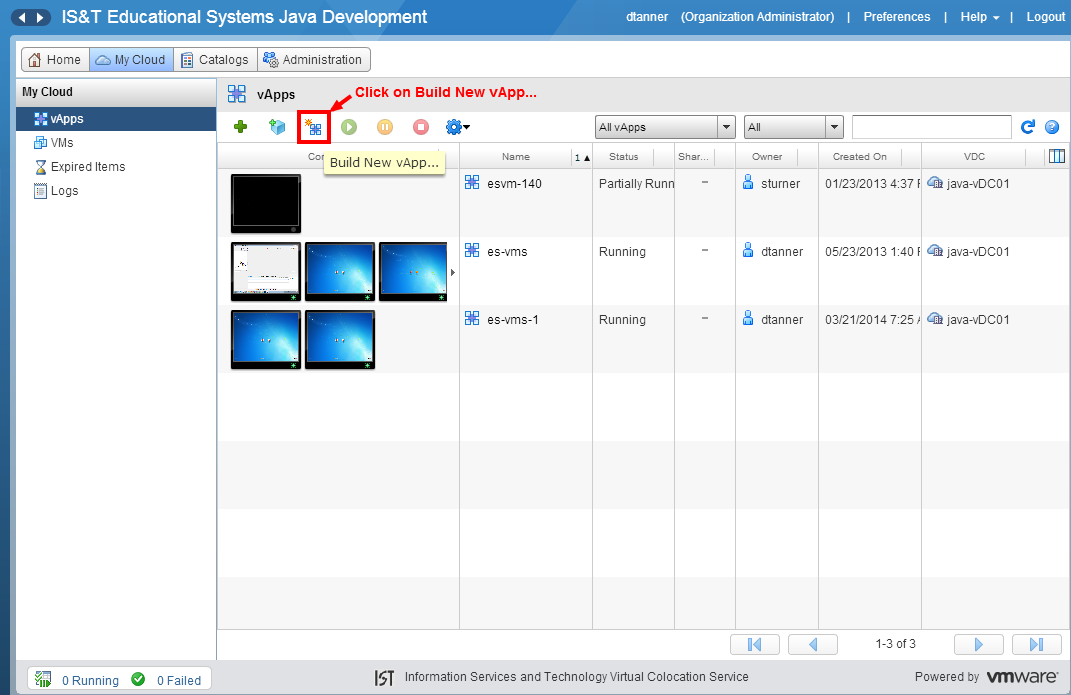
Click on Build New vApp... as shown below:
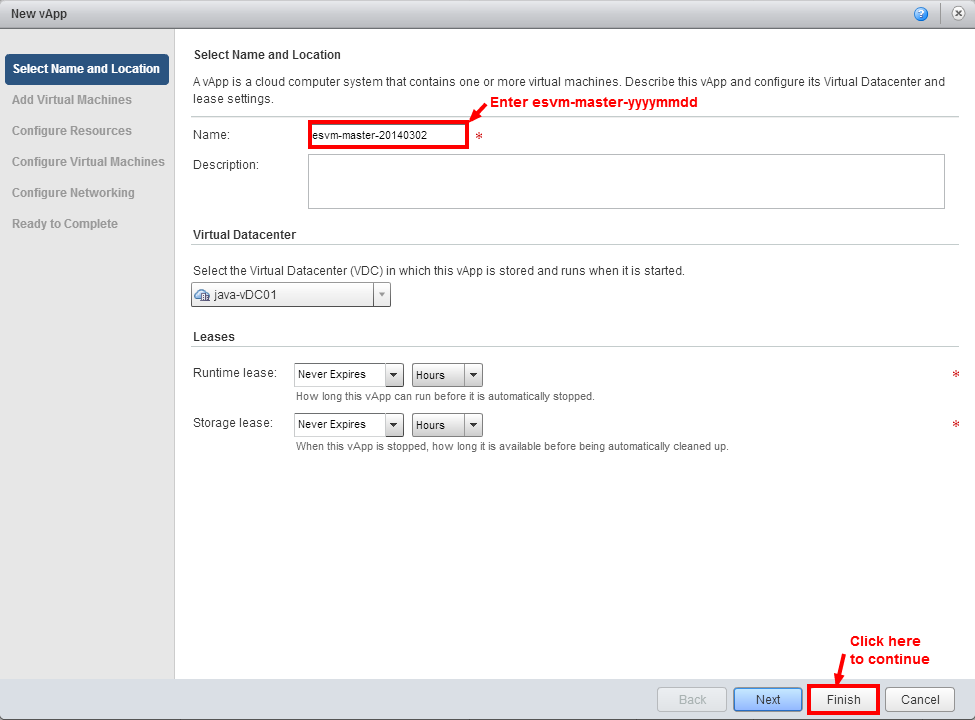
Enter a Name as shown below. The Name should be of the form: esvm-master-yyyymmdd, where yyyy is the year, mm is the month and dd is the day that the master was created.
In this example the Name is esvm-master-20140320. The creation date is March 20, 2014.
When you are satisfied that everything is correct click on the Finish button to continue.
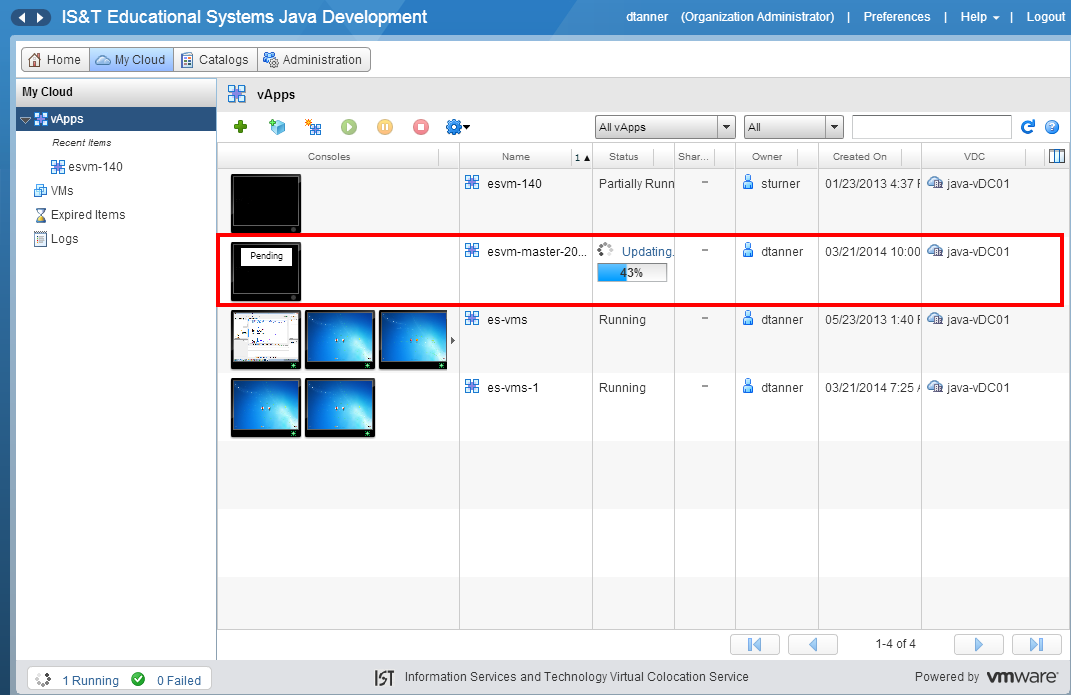
- The following page will be displayed indicating that the esvm-master-20140320 vApp is being created.
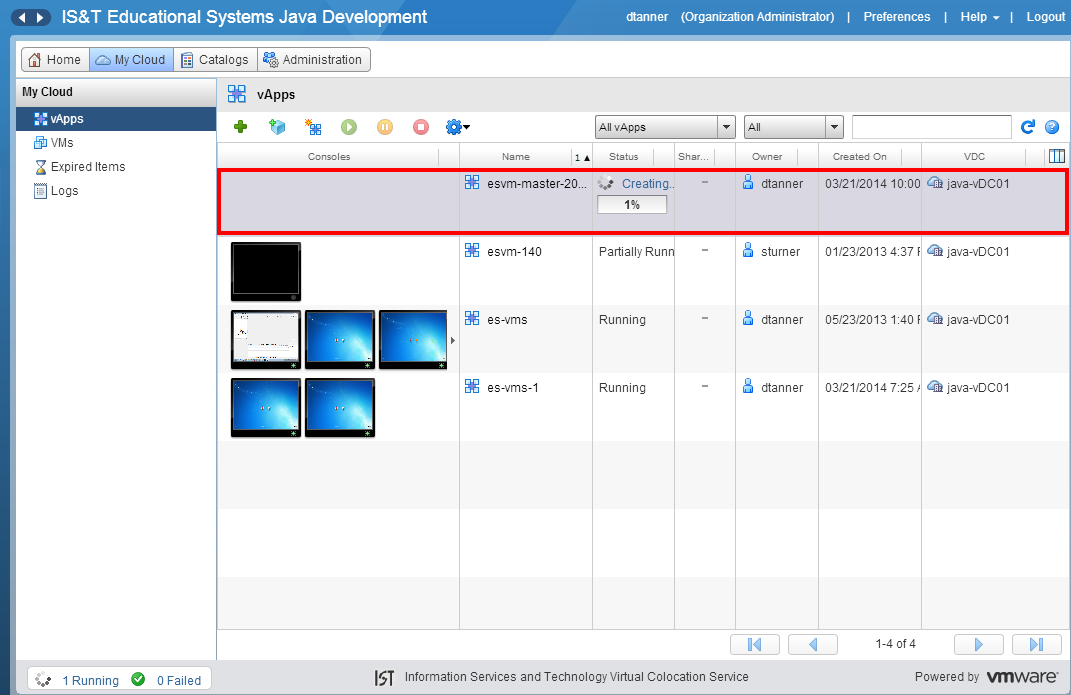
When the vApp has been created, the following will be displayed: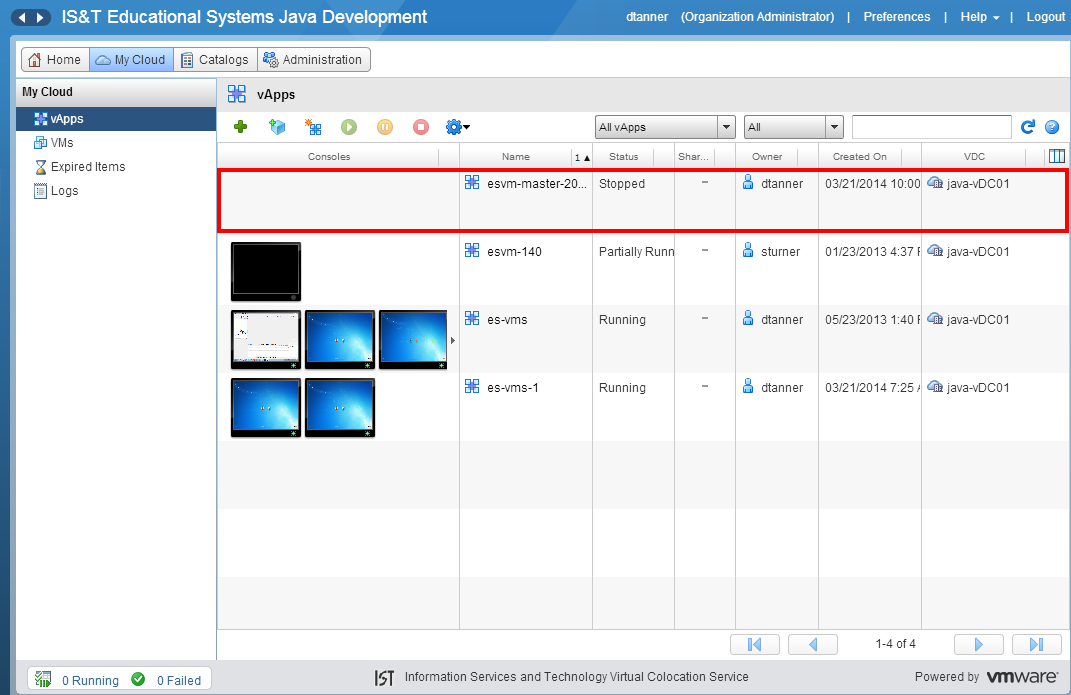
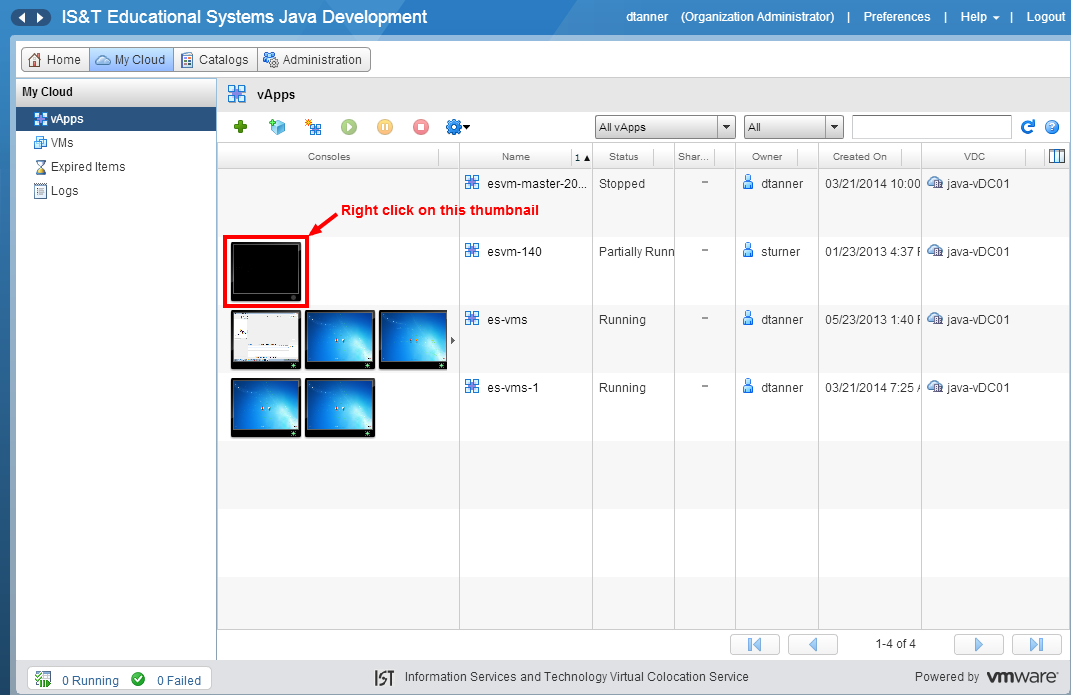
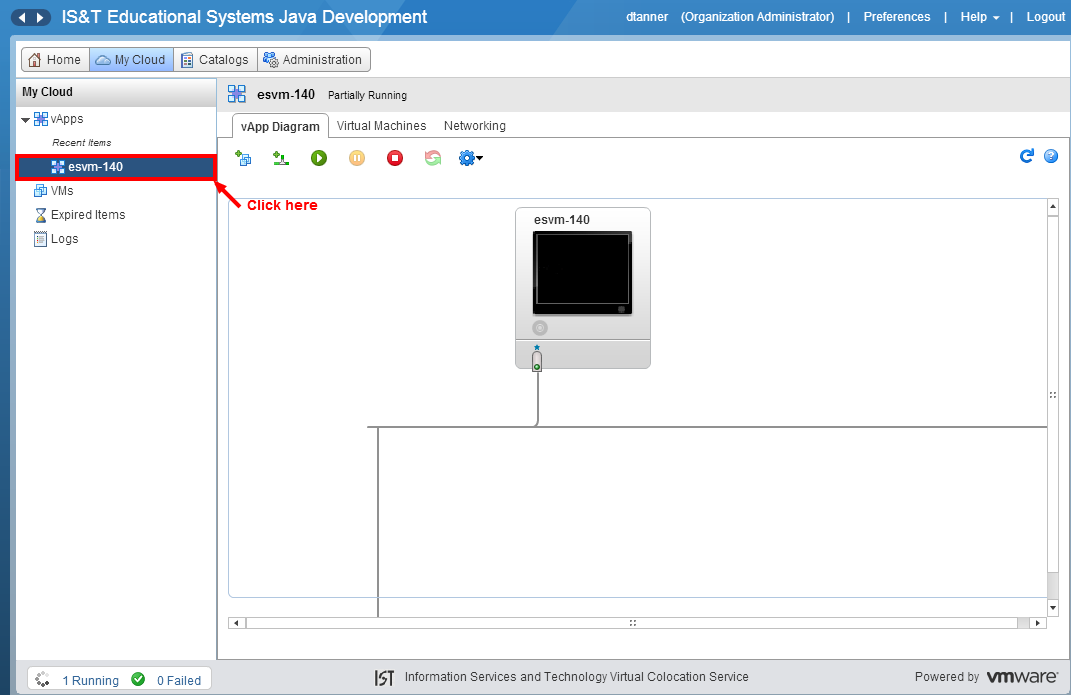
- Now we will create the VM that will be used for the template. Right click on esvm-140 console thumbnail as shown below:
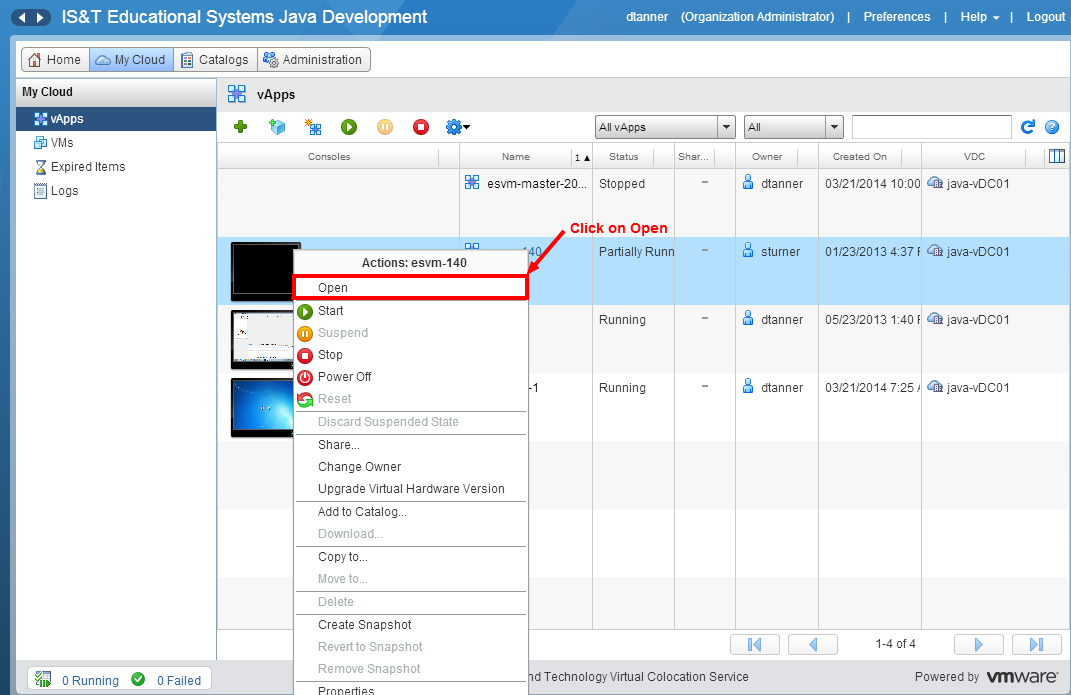
Click on Open as shown below:
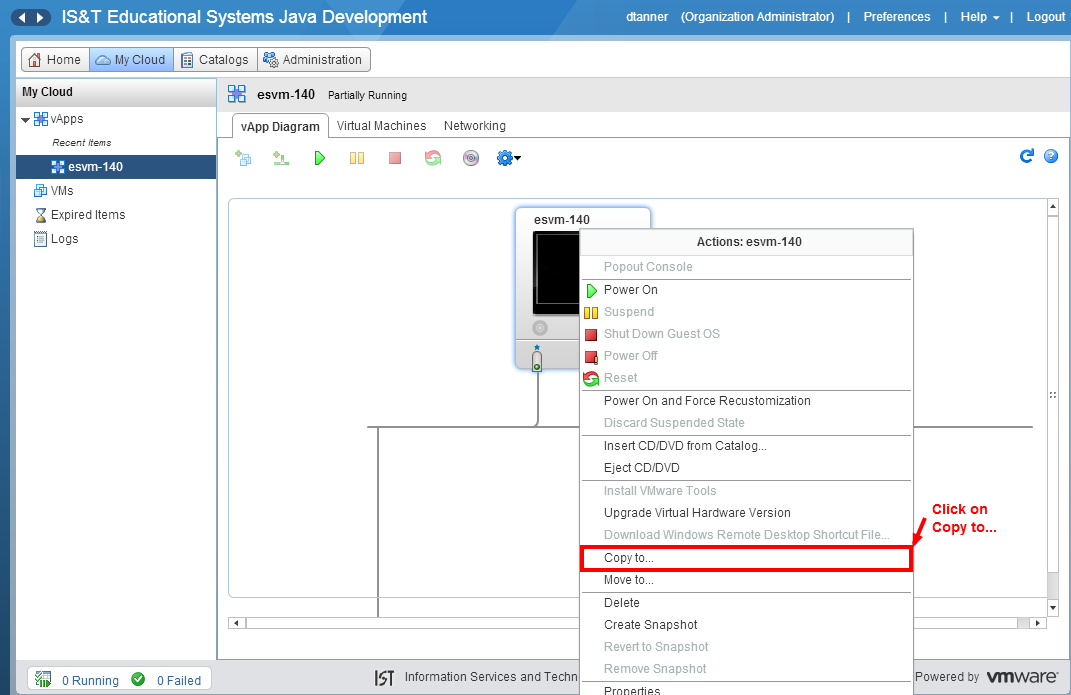
- Right click on esvm-140 console thumbnail and click on Copy to… as shown below:
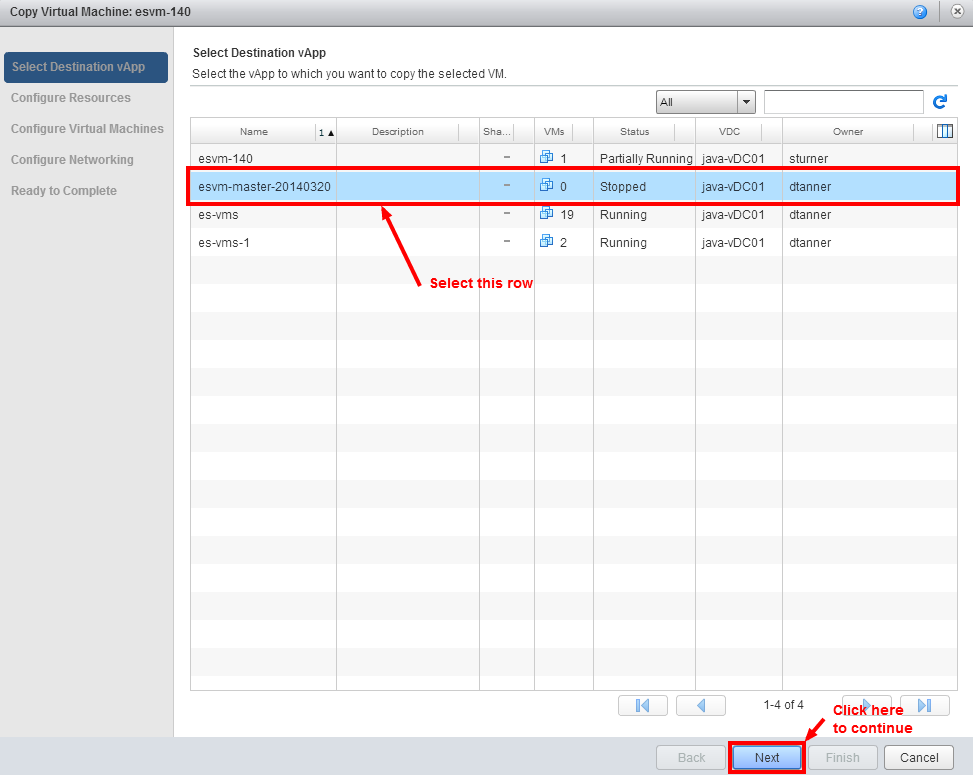
- Select esvm-master-20140320 vApp that you created earlier. When you are satisfied that everything is correct click on the Next button to continue.
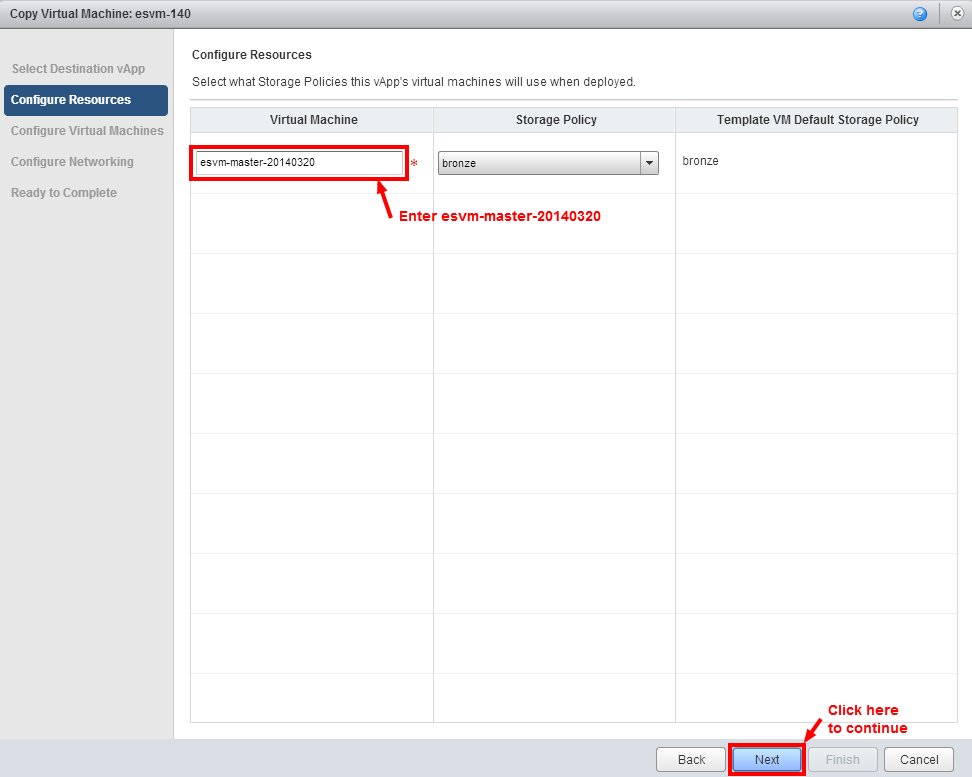
Change the Virtual Machine from esvm-140 to esvm-master-20140320. When you are satisfied that everything is correct click on the Next button to continue.
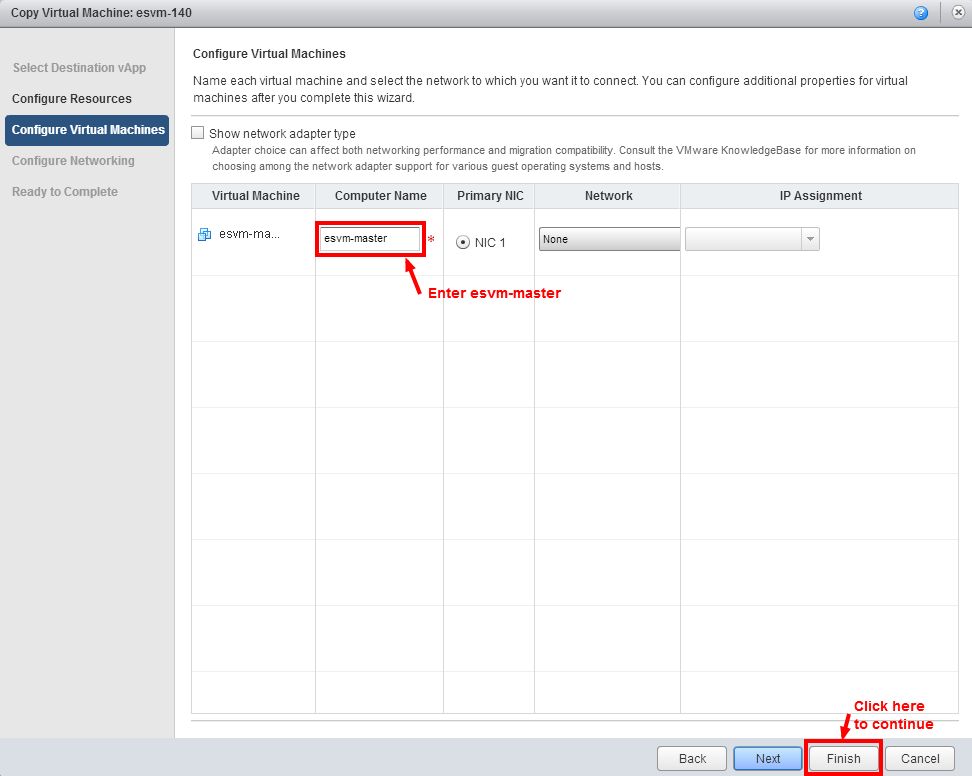
- Change the Computer Name from esvm-140 to esvm-master. When you are satisfied that everything is correct, click on Finish button to continue.
When the following screen is displayed, click on vApps as shown below:
- The esvm-master-02140320 vm is now being created. Please be patient, it take some time to complete.
- When the esvm-master-20140320 VM has been built, right click on the esvm-master-20140320 console thumbnail and select Open as shown below:

Right click on esvm-master-20140320 console thumbnail and click on Properties as shown below:

Click the Hardware tab and scroll down to the NICs section and click the Delete button as shown below:

- Then click the Add button as shown below:

Make sure the MAC address reads "Will be generated" as shown below. When you are satisfied that everything is correct, click the Guest OS Customization tab as shown below:

- On the Guest OS Customization tab, verify that the Enable guest customization check box is only check box that is checked. All other check boxes must not be checked.
When you are satisfied that everything is correct, click the OK button to continue.
Wait until the console thumbnail changes from “Busy’ to a black screen.

- When the console thumbnail has changed from Busy to a black screen, click on vApps as shown below:

Right click on the esvm-master-20140320 console thumbnail and select Add to Catalog as shown below:

- Verify that all the entries are as shown below. When you are satisfied that everything is correct, click the OK button to continue.

- The template is now being created. Please be patient as this will take a while to complete. You must wait until the status changes from Busy to Stopped.