Help is available by sending an email to csf-support@mit.edu
Have any suggestion on how improve this wiki? Please give us your feedback at csf-support@mit.edu
The instructions below are for the Eclipse IDE for Java EE Developers (a.k.a Indigio). If you are using an IDE other than Eclipse - Indigo then the detailed instructions given below may differ from what is required by your IDE. In this event, The Quick link topics should be view as what has to be done rather than how to do it.
Quick Links to:
Eclipse Indigio - Download and Installation
If you encounter any broken links, go to the Eclipse web site and select Downloads from the task bar.
Find and click on Eclipse IDE for Java EE Developers (do not do a download from this page), then select Indigo Packages and continue with step 2 below.
- Go to the Eclipse download site and from the left hand panel, select Indigo Packages . From the list of Indigo downloads, find entry for Eclipse IDE for Java EE Developers and click-on the OS version (Windows, Mac or Linux) that you want to download.
- In the right-hand panel (titled: Download Links), select the OS version that you want (e.g. Windows, Mac or Linux 32 bit or 64 bit).
- Select a Mirror and save the downloaded file on your workstation.
- Unzip/untar the downloaded file to any directory of your choice.
Eclipse Indigo - Java JDK installation and configuration
The Eclipse - Java JDK installation assumes that you have done an Install Java JDK.
If you have not installed a Java JDK, please do so now.
- Run Eclipse. Go to Window > Preferences.
From the Selection, expand Java and select Installed JREs.

- Click the Add button and select Standard VM.

When satisfied that everything is correct, click Next. - Click the Directory button and go to the directory where you installed the Java JDK.
You should have panel similar to the following:

When satisfied that everything is correct, click Finish. - Select the JDK that you just installed.

When satisfied that everything is correct, click OK.Java JDK installation and configuration for Eclipse is now complete.
Eclipse Indigo - Subversion installation and configuration
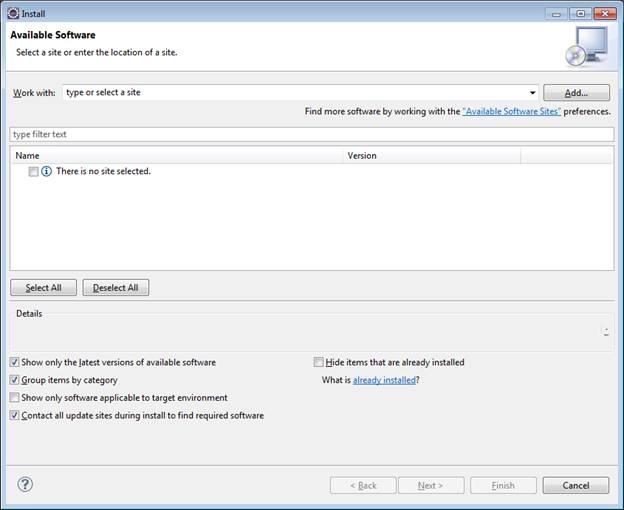
- Run Eclipse. Go into Help > Install New Software and the following panel will be displayed:
- From the Work With dropdown list, select Indigo - http://download.eclipse.org/releases/indigo .
In the Selection box, select Collaboration as shown below.
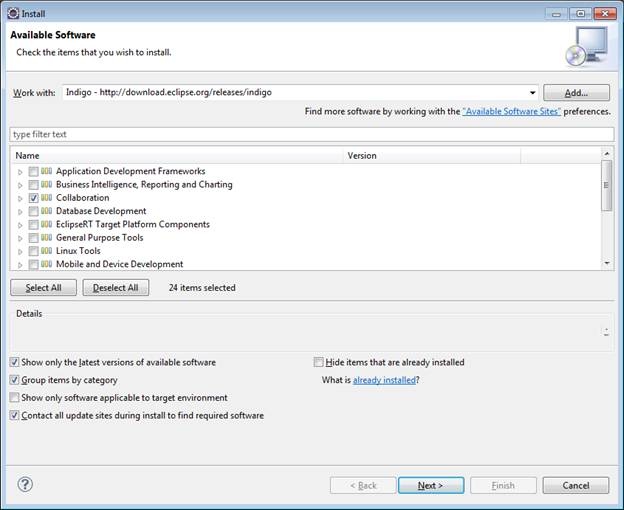
When satisfied that everything is correct, click Next. - Review the panel.
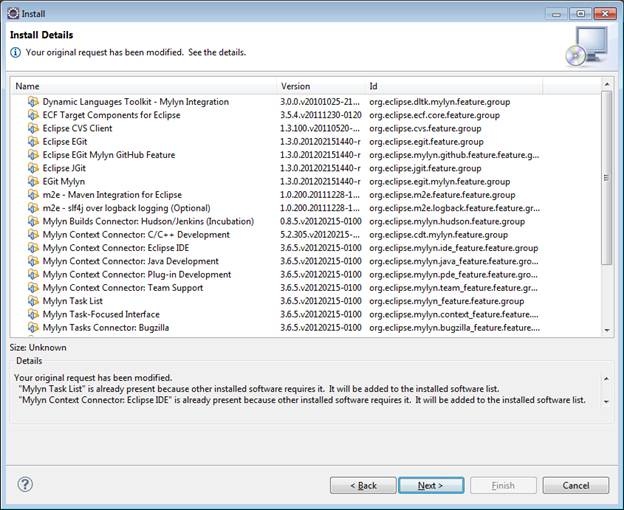
When satisfied that everything is correct, click Next. - Accept the Licenses.
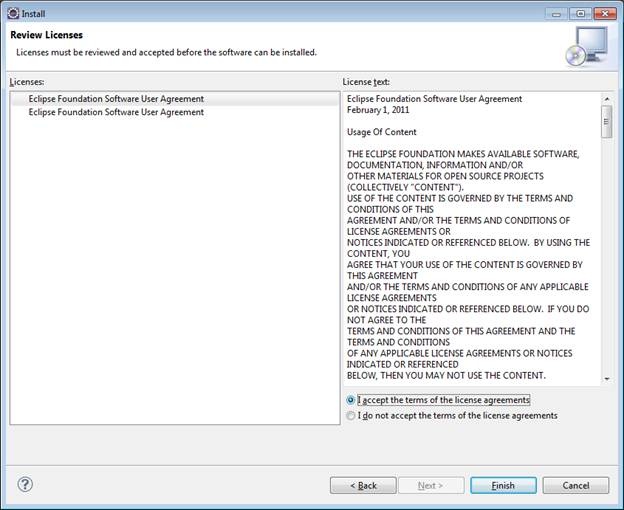
When satisfied that everything is correct, click Finish. - When the following panel is display,
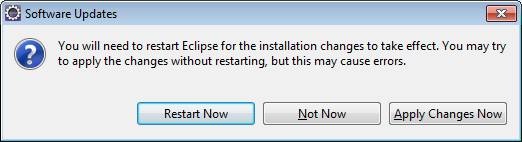
Click Restart Now. - As shown below, select SVN Kit 1.3.5
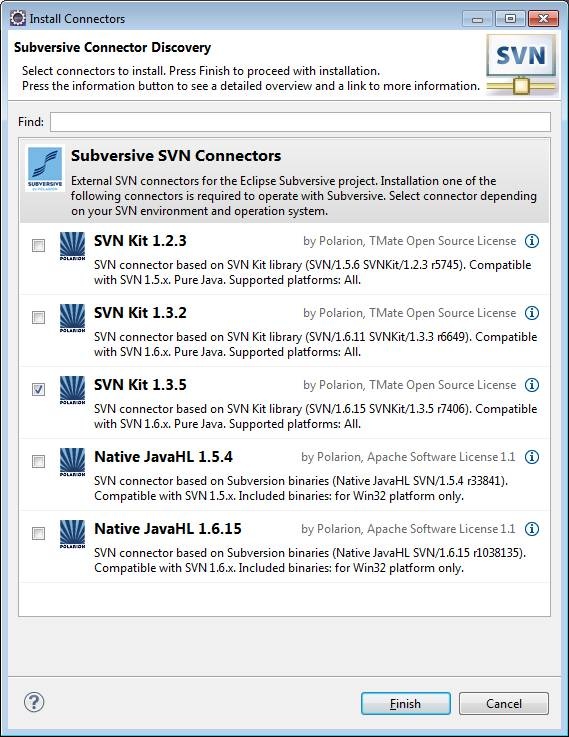
When satisfied that everything is correct, click Finish. - Verify that the Install entries have be selected as shown below.
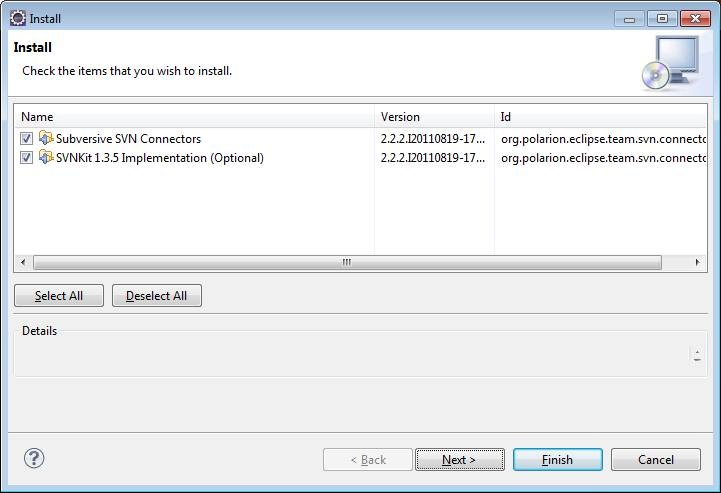
When satisfied that everything is correct, click Next. - Review the panel.
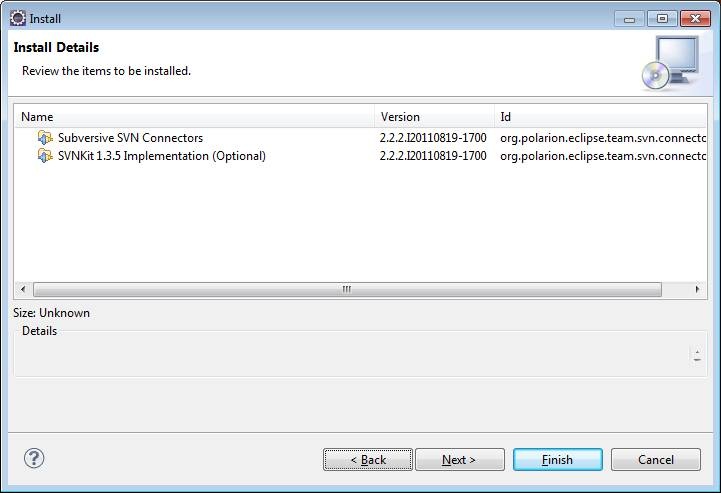
When satisfied that everything is correct, click Next. - Accept the Licenses.

When satisfied that everything is correct, click Finish. - When the following panel is display,
Click Restart Now.Subversion installation and configuration for Eclipse is now complete.
Eclipse Indigo - OC4J server installation and configuration
The Eclipse OC4J server installation assumes that you have done an Install the Oracle OC4J 10.1.3.5 standalone server.
If you have not installed a OC4J standalone server, please do so now .
The Eclipse OC4J server installation also assumes that you have done an Eclipse - Java JDK installation.
If you have not installed a Java JDK, please do so now .
- Run Eclipse. Select the Servers tab as shown below:

Click new server wizard.
Note: If you have previously installed servers, right click anywhere in the servers tab and select New > Server. - In the selection box, scroll down and expand to the Oracle entry. Select Oracle OC4J Standalone Server 10.1.3.n as shown below.

When satisfied that everything is correct, click Next. - From the JRE: dropdown list, select the JDK that was previously installed in Eclipse.
Change the Oracle J2EE Home to where you have installed the Oracle Standalone server.

When satisfied that everything is correct, click Next. - Change the Password: from welcome to the password the you choose for the oc4jadmin when you installed the OC4J standalone server.

When satisfied that everything is correct, click Finish.OC4J standalone server installation and configuration for Eclipse is now complete.
Eclipse Indigo - Tomcat 7 server installation and configuration
This task is optional. If you are not planning to use a Tomcat 7 server, then this task does not have to be done.
The Eclipse - Tomcat 7 installation assumes that you have done an Install Tomcat 7.
If you have not installed Tomcat 7, please do so now.
- Run Eclipse. Go to Window > Show View > Servers.

- Right click anywhere within the servers View (as shown below) and select New > Server.

- In the Define a New Server panel, expand Apache (as shown below) and select Tomcat v7.0 Server.
Change the Server name: to indicate the version of Tomcat that you have installed.
In this example, the installed version of Tomcat is version 7.0.29.

When you are satisfied that everything is correct, click Next. In the Tomcat Server panel, click the Browse button and select the location of your Tomcat installation.
In this example, the Tomcat installation is at:C:\Program Files\Apache Software Foundation\apache-tomcat-7.0.29
From the JRE: dropdown list, select the JRE that you had previously installed.
In this example, the previously installed JRE is jdk1.6.0_27.
Your Tomcat Server panel should now look similar to the following:

When you are satisfied that everything is correct, click Finish.- Your Servers View should now be similar to the following:

Right click on the Tomcat entry in the Servers View and select Open.
The Tomcat Overview panel will be displayed as shown below.
In the Server Locations: select the Use Tomcat installation (takes control of Tomcat installation) radio button.
In the Server Locations: change the Deploy path from wtpwebapps to webapps.
Your Overview panel should now look similar to the following:

Save all the changes that you have made to the Overview panel.
Saving the changes to the Overview panel must be done before continuing. Again, in the Overview panel under the General Information section, click on the Open launch configuration link and select the (x)= Arguments tab.
The Edit launch configuration properties panel should look as follows:

Add the following to the VM argumentsdialog box:-Xmx1024m –Xms1024m -XX:MaxPermSize=1024m
If tomcat fails to start, change the above settings to:
-Xmx512m –Xms512m -XX:MaxPermSize=512m
The above additions to the VM arguments will help to prevent PermGen errors.
The Edit launch configuration properties panel should look as follows:

When you are satisfied that everything is correct, click Apply, then click OK.
Save and close the Overview panel.- In the Servers View, right click on the Tomcat server and select Start as shown below:

After the Tomcat server has started, open a Web Browser and enter the following URL:
http://localhost:8080/manager/html
When prompted, enter the manager-gui username and password that you had selected when you installed the Tomcat Server.
If everything was done correctly, you should now have the following displayed in you browser:

Tomcat 7 server installation and configuration for Eclipse is now complete.
Eclipse Indigo - Maven installation and configuration
The Eclipse - Maven installation assumes that you have done an Install Maven.
If you have not installed Maven, please do so now.
- Run Eclipse. Go to Window > Preferences.
From the Selection, expand Maven and select Installations.
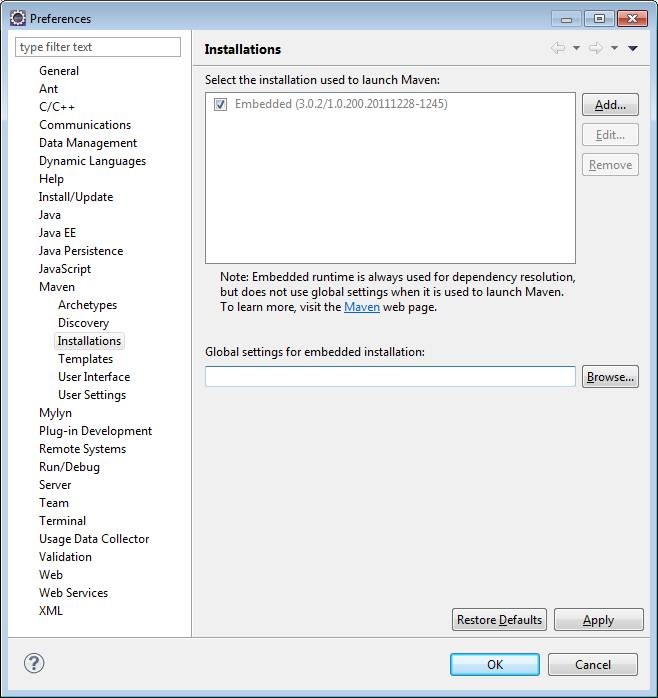
Click the Add... button. - Navigate to the external Maven installation directory.
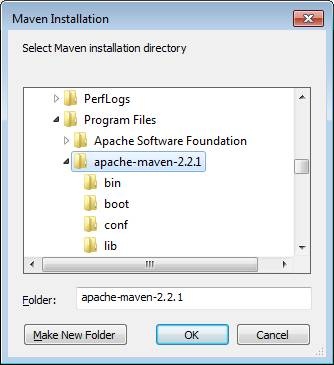
When satisfied that everything is correct, click OK. - Verify that the External installation of Maven is selected.
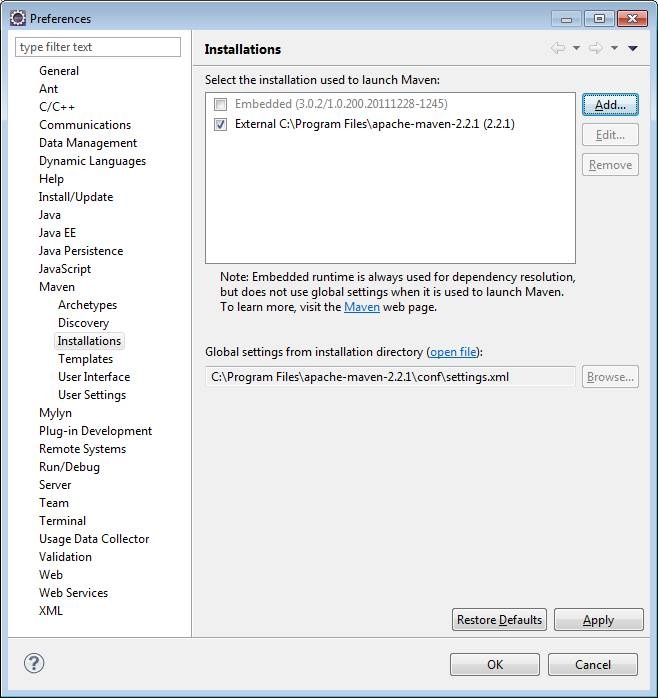
When satisfied that everything is correct, click the Apply button then click the OK.Maven installation and configuration for Eclipse is now complete.
Eclipse Indigo - m2e Subversive Connector installation and configuration
- Run Eclipse. Go to File > New > Other...
Scroll down to Maven and expand then select Checkout Maven Projects from SCM as shown in the following panel.
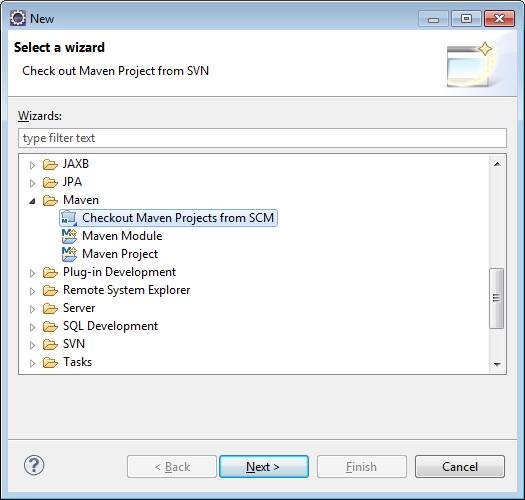
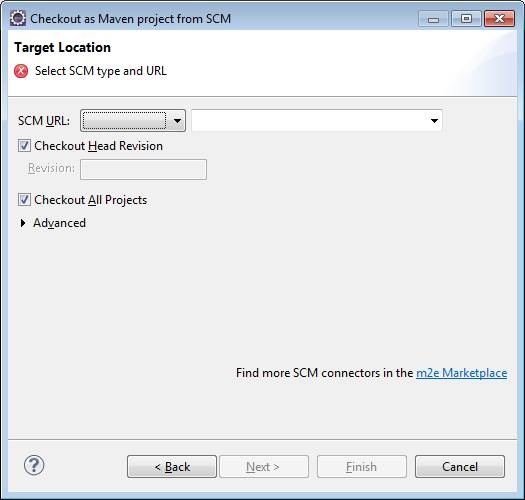
When satisfied that everything is correct, click Next. - In the bottom right of the panel, click on m2e MarketPlace.
- Scroll down to and select m2e-subversive as shown in the following panel.
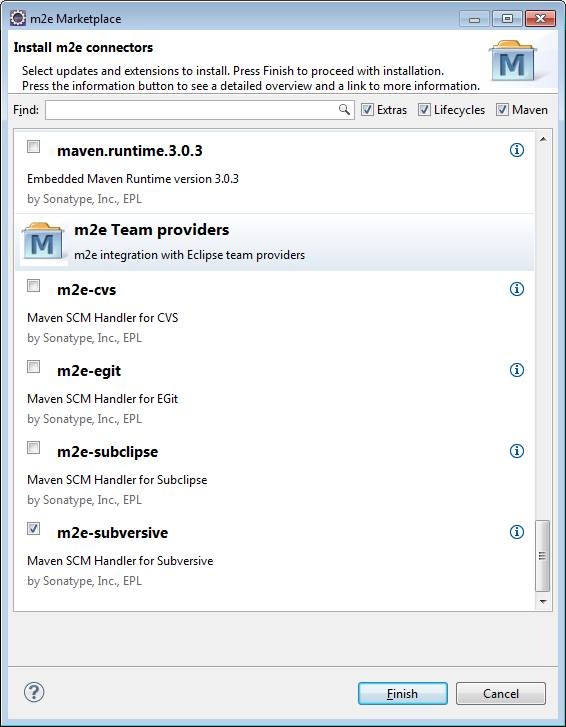
When satisfied that everything is correct, click Finish. - Verify that Maven SCM Handler for Subversive is selected.
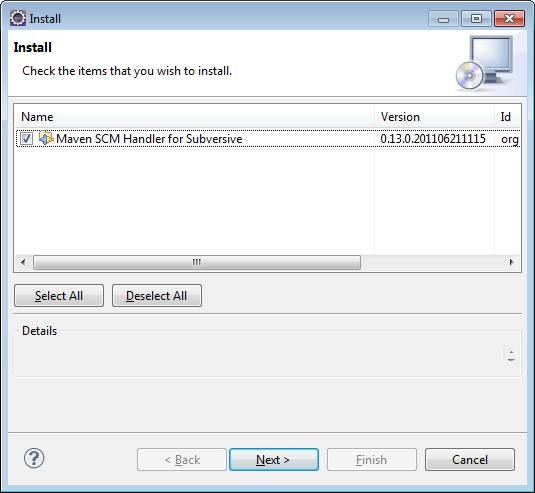
When satisfied that everything is correct, click Next. - Review the item being installed.
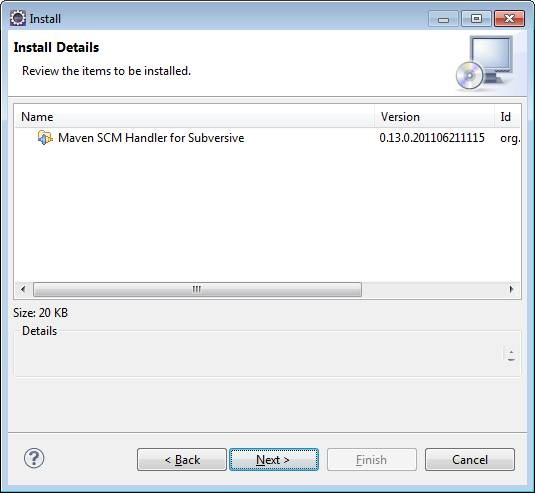
When satisfied that everything is correct, click Next. - Accept the license agreement.
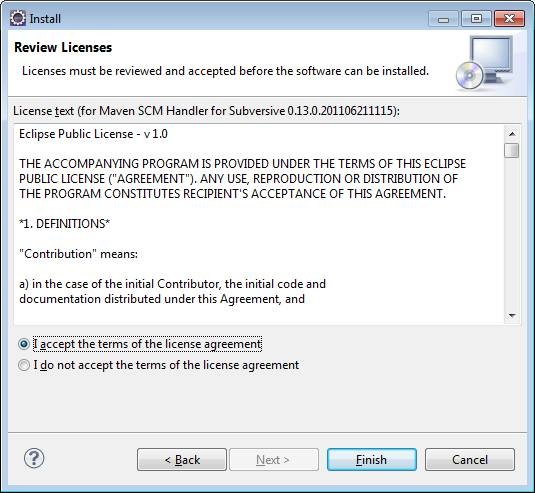
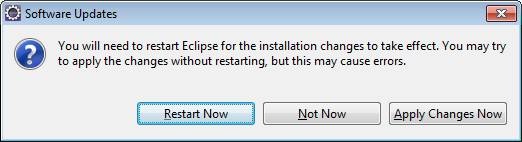
click Finish to start the installation. - When the installation has completed, the following panel will be displayed.
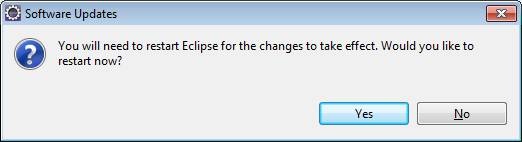
Click Yes to restart Eclipse.m2e Subversive Connector installation and configuration for Eclipse is now complete.