...
Make sure that the PISTON rod is fully compressed (retracted).
Integrate the 1/8TH NPT ELBOW FITTING into the piston inlet port that is closest to the blunt end. Use approximately three wraps of Teflon tape. Make sure that the male end of the elbow fitting is pointing downwards.
Screw in the Jumbo Firebolt into the male end of the elbow fitting using approximately three wraps of Teflon tape
Using four 1" HEXHEAD SCREWS, screw in the AVIONICS BULKHEAD to the bottom of the piston. These must be screwed in securely before proceeding!

AVIONICS BAY ASSEMBLY PROCEDURES
(Current link: Hermes II & III Avionics Tower Assembly Procedures // to be updated)
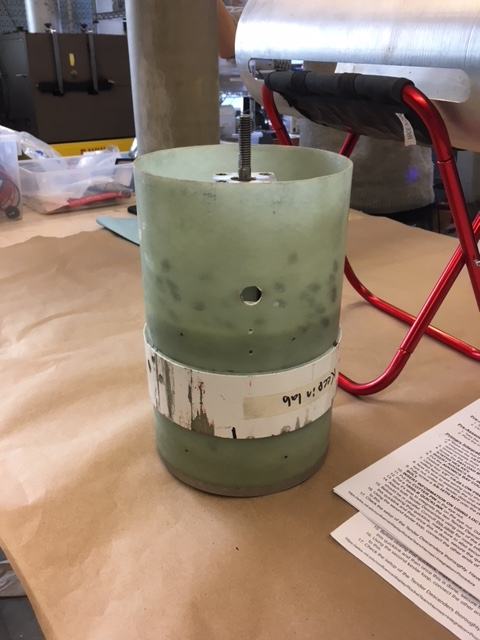
Put the AVIONICS BAY COUPLER over the piston. The coupler's switchband should be closer to the side with the Firebolt screwed in.
Screw the PAYLOAD BULKHEAD into the top of the piston using four 3/4" LONG 1/4-28 CAP HEAD BOLTS. You need a 3/16THS HEX KEY. (Do one rotation first, then fully screw in.)

Now it's time to assembly the cup including its contents, including soft goods such as WEBBING and chutes as well as eye nut, cotter pin, tender descenders, and more. PREPARE YOURSELF MENTALLY AND EMOTIONALLY. You will need it.
Fully screw a 3/8-16TH NUT (the thinner one) onto the piston. Slide the DIAPHRAGM onto the piston.
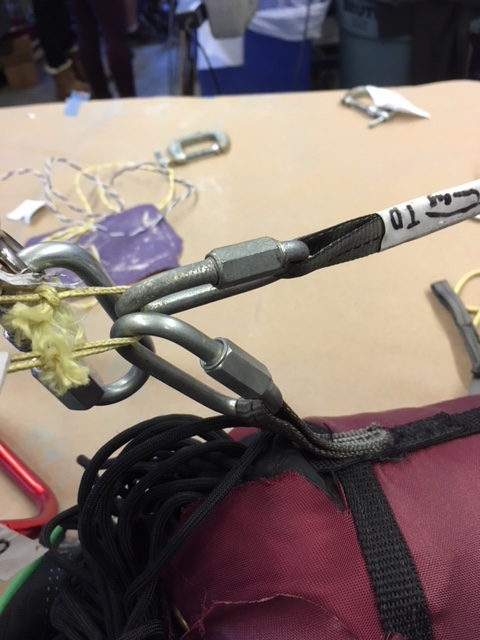
Now it's time to integrate the two Tender Descenders.
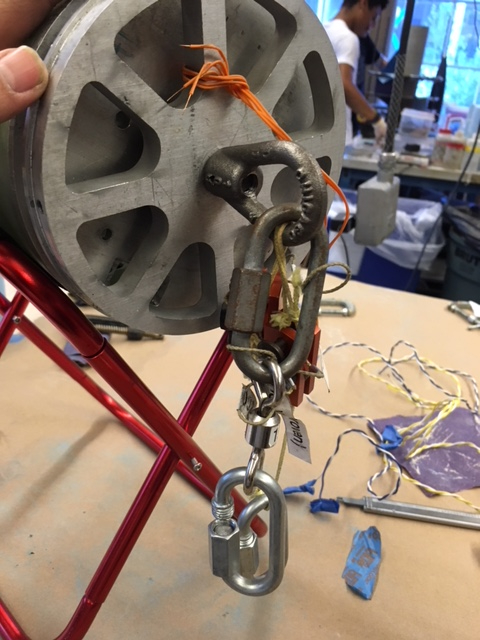
Attach both Tender Descenders using one of the two KEVLAR LOOPS to the 3/8-16TH EYE BOLT. The Tender Descenders should be in parallel. Consult this page for more information.
Using the second kevlar loop, connect the other ends of the Tender Descenders.

Using a QUICKLINK, make sure to also secure the TD safety wires to the eyebolt.
Check the setup of the Tender Descenders thoroughly. Have somebody else check it, too
.

When routing the e-match wires to the Avionics bay D-sub, leave plenty of slack between the Avionics Bay Bulkhead and the Diaphragm (at least 5"). Feel free to secure with a small amount of blue tape. NOTE: This step will likely end up being changed as we plan to add a terminal block and webbing to pass the wires through.
Screw the eyebolt into the diaphragm and add a 1500 LB SWIVEL to the quicklink that is securing the TD safety wires. Add another QUICKLINK to the end of the swivel.
INSERT INFORMATION ON USING LOCTITE
Put the COTTER PIN in the eye nut.
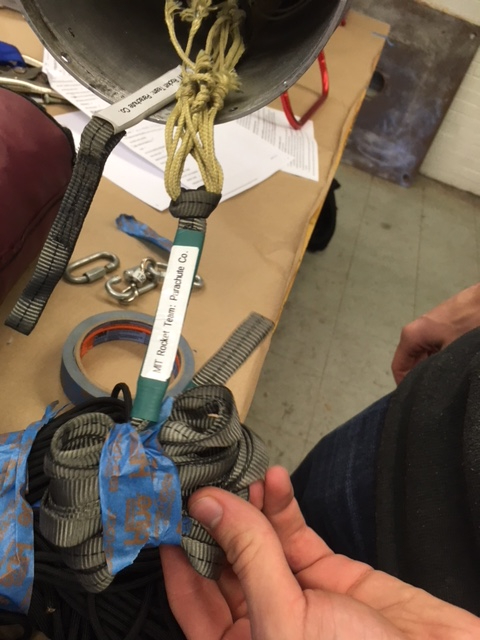
Off to the side, coil the booster to mission package webbing and stow in several small infinity wraps using minimal tape. The optimal height of each infinity wrap is a little over 1". Leave enough slack on one end (do not wrap) to extend the lines from the diaphragm to the forward closure.
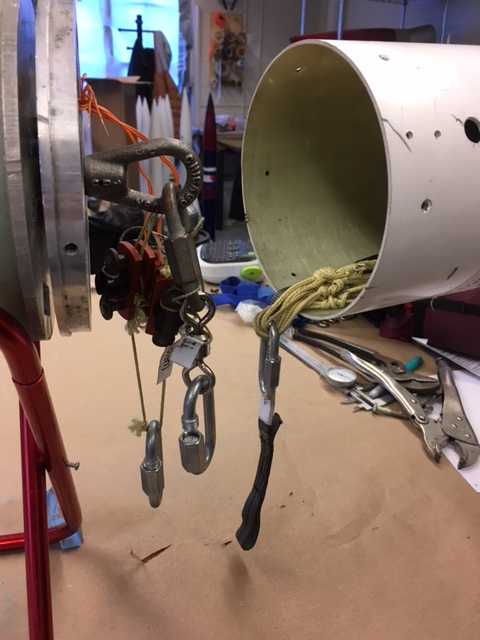
Attach the mission package to booster webbing to the PSEUDO FORWARD CLOSURE with a 1000LB QUICKLINK followed by a 1500LB SWIVEL and then another 1000LB QUICKLINK.
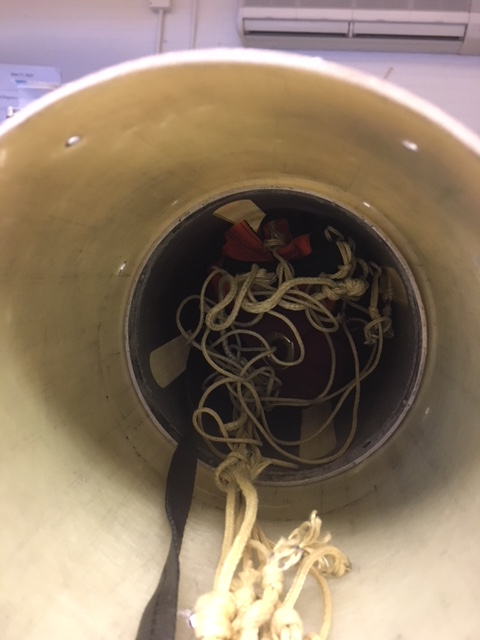
Pack the mission package to booster webbing to the pseudo forward closure.
Place the drogue on top. The drogue should be as close to the separation point as possible.
Coil the main riser and stow in several small infinity wraps using minimal tape. Attach one side to a 1000LB QUICKLINK followed by a 1500LB SWIVEL followed by another 1000LB QUICKLINK and then the main parachute suspension lines
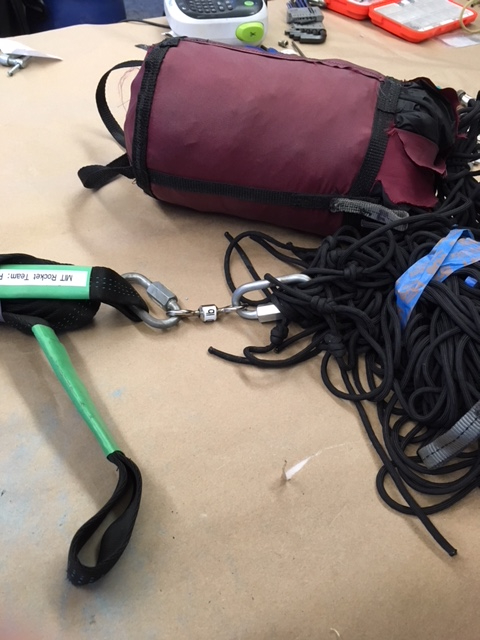
Pass the drogue riser through its own loop to secure to the drogue lines. Attach a QUICKLINK, a SWIVEL, and another QUICKLINK to the end of the drogue riser.
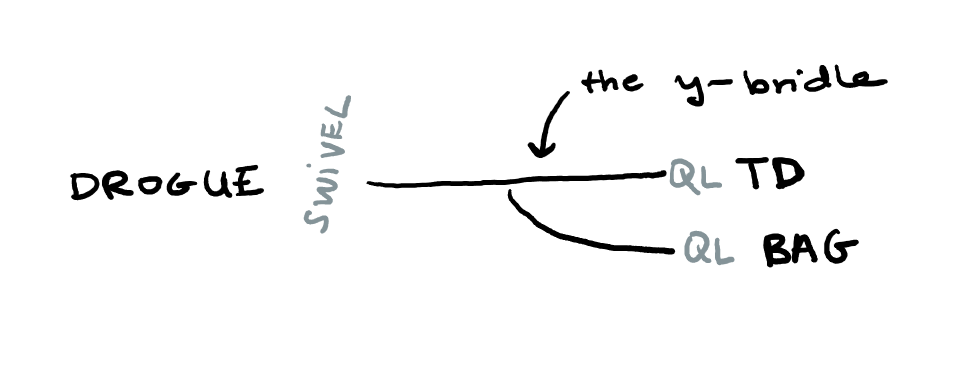
Attach the y-bridle- short end to a QUICKLINK and then bridle of the bag, the longer end to the quicklink attached to the end of the TDs, and the single end to the quicklink + swivel on the end of the drogue
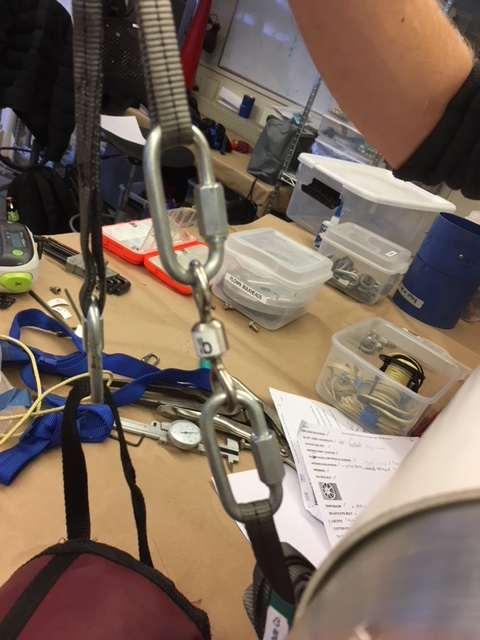
QUICKLINK drogue onto main bag with a SWIVEL on the bridle
Use another QUICKLINK to attach the main bag to the TDs as well.
Attach the other end of the main riser using a 1000LB QUICKLINK to the eye nut.
Slide the riser, followed by the suspension lines, and then the main parachute through the CUP.
"Struggle with clocking" - Jakob
Screw the diaphragm into the CUP with FOUR 10-32 GRUB SCREWS using a 3/32 HEX KEYCongrats! You've finished integrating the cup!
Put the AIRFRAME TUBE over this complete assembly.
Screw in six 1/2" 8-32 SCREWS to attach the Airframe to the Avionics Bay.
Put the mission package assembly on the extension coupler and secure with three 6-32 SHEAR PINS. Put a bit of tape over each shear pin.
Attach the NOSE CONE with the right clocking to the other end of the Avionics Bay using six 8-32 SCREWS.
...