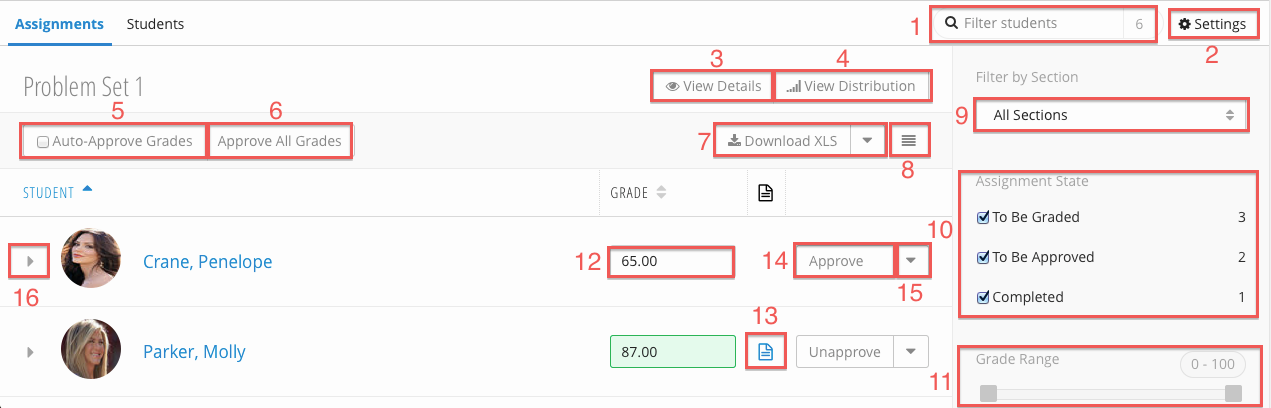
View Assignment Detail Overview
Grading
Assigning Grades
For more on grading and grading schemes, see Grading and Settings.
How an assignment is graded is based on that assignment's grading scheme. There are three types of grading schemes, Numeric, Letter, and Free Form.
Letter - Assignment is graded by selecting a letter grade from a dropdown.
Numeric - Assignment is graded by entering numerals.
Free Form - Assignment is graded by entering any text. Free form assignments are not included in grade calculations.
Submissions

See Adding a Submission.
All grades
Approving Grades
By default, only approved grades are displayed to students and only approved grades are counted in Course Grade calculation (this can be changed via Settings). There are three ways to approve grades:
 (14) : Approve each grade individually.
 (5) : Automatically approve grades as they are entered.
 (6) : Approve all entered grades.
The Actions Tray
Each student has an Actions Tray (16) from which a makeup grade and grade note can be added and grade history can be viewed. The tray can be opened by clicking on 
Adding a Grade Note
- Open the Action Tray(16).
- Select Grade Note.
- Enter text.
- Click Save.
- The Grade Note Icon(13) will be displayed.
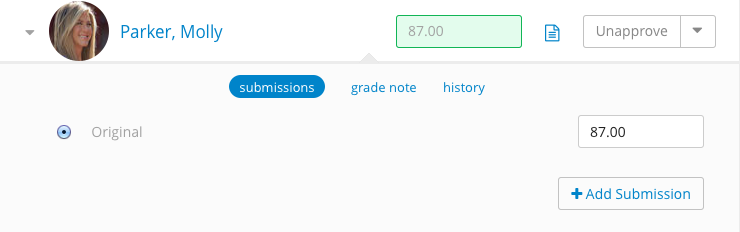
Adding a Submission (Makeup Grade)

- Open the Action Tray(16).
- Click the Add Submission button.
- Select a submission type from the dropdown. Each type operates the same and differ only in name / label:
- Makeup Grade
- Override Grade
- Custom Label
Viewing a Student Submission
If the assignment allows for students to submit their work online (see Step 5 under Assignments), you can view or download their submissions depending upon it's type. Student submissions will be marked in blue and clickable.
- Open the Action Tray(16).
- Select Submissions.
- Click on the desired submission. If the submission was entered manually, a pop-up will display with the content. If the submission was uploaded, the submission will be downloaded by your browser.
Excusing a Student
- Click on the Actions Menu Dropdown (15).
- Select Excuse Student.
Filtering the Students Table
By Student Name

You can filter the Student Table by entering text into the Student Filter (1). The numeral beside the Student Filter indicates how many students are currently displayed in the table.
By Section

You can filter the student table by selecting a section from the Filter By Section (9) drop down. By default, all sections and students are displayed.
By Assignment State
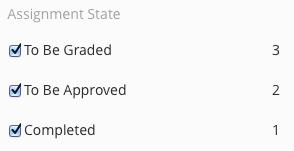
You can filter the assignment table by assignment state (10). Only students with the checked state will be displayed. The numerals indicate how many students exist in each state.
An explanation of each state:
| To Be Graded | students that have not had a grade entered for the current assignment. |
|---|---|
| To Be Approved | students that have had a grade entered but it has not been approved. |
| Completed | students that have had a grade entered and it has been approved. |