Adding Materials

To add a material:
- Click
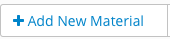 from the Materials Table. The Add Materials form will display. Required fields are marked with *.
 - Fill in the Add Material form:
- *Title - title of the material.
- Summary - description of the material.
- Add Material- the type of material.
- *Upload File - attach a file. Please note: there is a file size limit of 250 MB.
- *Create a Document - enter content via an editor.
- *Link to URL - material will link to an online resource.
- Topic - which topic the material will be listed under. See Working with Topics.
- Category - categories include: syllabus, lecture note, reading, etc. The Materials table can be sorted by category.
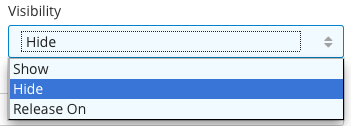
- Visibility- when and if the material will be displayed to students.
- Show - the material will be displayed to students.
- Hide - the material will be displayed to staff only.
- Release On - the material will be hidden to students until the specified date.
- Copyrighted Material - checking the copyright checkbox will mark the material as Restricted Use. When the material is accessed, the user will be prompted with a copyright disclaimer.
- Work Title - the title of the copyrighted material.
- Author - the author of the copyrighted material.
- Citation - the citation for the copyrighted material.
- Click Add Material.
Adding a Staff Only Material.
To add a staff only material:
- Click from the Materials Table. The Add Materials form will be displayed.
- Fill in the form, selecting Hide from the Visibility (F) dropdown.
- Click Add Material. Staff only materials will be marked as Staff Only on the Materials Table.
Editing and Deleting Materials

Editing a Material
To edit a material:
- Click the
 icon for the material you intend to edit.
 - A form similar to the Add Material form will be displayed. See Adding a Material.
- Make the desired changes.
- Click the checkmark to save your changes.
Deleting a Material
To delete a material:
- Click the
 for the material you intend to delete.
 - A confirmation message will be displayed. Click Delete to remove the material.
Reordering Materials
For information on reordering topics, see Reordering Topics.
Reordering Materials in a Topic
To reorder a material in a topic:
- Click
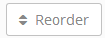 . The reorder page will display.
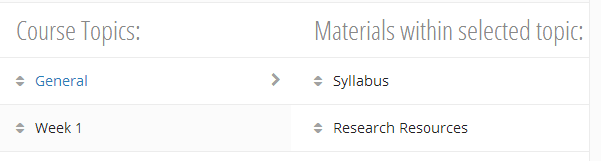
- Drag and drop materials to reorder them.
- Click Done.
Changing a Material's Topic
To change a material's topic:
- Click the icon. The Materials Form will display.
- In the Topic dropdown, select the topic you wish to move the material to.
- Click the checkmark to save your changes.
Filtering Materials
Filtering by Type
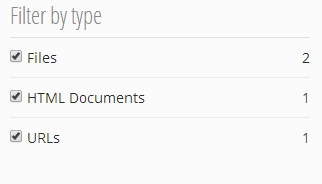
The Filter By Type section of the sidebar filters the Materials Table. The Filter By Type filter will only display the types of existing materials. By default, all types are displayed. Unchecking a checkbox will filter the corresponding material type from the table.
Filtering by Topic and Category

You can group materials by:
- Topic - Default view. Materials are listed by topics.
- Category - Materials are listed by category. Categories are assigned during Material creation. Categories include: syllabus, reading. research, lecture note, resource, etc.
- No Grouping - Materials are not grouped.
You can filter groups by Topic. All Topics are displayed by default. Selecting a topic from the Filter by Topic dropdown will only display materials in that topic.