NOTE: This page will likely be later updated so that each major sub- assembly is a separate page
Sub-assemblies
Motor
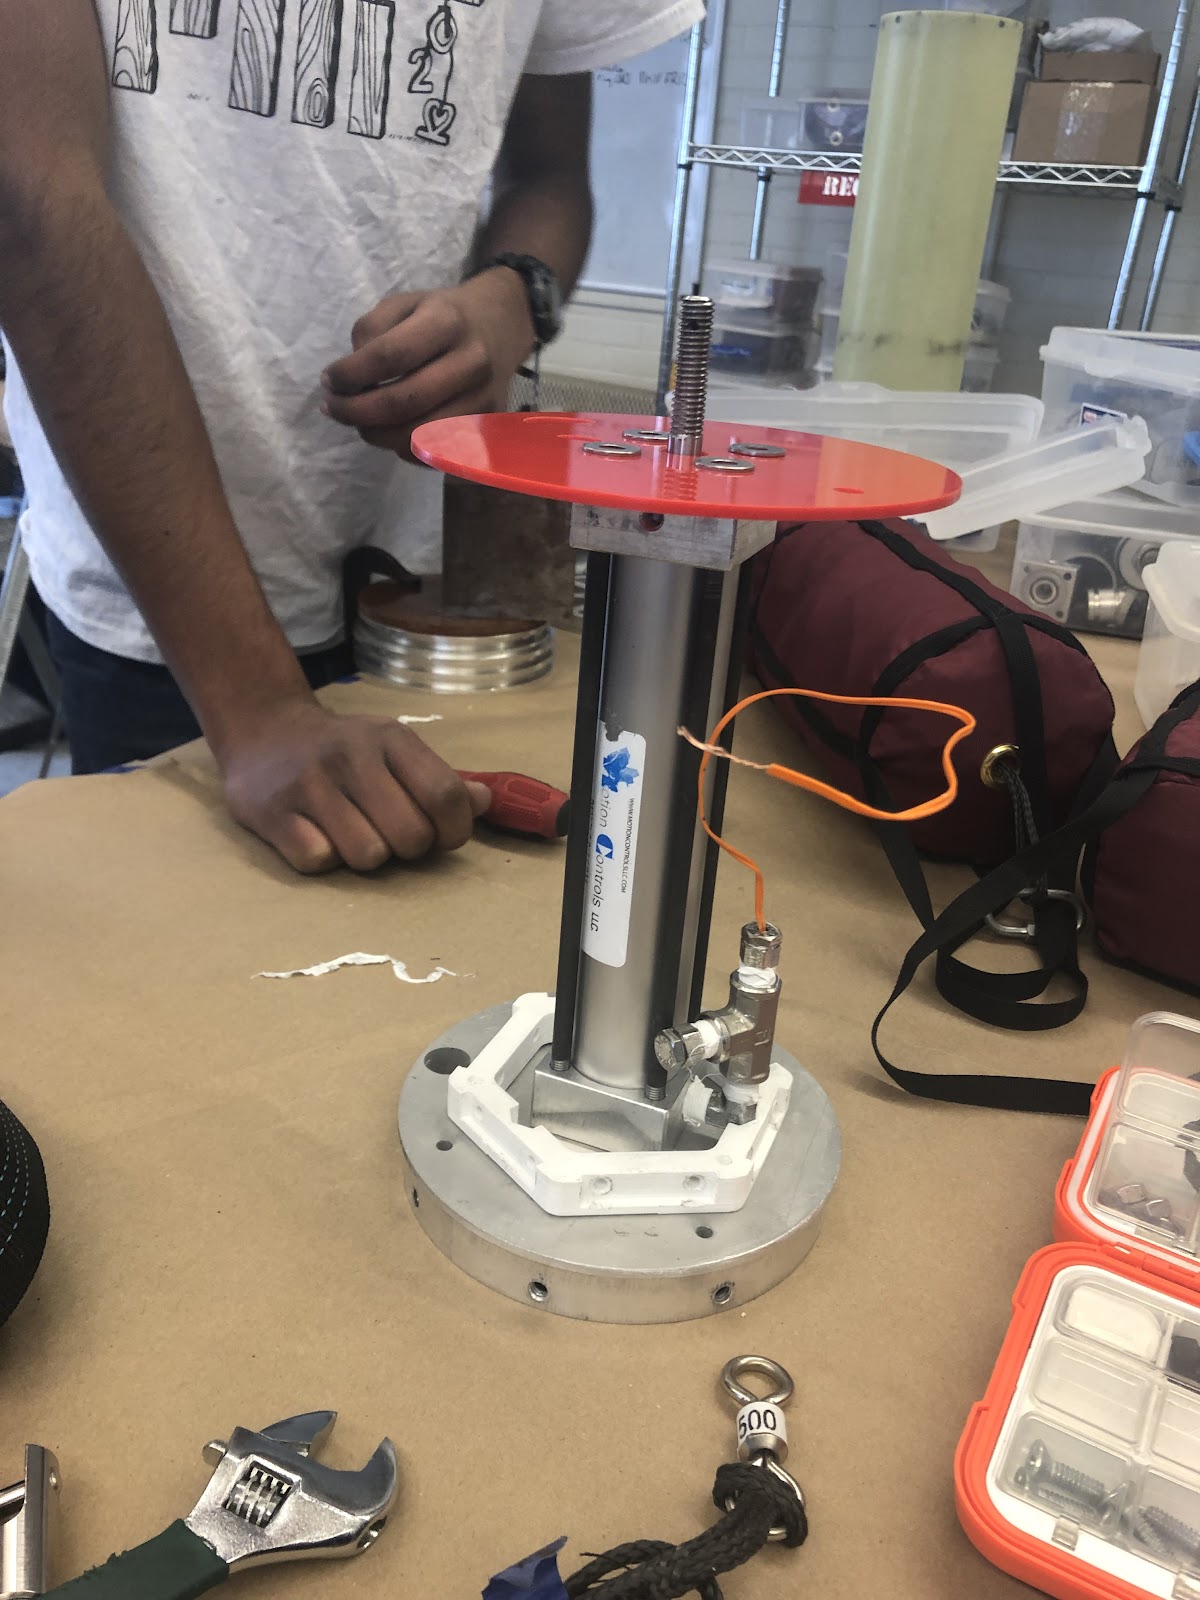
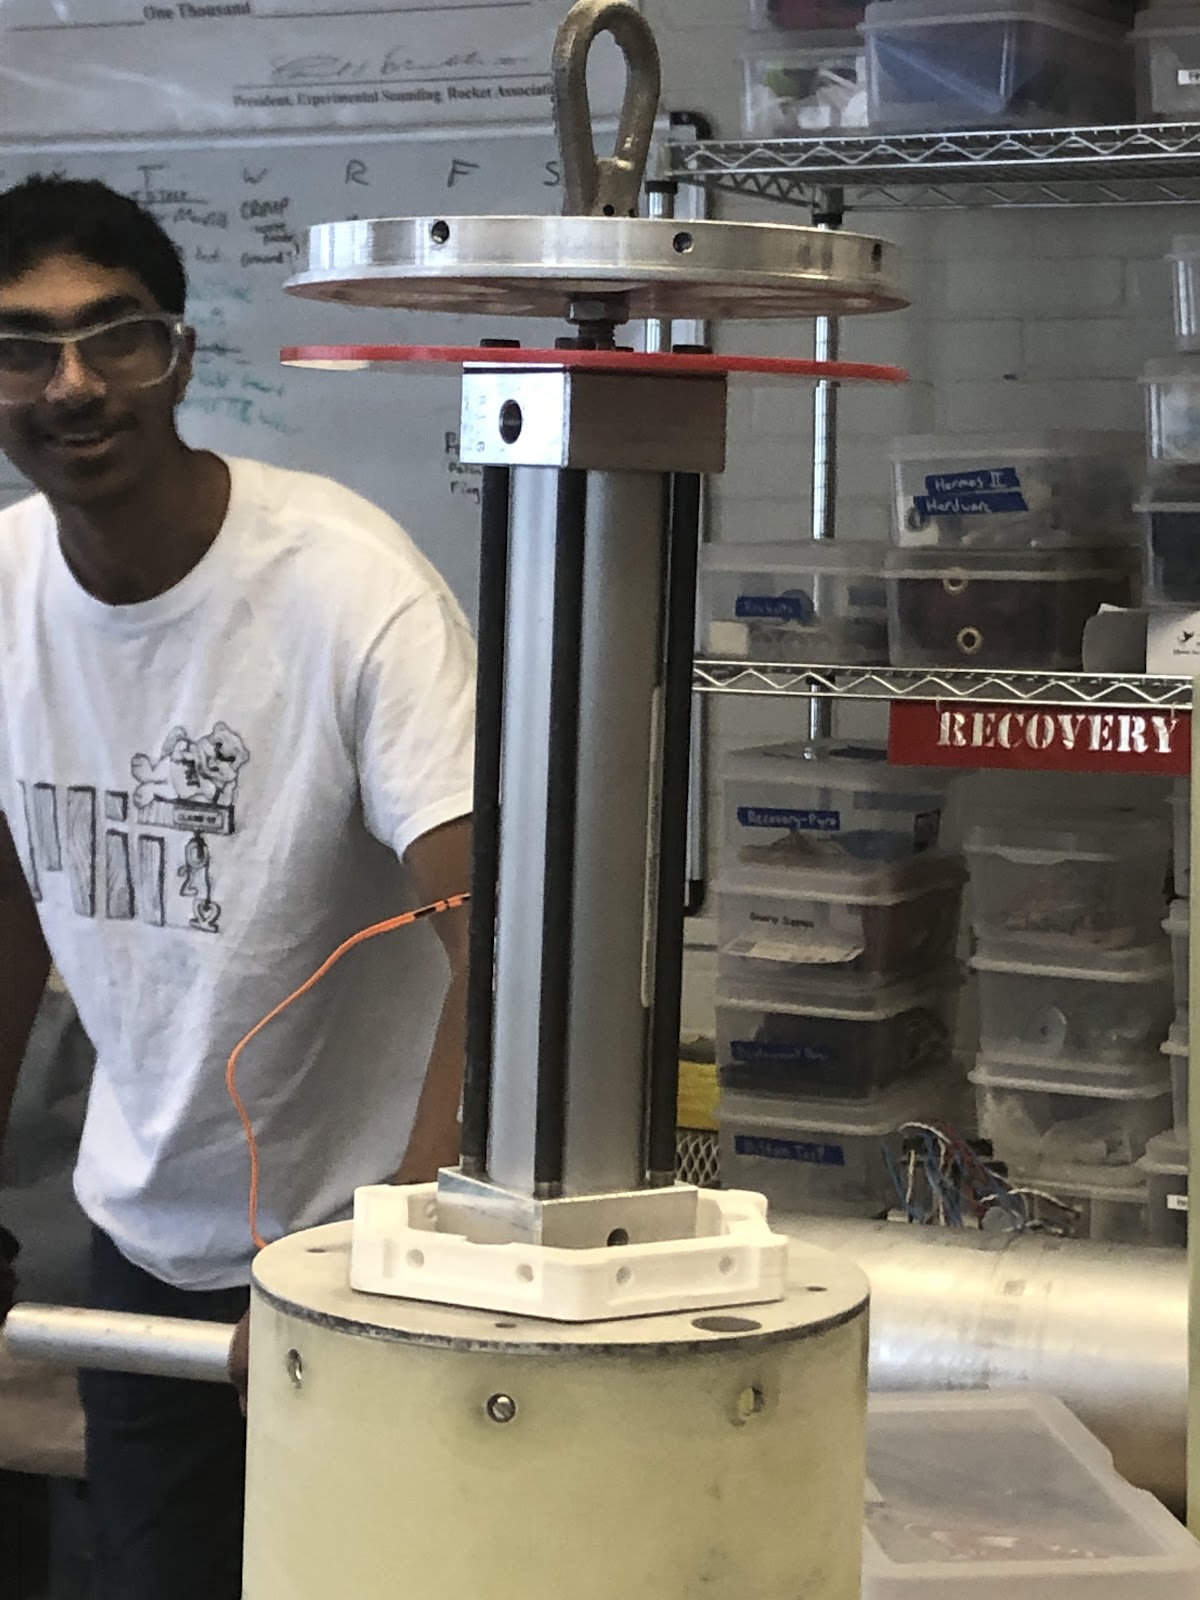
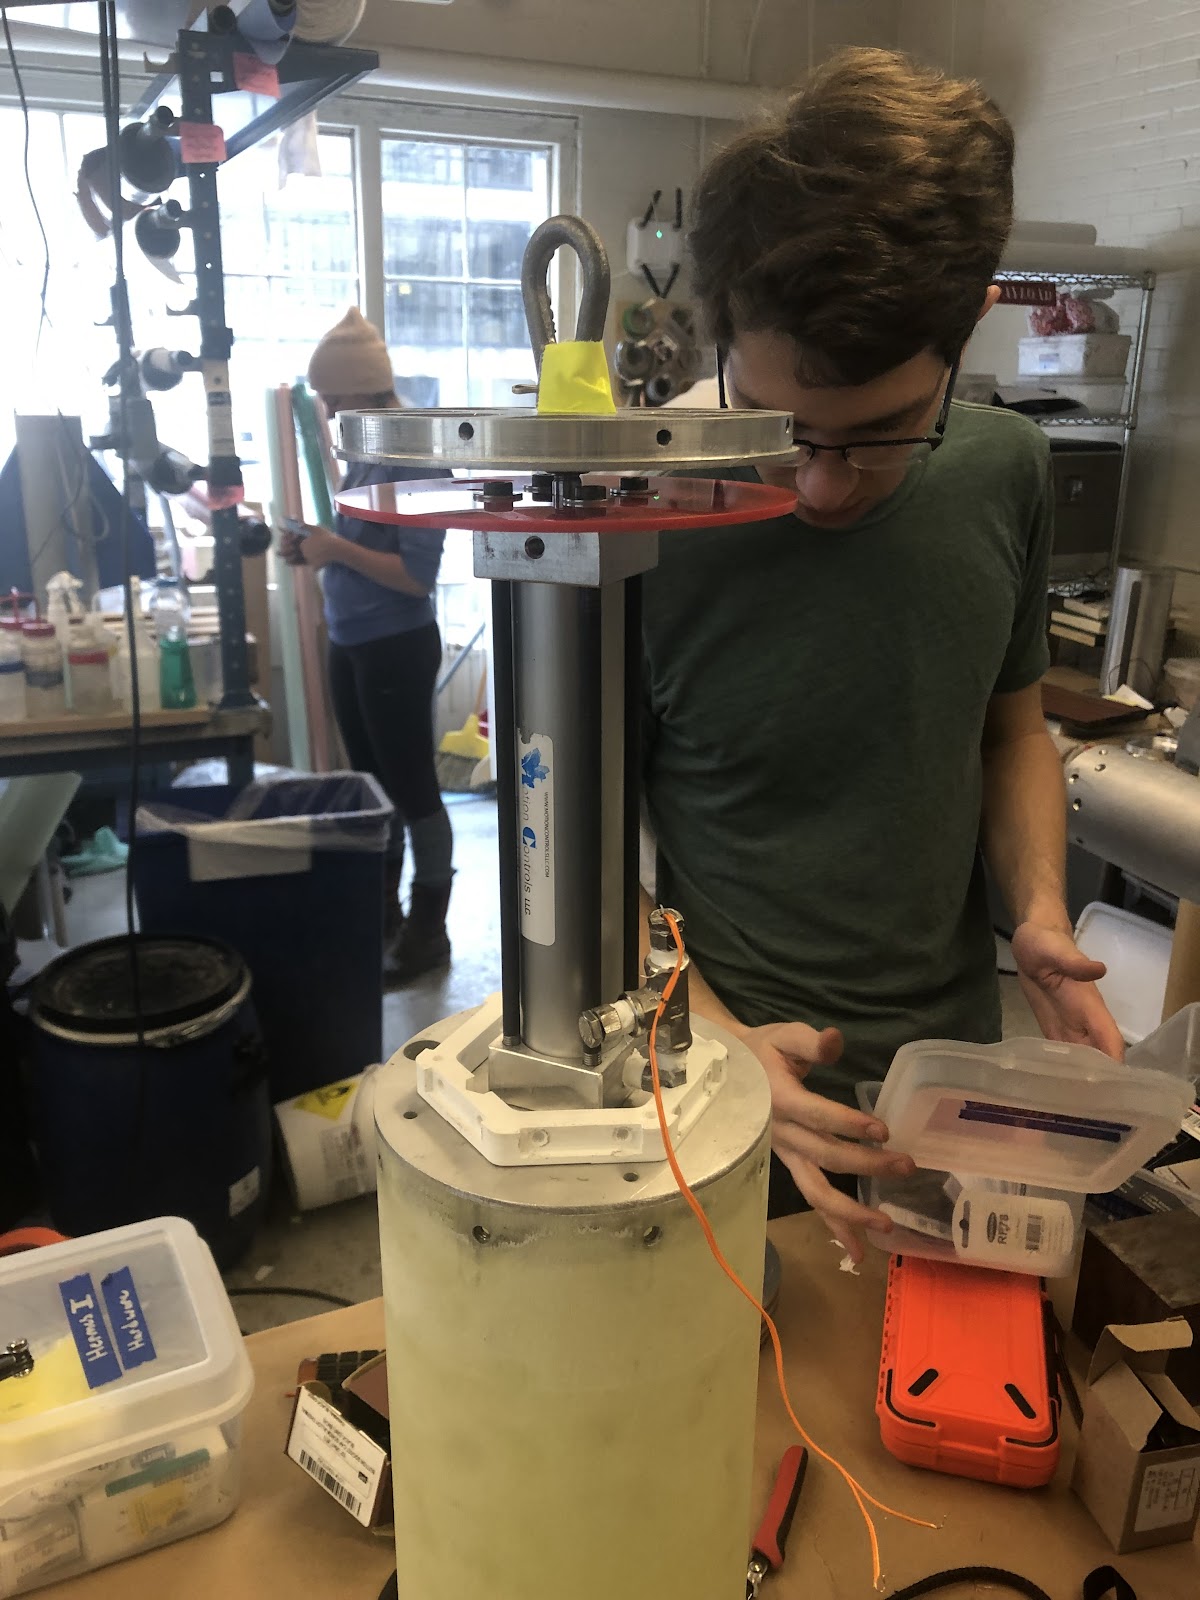
Piston
Materials1/4 in torque wrench
- Integrated Firebolt
- Multimeter
- Teflon tape
- 1/4 NPT plug
- Safety goggles
- Gloves
- Scale
- Weigh boats
- Popsicle sticks
- Elbow joint
- Tee fitting
- Adjustable wrench
- Vice grip/pliers
- Plug
Procedures
Using a 1/4 inch torque wrench, ensure that the bolts holding the piston together are very very tight. If the bolts are loose, the piston will lose pressure as it extends.
Use multimeter to check continuity of Firebolt (should be about 1.0-1.4 ohms) and twist the wires to short it. Two people should visually confirm that it is shorted. Wrap the Firebolt with five wraps of Teflon tape. Use pliers to screw firebolt into the NPT plug.
Everyone put on safety glasses. From now on, everyone within the vicinity of the pyrotechnics must wear safety glasses.
Measure out the appropriate amount of black powder into a weigh boat (will vary over testing matrix) and pour it into the other side of the tee fitting, holding over a weigh boat. Seal the opening by wrapping over the head and opening three times with Teflon tape.
Compress the piston completely!
Screw an elbow joint into a side female end of the tee.
Wrench the elbow and tee assembly into the inlet hole of the piston with 5 wraps of Teflon tape until extremely tight and turned upright.
Screw a 1/4 NPT plug into a female end of a 1/4 NPT tee adapter.
Seal the open female end of the tee fitting with another plug (filled with appropriate black powder).
Payload - NC
AV Tower
Soft Goods
Mystery Box
MP Assembly
Materials
- Hard goods box (6-32 bolts, 4 1/4-28 bolts, 4 1/4-28 bolts with washers, 3 chamfered 6-32 bolts, eyenut, cotter pin, 10-32 nuts, quicklinks)
- Integrated piston
- AV tower
- Recovery guard
- Payload stack
- Payload bulkhead
- NC coupler
- Antirotation rod
- Skinny god nut
- Integration stands
- Tender descenders and loops
- Connecting loops (3)
- Black Powder
- Gloves
- Popsicle sticks and weigh boats
- Goggles
- Paper funnel
- Scale
- Hex key set
- Needle nose pliers
- Adjustable wrench
- Clocking tool
...
Procedures
...
Attach AV tower to payload bulkhead with 6-32 bolts. The elbow/ tee fitting assembly must be turned slightly inward in order to fit the AV Tower on top
...
Attach integrated piston to payload bulkhead with ¼-28 bolts
...
Wire piston to AV tower
...
Attach recovery guard to piston using ¼-28 bolts and washers **orientation matters will update
...
Attach payload stack to payload bulkhead
...
Attach nosecone coupler using 3 chamfered 6-32 bolts, attach nosecone
...
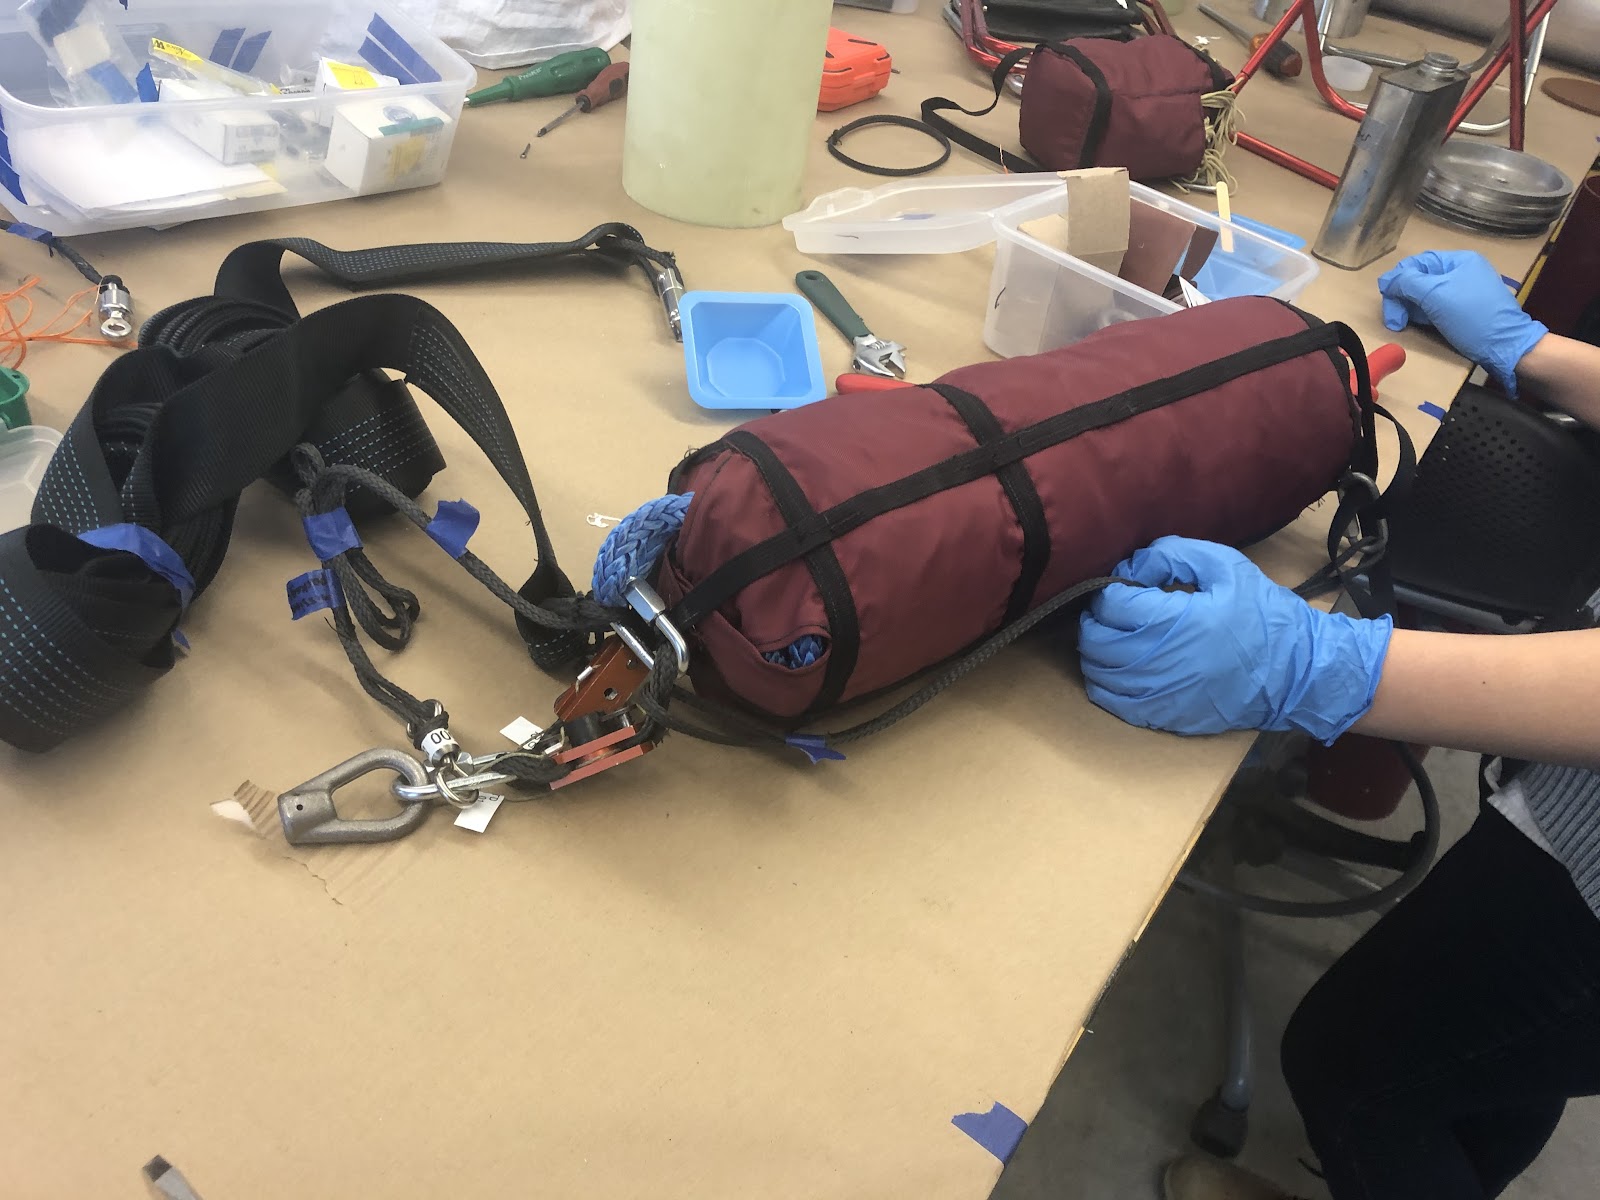
Integrate soft goods and tender descenders **Will update with line diagram
Another QL at end of MP Riser to Motor Section Riser (wide Black) and Main Riser (Blue Spectra)
Main Bag Bridles and load-bearing riser to QL to a 1500 Swivel to drogue riser
Drogue riser to QL to drogue lines
Connection from bottom of drogue bag to Motor Riser
Other end of Motor Riser to loop to swivel to loop to eyebolt
For tender descenders from Main Bag TD loops to eyebolt:
Wear goggles and gloves to measure appropriate black powder using weigh boats, scale, and popsicle sticks
Hold TD loops in place
Use funnel to fill TD with black powder
Push the two pieces of TD together
- Repeat with second one
...
Tighten all quick links with a wrench
...
Screw antirotation rod into diaphragm with locknut
...
Attach diaphragm. Screw on skinny god nut and place diaphragm on. Next screw the eye nut on and insert cotterpin. Finally, hold the god nut with small pliers and screw the eye nut tight. Fold down and gaff tape over the spikey bits of the cotterpin!
...
Set up integration stands. Stand piston-diaphragm assembly and cup close to each other.Thread main bag with lines and tender descenders through cup, so tender descenders are close to the diaphragm. Pull tender descender wires through half-moon shaped hole and attach tender descenders to eye nut.
...
Push cup (with main bag, TDs and lines) onto diaphragm and secure with 10-32 grub screws
...
Attach swivel (on motor riser) to quick link on top of main bag
...
Integration Order
Ideally, the piston, AV tower, and payload stack can be assembled in parallel and then each attached to the payload bulkhead. In parallel to this assemblage, the nosecone and mystery box can be integrated. Then the two groups would be integrated together with the soft goods and the fin can.
...
MP Assembly Pictures


...